People’s perception of others begins with what they wear even before their actions and utterances. And as a designer or crafter, you play an important role in building a good impression for your clients through your professional creative designs.
There are lots of vinyl heat transfer tips on the market today, but not all tips are good.
Moreover, you need to be equipped with the right knowledge and tips to succeed and make an impact in the world of garment decoration using HTV materials.
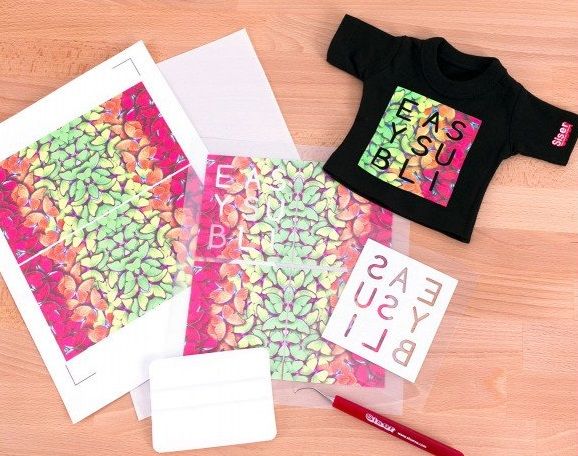
In this post, we will provide you with the right tips on how to use vinyl heat transfer and add some magical touches to your garment’s surfaces.
How to Use Heat Transfer Vinyl
Evolution in fabrics and continuous development in technology has brought about the use of vinyl heat transfer – an interesting and fun way of customizing t-shirts, garments, woods, leather, notebooks, etc.
The tips below will direct you on how to use vinyl heat transfer method of garment decoration the right way.
Step 1: Creating Your Design
You need a computer and design software to craft your desired design. Although most people make use of the Silhouette Studio and Cricut Design Space, you must select a design software that is easy for you to use and compatible with your vinyl cutter otherwise you won’t be able to create or cut out your design.
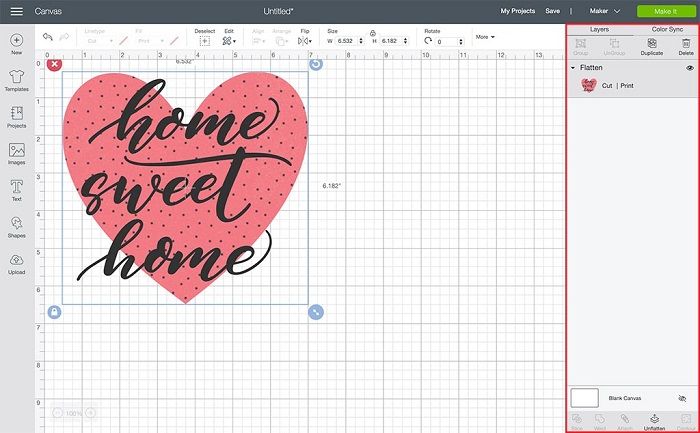

Some software does come with some free ready-made designs that you can select from while also allowing you to import designs from other design software or create your special and unique cut-out designs.
We recommend going for design software with such features as they are more versatile and will help you create your cut-out files with ease while maximizing your vinyl cutter’s software compatibility.
Step 2: Setting Up Your Design for Cutting
It is important to know the extent (i.e., how big or small) to which you want the design to cover the garment’s surface.
To perfectly get this, use a ruler to measure your desired length and width on the surface. Then adjust (scale) the design on your computer software to reflect the measurement earlier carried out.
Step 3: Mirror or Flipping Your Design
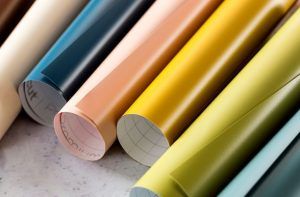
Heat transfer vinyl comes with two different opposing sides. One side (the back view) is the non-sticky heat-sensitive adhesive while the other side (the front view) has a plastic carrier sheet covering the top of the vinyl.
It is mandatory to flip your design horizontally (i.e., turning it in complete reversal as against its actual appearance) on your design software.
That is because the actual cutting of the design is done on the backside of the vinyl so that it can appear right-facing during application on the garment.
Step 4: Load The Cutting Machine
You need to understand the distinction between the two sides so that you can load it into your cutting machine correctly.
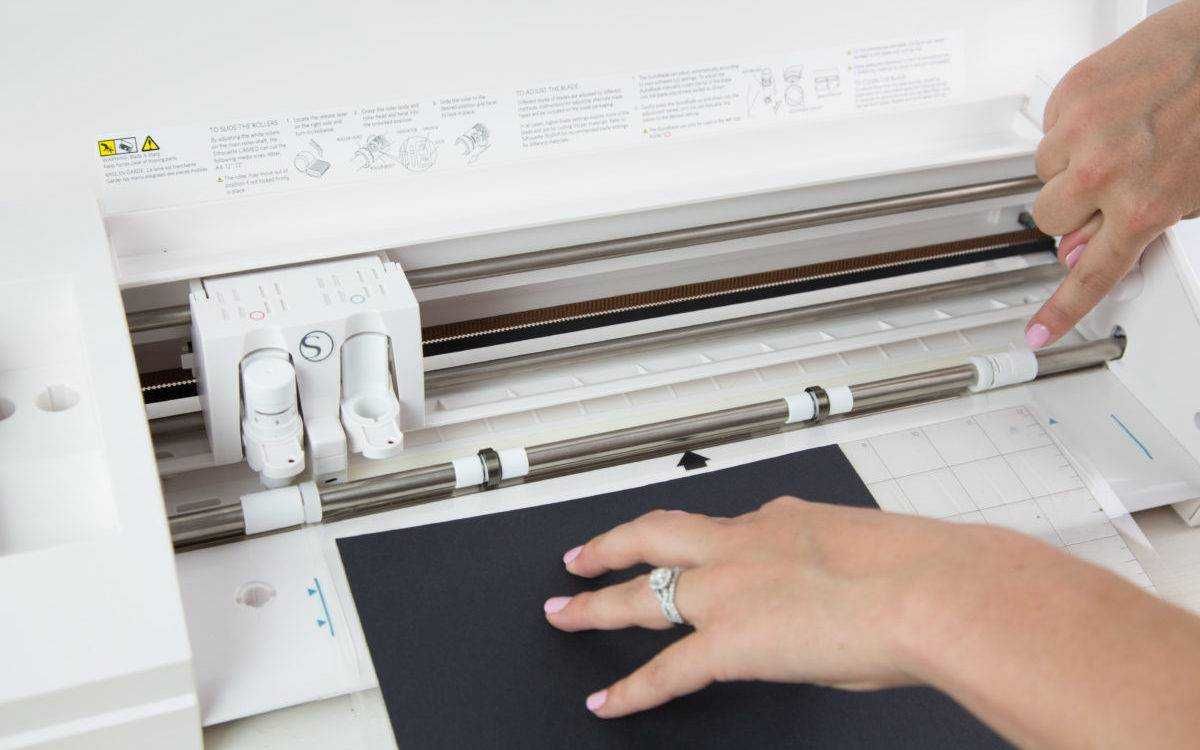

The colored side (also known as the carrier side, shiny side, or the front view) that will face out on the substrate always goes face down for cutting while the dull or adhesive side (back view which is sometimes white) always goes face up towards the cutter’s blade.
Step 5: Placing Your Vinyl on The Cutting Mat
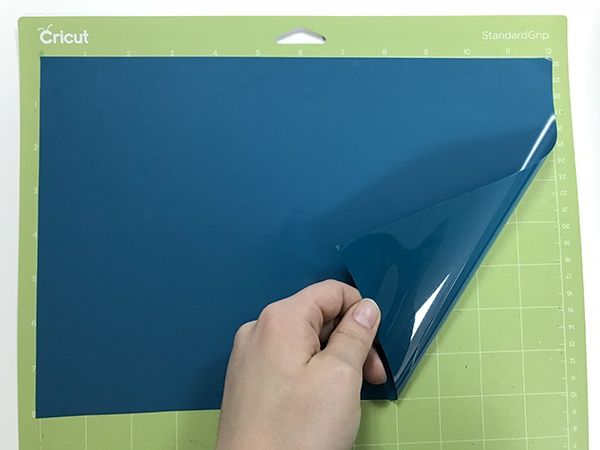
To have a flawless vinyl cut, using a cutting mat becomes inevitable. Cutting mats come in different sizes as well. Therefore, it is better to go for a bigger size to meet up with the demand of any project you may have.
Paste the gummy or sticky part of the vinyl transfer to your cutting mat or use masking tape at the edges and on both sides for firmness if the mat has lost its stickiness.

Step 6: Setting Your Cutting Machine
Pre-set the cutting machine to the level that is permissible for the kind of heat transfer material you want to design.
In compliance with this, you are to set the cutting speed, and cutting pressure or downforce required for the material you are working with.
It is advisable to start cutting your heat transfer vinyl at a slow speed and work your way up as you get used to the material to complete your project in a timely way.


However, in some cases, cutting at a slow speed irrespective of the orders you have to fulfill or how fast you’d love to complete the project is advisable as it will save you time and materials in the long run.
This is especially true when working with stretch HTV as the material is so thin and elastic that a very quick blade bounces and creates dashed cutting lines in the material instead of creating smooth and clean cut-out lines.
Having loaded and set the cutting machine correctly, it is advisable to test the whole setup with spare materials before you proceed to cut out your actual designs.
That will help you avoid mistakes and waste of time and materials. When you’re satisfied with the setup, send your design to your machine and watch it craft out the design.
Step 7: Weeding Excesses
This process is an act of getting rid of the excess vinyl that is still surrounding your design before you heat transfer.
To simplify the weeding process, you should section off your design with cut lines or weeding boxes when creating your designs on your computer. The cut line or weeding box is a square or rectangular cut line around the perimeter of your design.
How to Use the Weeding Box
The weeding box will help you separate your design on the material from the ones you want to cut or save for future projects; thus, making it easier for you to find your art and weed your designs.
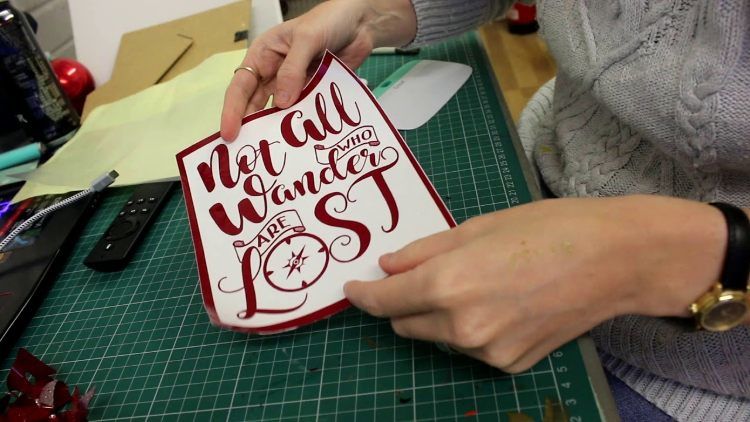


We recommend using scissors to cut around the weeding box to separate the design from the rest of the material; this way, you will be able to use the rest of the material for other projects.
For effective weeding, you can either use a craft knife or straight/safety pin and weed by slightly bending the vinyl to see the cut lines to trace thoroughly.
Tips for Hot Weeding
Weeding should be done on your cutting mat, but if you don’t want to use it and you want to complete your weeding process in a timely way, use a warm surface.
Weeding using a heated area or the top of a warm surface such as your heat-press bottom platen is known as hot weeding. Hot weeding makes peeling the vinyl away from its carrier easier than before.
However, this weeding trick only works for vinyl with a sticky carrier; this makes it suitable for vinyl products in Glitter HTV, Holographic, and EasyWeed® family.
If you are weeding a design with very fine details, you should stick to the normal routine and avoid adding extra heat that can make small parts of your design peel off or lift too easily.
Step 8: Perform a Quick Clean Up
Most crafters or designers cannot wait to apply their design as soon as they finish weeding.
But sometimes in a rush to heat press their design, a small bit of the weeded vinyl hitch-hike on their sleeves and accidentally works its way onto their project without their knowledge.
While some may be lucky enough to notice and scrap it off before heat pressing, others may not be so lucky to the extent that it mars the whole design.
So, before you rush to heat-press, take time to clean up the area, and pick up the loose weeded pieces (especially if your working space is limited). This will save you from the surprise appearance of HTV on your project. It will also save you some iron-on vinyl remover and help your workday run smoother.
Step 9: Applying Your Design
You can either apply your heat transfer vinyl design using a hot iron or heat press. But before that, you have to pre-heat your garment and then arrange your design properly on it before you heat press.
Pre-heating your garment will ensure the best application. It will remove moisture and smoothen the surface of the fabric to ensure a smooth finish as well as the greatest adhesion between the adhesive on the HTV and the fibers of your garment.
Pre-heating is important for cotton fabrics as they tend to shrink and wrinkle more than other types of fabrics. However, some fabrics, such as some types of nylon, are highly sensitive to heat, so they do not require a pre-press since it can affect your project negatively.
Also, a pre-wash may be required to prepare the garment for decoration, but it is not always necessary. If you choose to pre-wash your garment before heat pressing, make sure you avoid liquid softeners or washers that can leave an HTV repelling residue behind.
Using a Hot Iron
Place the garment or t-shirt you want to customize on a table covered with a towel, lay the vinyl transfer on the exact spot you want it unto the surface, and place a piece of thin cotton fabric or parchment paper over it. This way, your HTV will not warp or overheat.
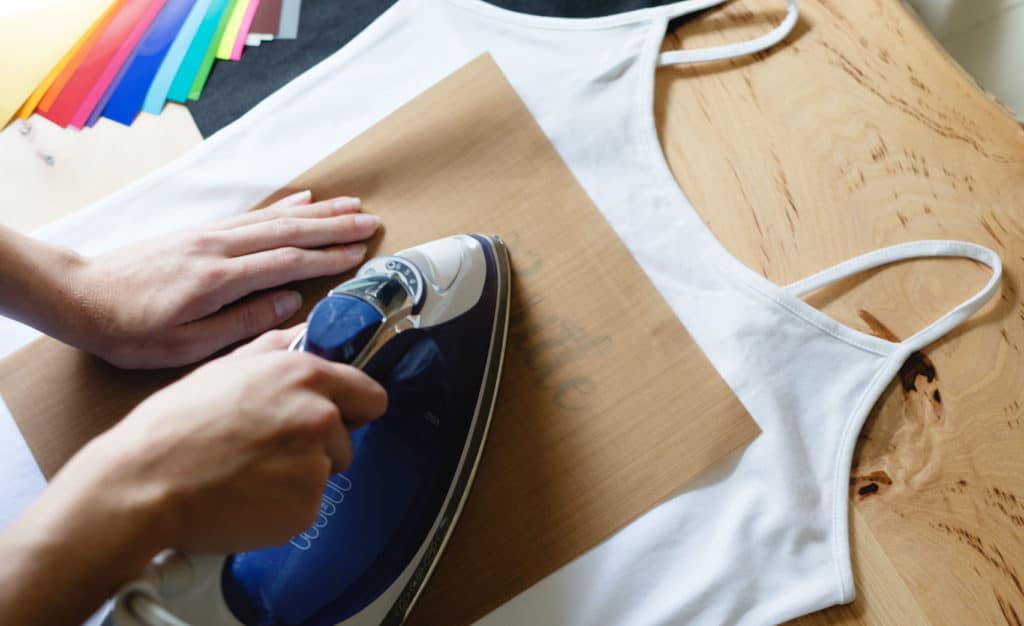

Place a hot iron on the parchment paper with the temperature stated on the vinyl transfer material and exert the needed pressure for 10 – 45 seconds depending on the type of fabric or the direction of your specific heat transfer material.
Note:
- Iron without steam holes at its base is more suitable for this project.
- Perform the ironing on a sturdy table or ironing pad (one that can withstand the pressure you want to apply).
Using a Heat Press
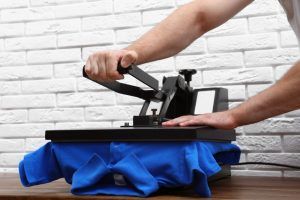
Vinyl transfer with a heat press machine makes the whole transfer process easier. Turn on your heat press machine, and set the temperature, time, and pressure to the recommended levels as seen on the vinyl transfer box.
Place the t-shirt or garment on the soft rubber pad, lay the vinyl heat transfer on the exact spot on the garment, and place a piece of parchment paper on it.
Apply the heat and pressure for 10 -15 seconds or according to the instructions for your specific transfer material.
Peal and Wear
Once you’ve applied your design, you are ready to peel off the carrier sheet or lining of your HTV and start wearing the garment. However, you must follow the required instructions for your HTV material before you peel.
Note:
- A cold peel vinyl requires that you allow it to cool before you gently peel off the liner. On the other hand, a warm peel vinyl requires immediate peeling of the liner after heat pressing.
- Before you peel off the whole carrier sheet, gently peel up a corner to see if the vinyl adheres properly to the garment and slowly continue peeling until you’re done. If your vinyl is still stuck to the liner, return it and heat press.
Layering HTV
Heat transfer vinyl materials come in different colors, and their uniqueness allows for a possible combination of two or more colors simultaneously. If you’re layering HTV with multiple colors, then it’s recommended to use quick, short presses.
As you apply each new color, the layers beneath it also receive heat, so after the whole heat pressing process, each layer would have received 10 – 20 seconds of pressure and heat.
Adding more heat pressing time to your design can dry out your heat transfer vinyl, thereby making it more susceptible to peeling and cracking. For layering most HTV, 1 to 5 seconds of heat pressing is enough to tack down a layer.
Mixing Different HTV
You can mix and match different types of HTV for a cool and unique look. When mixing different heat transfer vinyl materials, you should adjust your heat press to the lowest temperature recommended for the heat transfer vinyl in your project and work from the thinnest to the thickest vinyl.
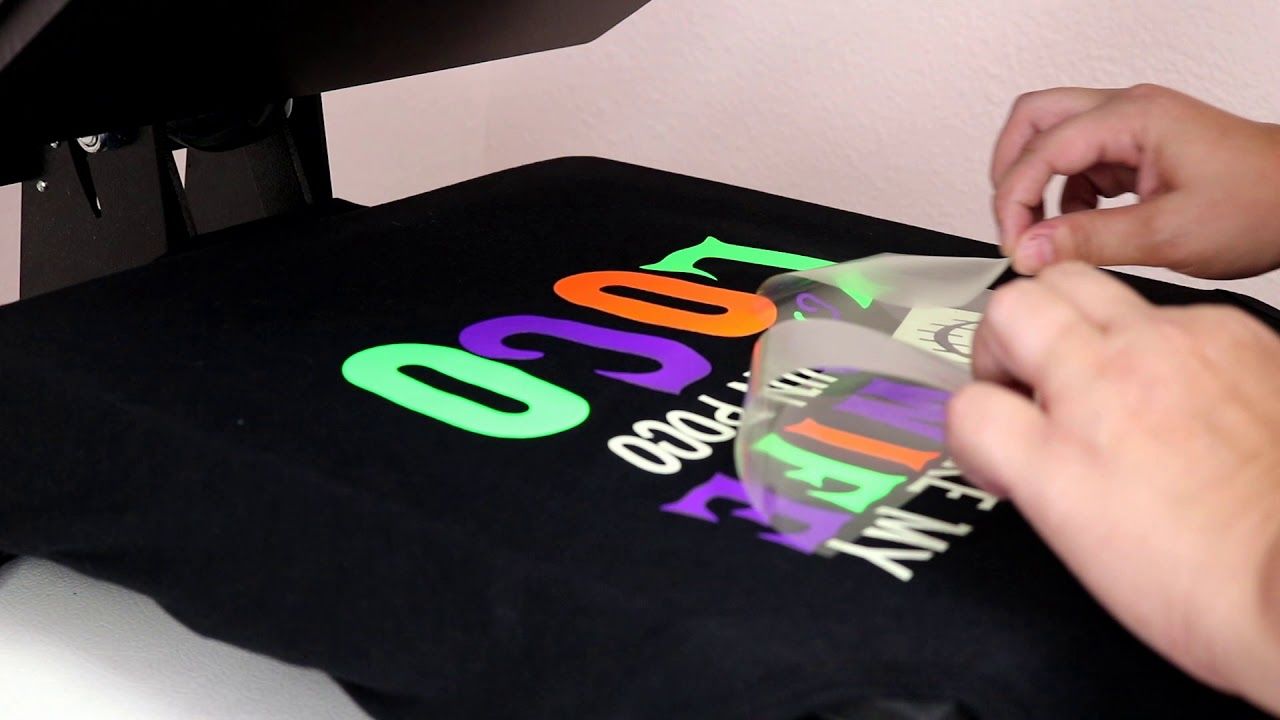


If you are using a heat transfer pillow, you may also need to adjust the pressure as you progress. Repress again for 1 – 5 seconds if any of the vinyl still attach to the liner instead of the garment.
Heat Pressing on Heat Sensitive Garments
If you are working with heat-sensitive garments (i.e. garments that react negatively to high heat), you’ll have to deviate from the use of the regular temperature and pressing time.
We recommend heat pressing heat-sensitive fabrics with a lower temperature of about 250⁰ to 290⁰F and increasing the pressing time to about 20 to 30 seconds to compensate for the heat deficit.
Final Words
Now that you have the right tips and step-by-step procedure on how to use vinyl heat transfer at your fingertips, it’s time to get to work. Have any questions or comments? Kindly use the comment section.
