Creating a marvelous piece of art cannot only be portrayed with the use of decorations, frames, or colors.
You can enhance your masterpiece with the use of lettering since these ornaments add value and make the artwork more lively, personal, and amazing.
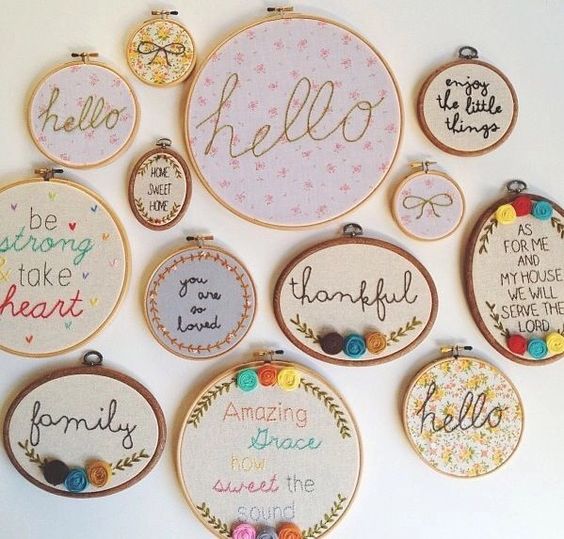
Some people find it difficult to sew a fabric with lettering even if they have a tracing pattern. Well, the technique actually does not only rely on the pattern itself but also the type of embroidery stitch for that particular lettering and motif.
You have to consider the size of the fabric, design, and purpose of the embroidery that you’re doing so that you are able to partner it with perfect stitches of letters.
Let’s find out what embroidery stitch to use for letters to enhance your needlework!
5 Best Lettering Techniques That You Can Use in Your Embroidery
#1 – Chain Stitch
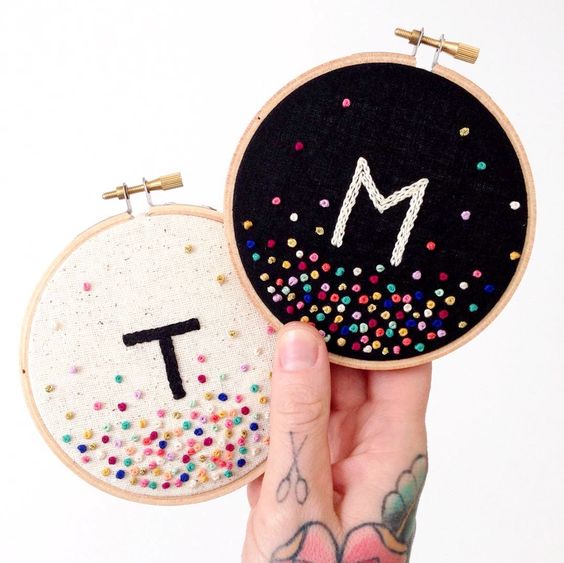
This stitch works well with bold letters as it emphasizes the lettering. When you’re embroidering a slogan quotes or notes, you can use this stitch since it adds chunkiness, intact, and 2-dimensional look to your lettering.
Here’s a sample so you can have an idea with a chain stitch pattern.


#2 – Stem Stitch
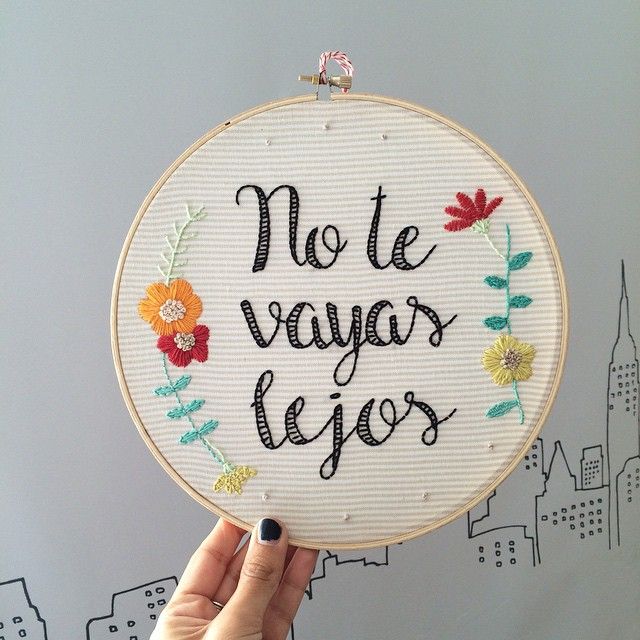
A stem stitch is thinner than the chain stitch in which it’s a great technique to use for calligraphy style of fonts.
It makes the embroidery look neat, intact, and consistent. Imagine a rope formed into a letter hence, this embroidery technique works in that way.
You may check the illustration below to see the outcome.


#3 – Back Stitch
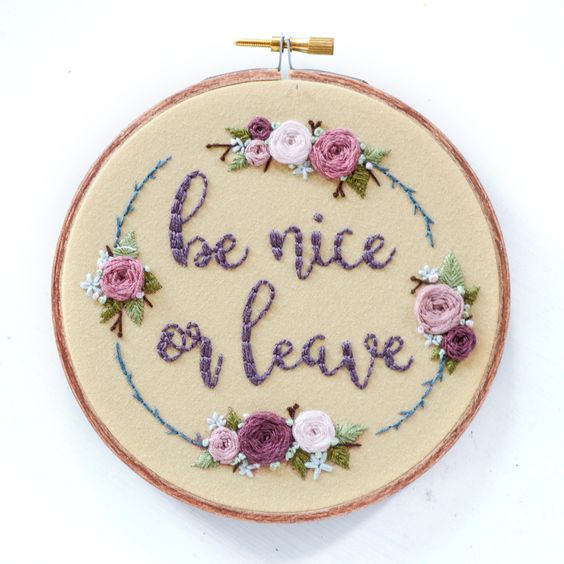
The back and whipped back stitches are applicable for non-cursive lettering. You may also use this technique when emphasizing the edge part of the letter especially when you’re creating a larger font.
However, if you’re using this stitch for the lettering itself, it may look thin and look like a straight line stitch. It’s great for thin fonts depending on your design.
Check out this image so you’ll have an idea.


#4 – Split Stitch
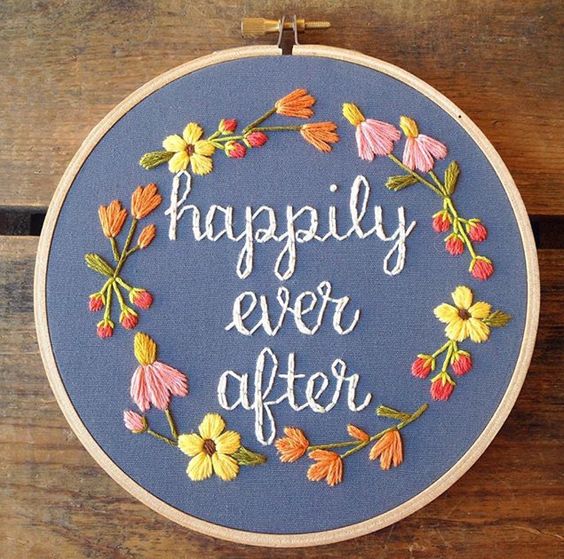
This stitch makes the lettering look like braided. It’s a nice technique to try for curvy and soft calligraphy style lettering. It makes the stitched lettering look neat, thin, and tight.
It can also be combined with another split stitch with a different color thus, it will show faded and bright hues of the lettering.
Look at the snip image below to have a glimpse of the idea.


#5 – Running Stitch
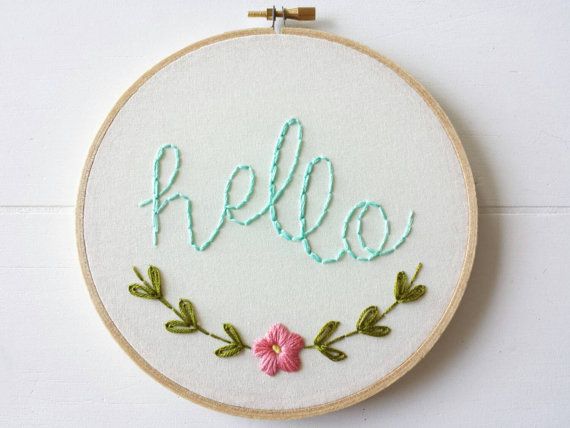
The easiest style of technique that you can apply is the running stitch. It literally makes your lettering look running since it leaves spaces in between the stitches.
It’s a great ornament for children, teens, and baby designs’ for a fabric. To have a sneak peek of the outcome, here’s a simple running stitch style.


Things You Need to Consider in Performing Embroidery Letter Stitches
Background Design (if there’s any)
Identify the objective of your needlework first and make sure to partner the background with the beautiful fonts.
Take for instance, when you’re sewing a fabric for a wedding ceremony, you may use calligraphies, chain, split, and back stitches on your embroidery to make it look elegant and perfect for the occasion.
Font Style and Color
You can search millions of font styles on the internet for you to use as your tracing pattern in creating the embroidered lettering.
You can also use good color combinations to emphasize the lettering and make the wordings look lively and amazing.
Some embroiderers are ornamenting their lettering with flowers, ribbons, and other accessories to make it look more astonishing in its appearance.
Size of the Fabric
This is an important thing to consider in working with your fabric. You should know its size so that you can plan ahead and trace the appropriate font and letting on the fabric.
In this way, you can estimate the appearance of your lettering, designs, and background.
Lettering Combinations
You can actually become playful when it comes to their font style and colors. You can add as many font styles as you want as long as they can blend all together and it will not exaggerate your needlework.
Become innovative and artistic enough to create your lettering and designs.
Did This Topic Capture Your Interest?
Now you have plenty of ideas to try, you may begin creating your lettering and artistically produce designs for your embroidery.
Recall the variety of embroidery stitches that you can apply namely running stitch, back stitch, chain stitch, split stitch and stem stitch.
Of course, before you proceed with the lettering, you should consider some factors so that you can plan ahead. These factors include checking the background design, choosing the appropriate font and color, estimating the size of the fabric, and trying out lettering, font, and color combinations to create a great masterpiece of words.
