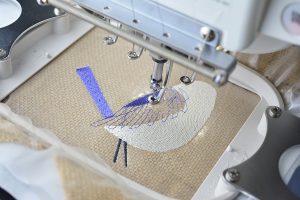
Embroidery is an artistic craftsmanship that involves your creativity, passion, originality, uniqueness, and knowledge as to different ideas of stitches and how you will apply them in a textile.
It is important to keep the basic stitches as your fundamental learning so you are able to stitch marvelous designs when you combine these kinds of stitches.
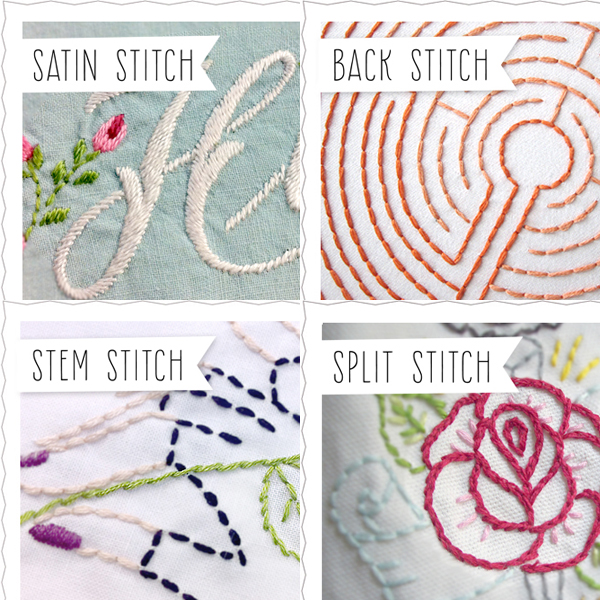
However, you should have the background on which embroidery stitch to do since it affects the embroidery that you are creating.
There are several factors to consider regarding embroidery stitch for every design, motif, and style of your stitches so that it will make your tapestry look great.
We labeled at least 8 among the popular techniques in embroidery designs and you may refer to this list as your guide to know what stitches are applicable to your ideas and designs.
Try to combine any of these techniques and create meaningful pieces of work of art.
1 – Running Stitch
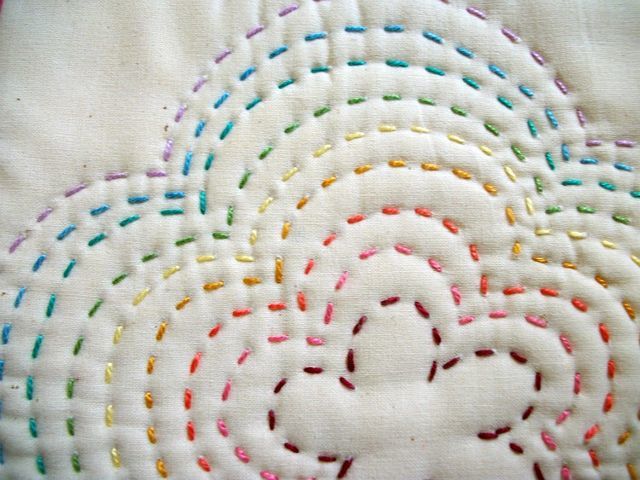


In plotting the outline of your design, you may start putting a traced mark using the running stitches.
Just floss the needle in and out of the fabric to create even spaces and lines of thread.
Make sure that the lines are consistent in their position and length so that they will appear synchronized and beautiful.
2 – Basic Blanket Stitch
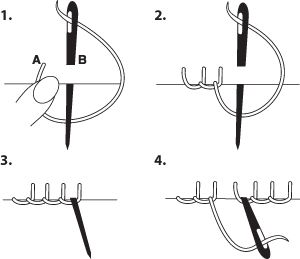


A blanket stitch is a useful embroidery technique that forms the beautiful edges of your masterpiece. It also secures the edges to remove the unnecessary raveled thread and keep the textile look neat.
This is a nice technique to try especially if you’re practicing your consistency in sewing.
3 – Back Stitch
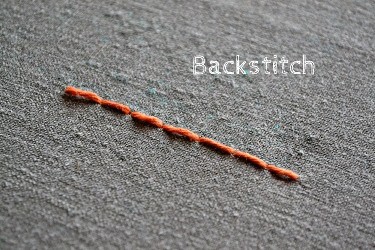


Some embroidery designs involve artistic calligraphies using creative stitching patterns so that you can able to portray the image that you desire.
It is literally called a backstitch technique since you will start doing the stitch from the left to the right whereas, the typical stitching starts from the right to left.
4 – Split Stitch
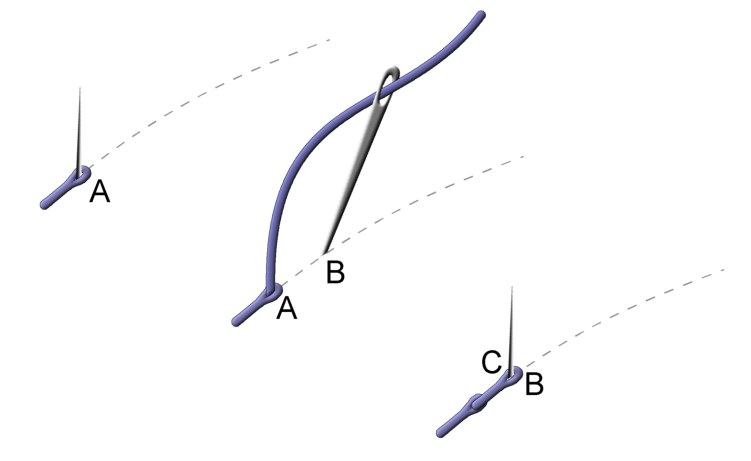


This stitch was derived from a running and back stitch but eventually, it was improved to bring more uniqueness to the needlework designs.
It appears like a continuous braid of thread and it leaves no gap of the thread. That’s why this particular stitch was useful in filling the area of an image or bold text to emphasize and make it look noticeable.
5 – Satin Stitch
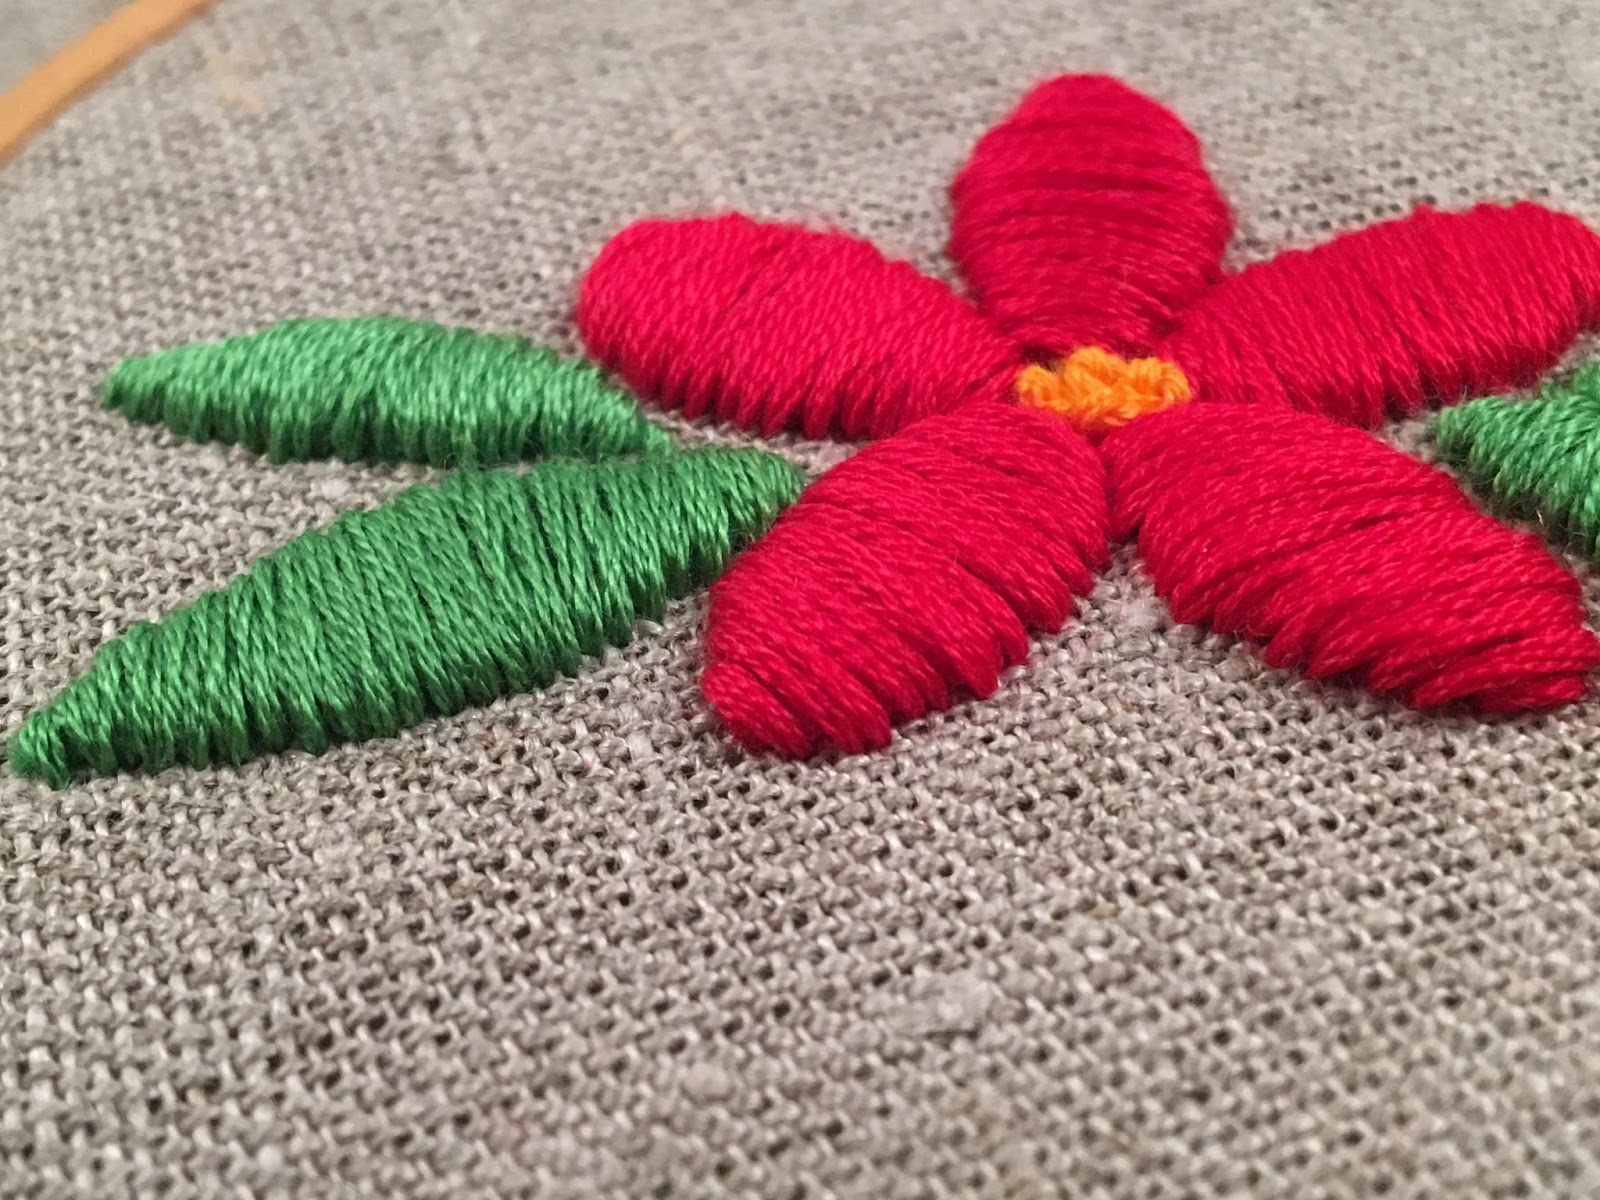


A satin stitch was technically a filling sewing technique also the same as the split stitch. However, the satin stitch can actually fill out the whole area easily with no loop-to-loop sewing.
When you create an image and it needs to be colored using a thread, you may use this technique for that type of design.
6 – Chain Stitch
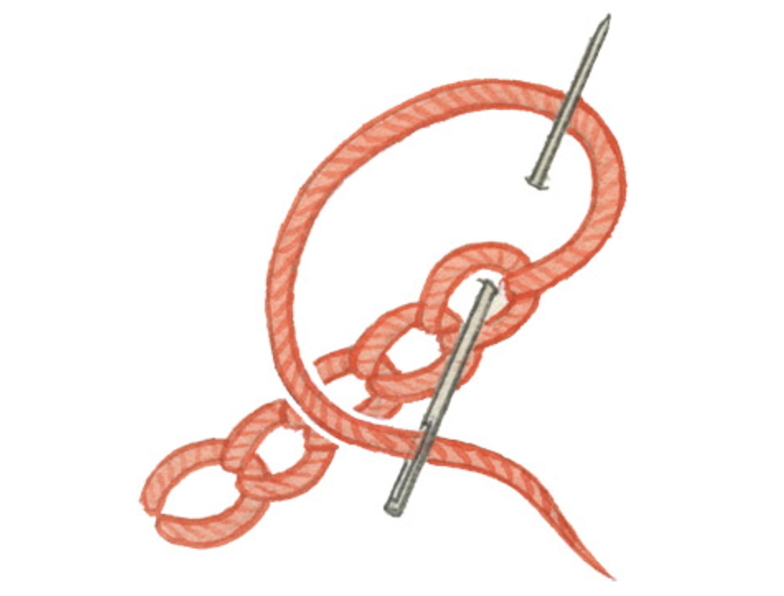


To make your stitch a little bit intermediate and artistic, you may try this chain-style stitch. It typically resembles a loop-to-loop technique because you create a series of loops that are interconnected to each other.
This can be used for any design and illustration since this technique is flexible to any edge.
7 – Lazy Daisy
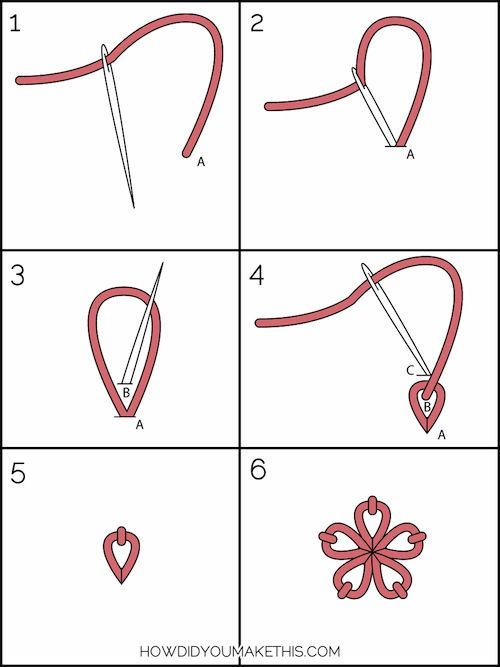


One of the popular stitches for floral ornament tapestry is the detached chain stitch also known as the lazy daisy. You will form a series of petals maybe five to seven to come up with a flower.
You are able to produce a design by stitching multiple lazy daisies to make it look amazing. You may also try to create a bigger version of this stitch and use the satin technique to color the inner area of the flower.
8 – Van Dyke Stitch


This is a hybrid style of stitching technique where you have to form a criss-cross stitch so that you will be able to produce this stitch.
It is typically used to secure the needlework stitch and make it look embedded in the textile.
This may look tricky at first sight but it’s just a piece of cake when you already learn how to start doing it and then repeatedly making the stitch on the fabric.
What Extra Ornaments to Add to Your Embroidery?
Invigorate your mindset and try to add more twists and fun to your embroidery masterpiece.
You can actually combine the stitches with an incredibly splendid blend of colorful flosses, sequins, beads, and glitters. These ornaments will enhance the featured image and emboss the design in an appealing way.
The art of embroidery takes several steps before you can create a wonderful craft. Don’t hesitate to experiment with what comes to your head and express it the way you want. Keep in mind all of the techniques so that you can able to have a better quality tapestry.
Actually, you can even evolve these basic stitches and come up with an exciting design. The greater your mastery in remembering all of these techniques, the more beautiful your designs will appear.


