Companies require uniforms to their personnel especially for the rank-and-file employees in order to acknowledge the logo or trademark of the institution.
Most of the fashion designers are also sewing stylish patches and apply it as a design on their various apparels such as t-shirts, skirts, pants, coats, jackets, and more.
Moreover, you will often encounter the uniforms worn by the athlete and sports’ enthusiast whereby their shirts, shorts, bags, caps, and even shoes have popular logo brand in the form of a patch!
Another thing, the different schools are using patches to designate and recognize their learning institutions.
Whatever purpose it might be, the significance of making an embroidered patch is essential to represent the brand, carry the name of the company, a requirement from school, or just go on with the fashion trend.
Before anything else, let’s define first what an embroidered patch stands for.

What is an Embroidered Patch?
An embroidered patch is a material derived from a fabric backing and creative stitch of designs using embroidery floss or thread.
It is actually an ancient craft inherited from our ascendants in which, with the influence of the advanced technology that we have today, the mass production of finely-detailed, edgy, and high-quality embroidery can be efficiently achieved.
An embroidery patch connotes not only the essence of the logo as a brand or company acknowledgment but also, a symbol that denotes a hierarchy of a specific rank or unit.
How to Make an Embroidered Patch?
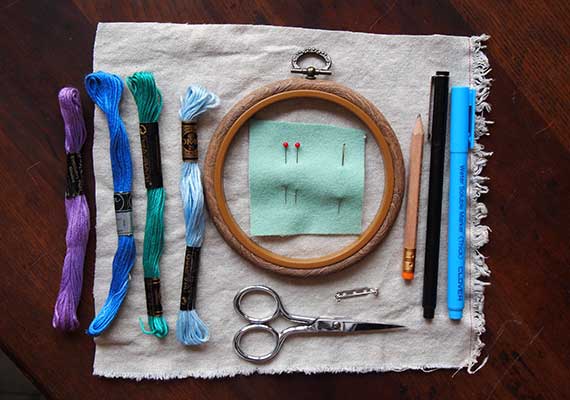
The first step to consider in making an embroidered patch is to check the necessary tailoring tools, equipment, and accessories to be used to produce a state-of-the-art patch.
You have to take note of the needed backing material, embroidery equipment, latest embroidery software, needles, threads, cutter, scissors, glue, pin, stabilizers, and embroidery floss for a stunning appearance of your masterpiece.
Now that you’re ready to begin your first stitch, the technique is to start with the concept.
Step 1. Conceptualize Your Designs


A design should be planned, searched, and finalized to come up with a great layout of your patch.
You have to come up with a great layout of your patch. You have to take it into considerations your available materials, time, labor, and budget before thinking on what design to put up in your embroidery hoop.
Some ways of searching for designs through the internet, suggestions of friends, a desire of the customers, drawings or company logo symbol.
In this way, you are guided with what design to produce that would definitely please your clients.
Step 2. Pick Great Fabrics and Stabilizer
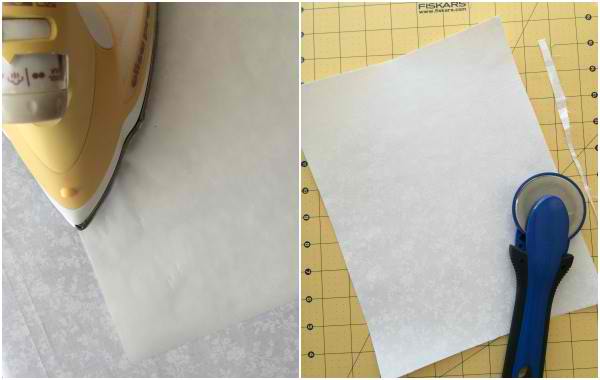

There are many great fabrics for the embroidery patches, but the stabilizers are the most valuable material in making embroidery patches since these serve as a guide for tracing the design.
The various stabilizers being used are known in four categories that include cut-away, tear-away, heat-away and water-soluble based stabilizers.
These main types of stabilizers come in various functions depending on your embroidery patch.
- In a tear-away stabilizer, it has a soft, crisp, and gentle touch when woven. It usually comes in different weights and resembles a paper-like appearance.
- On the other hand, a cut-away stabilizer is a non-woven type. One good example of this stabilizer is the use of the nylon mesh.
- Water-soluble based stabilizers can be literally removed using water. It has a texture that comprises a plastic form and a nylon mesh feature.
Step 3. Choose the Right Thread or Floss to Sew

The quality of the thread or embroidery floss to use depend on the required color and effect of the design.
It can be in a form of vivid, vibrant and lively, dull, dark, light glossy, or knit type thread or floss based on the concept of the design.
Be sure to properly match the colors to produce a remarkable work-or-art.
Step 4. Stick Your Textile on the Stabilizer
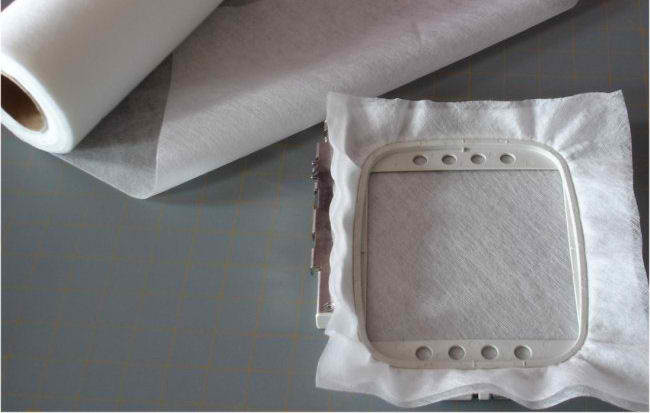

After gathering your thoughts and preparing your materials, you may now combine the textile stabilizer and adjust hoop (optional).
Place and stretch the textile and stabilizer on the hoop to have a stable needlework. Be sure to keep the textile and stabilizer intact by applying adhesive material or adhesive methods to make the textile stick on the stabilizer.
Apart from using a glue or adhesive materials, you can also try to attach the stabilizer to the fabric through Velcro backing, ironing, or dryer heat method.
Read more: How to Use An Embroidery Hoop?
Step 5. Trace Your Design
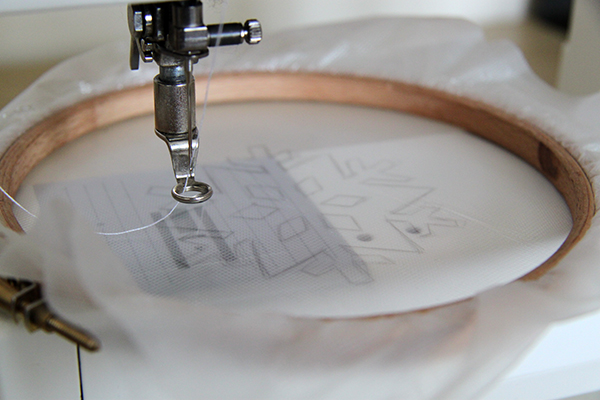

Cut your design, place it on the hoop and trace the edges to mark the contour and shape of the patch.
Thereafter, follow the trace that you’ve marked using your needle and thread. Trace the design properly to copy the exact image and to come up with a finely-tailored patch.
Step 6. Start Embroidering on an Embroidery Machine or Just Do It Manually
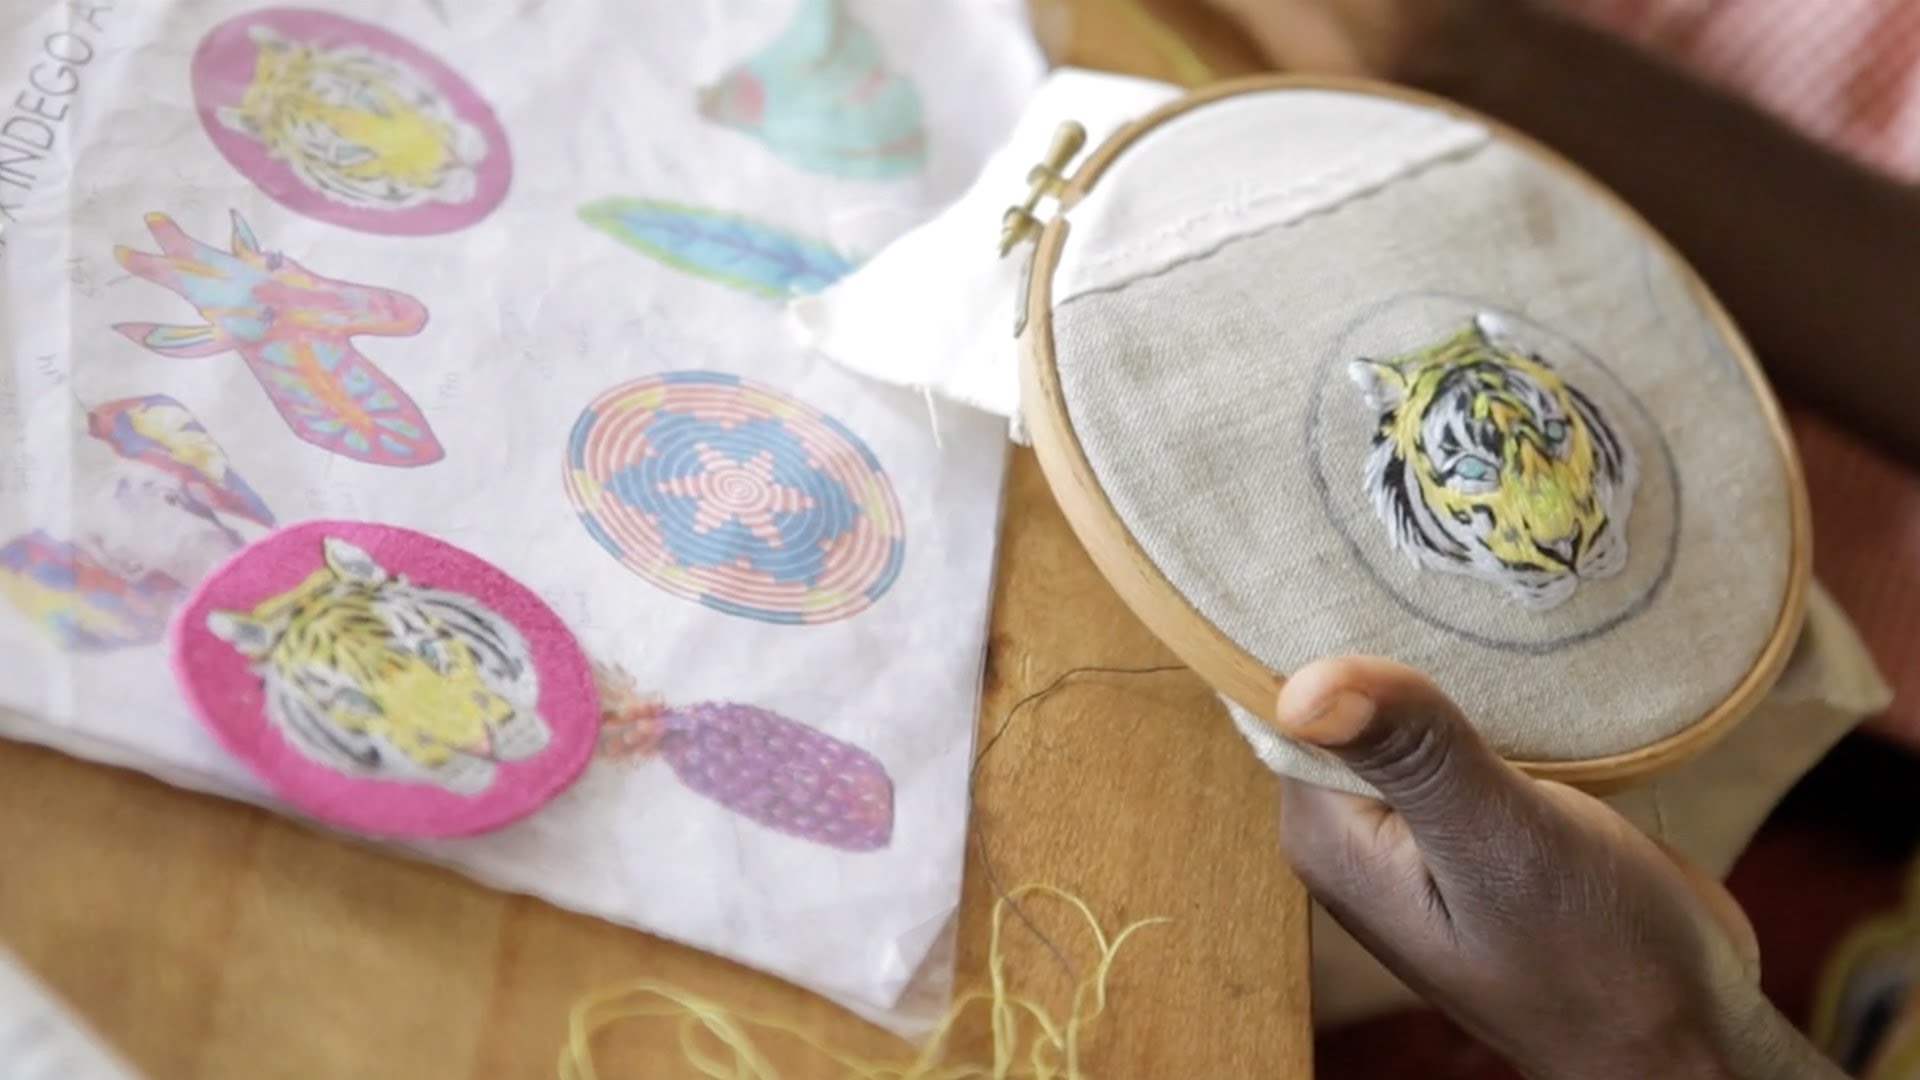

You may refer to an embroidery software or trace the design by crafting it using bare hands. The embroidery machine is great and efficient for manufacturing tons of patches.
On the other hand, hand embroidery adds a personal touch to the creation, especially if the motive is intended for a gift.
You can choose the most affordable embroidery machines for beginners with this guide.
Step 7. Unhoop, Cut, and Display
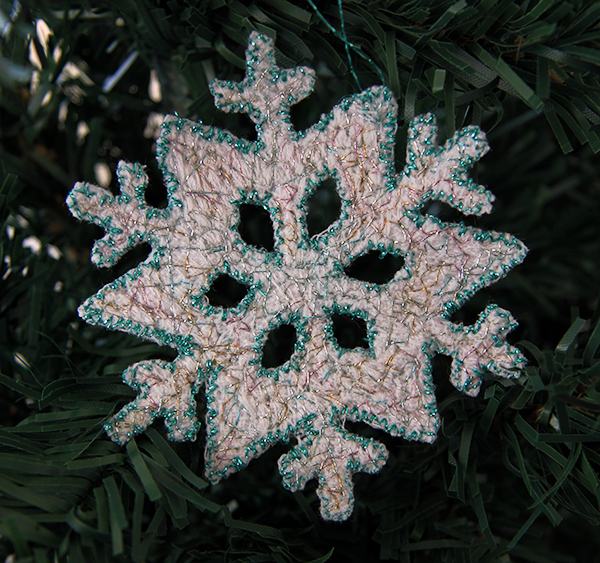

As soon as you finished stitching every detail of the image, you may now unhoop the embroidered patch from the stabilizer and cut it by following the contour of the shape.
You may now display the patch or sew it in a uniform, shirt, pants, bag, cap, or any fabric to enhance the style and appearance of the apparel.
The Verdict
Stitching embroidered patches require a tailoring skill, creativity, originality, and stunning concepts to produce a masterpiece. It is a significant symbol to designate and properly categorize a person’s rank in the company.
Aside from its practical usage, the fashionable appeal of the embroidered patch adds aesthetic value not only to the apparel itself but also to the wearer of that outfit.
Keep practicing and searching relevant ideas to improve your craftsmanship and increase your knowledge in the field of embroidering patches.
For sure, it will root to a fruitful outcome if you persevere and work hard to produce a beautiful embroidered patch.
