Some days you are satisfied with however your 3D printer prints your model out. Some days, you aim for better quality. For projects that are close to your heart, you want to get everything right.
You could do everything right: upgraded filament or resin, optimal printer settings, peer-reviewed slicer design, backup power supply, everything. And still, there’s a feeling that you can do a bit more.
Well, let us help you fill those gaps. For every time you feel something is lacking in your 3D printing preparation, here are more than a dozen 3D printing tips to get excellent quality prints. Prints that will get you close to the first prize reward if there was a competition. Let’s go!
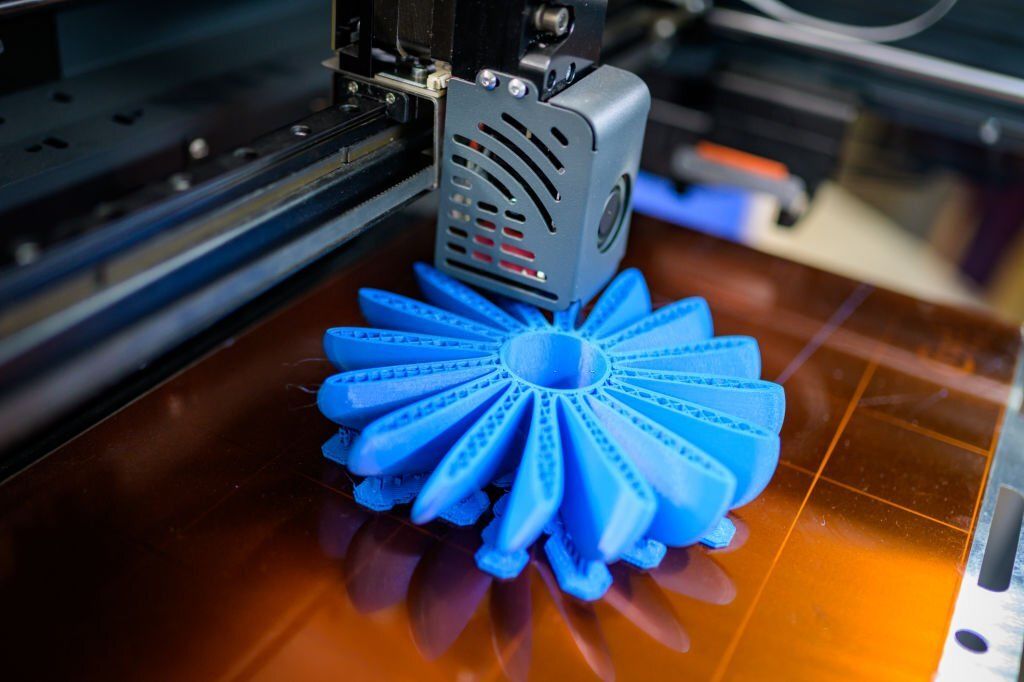
15 Best 3D Printing Tips: Get Better Quality Prints
A collection of brilliant beginner-friendly tips to get the best quality prints when you start out. Follow these tips to instantly turn around your print outputs regardless of your machine.
1- Level Your Print Bed Religiously
Everyone talks about leveling your bed but no one tells you why or how. Well, we recommend the same but we will also tell you how.
Firstly, the why: uniform bed level ensures that your print comes out nice and slow and perfect.
The Z offset – the distance between the flat bed and nozzle tip – should be optimal to ensure the print comes out consistently throughout. Otherwise, your print may experience warping.
Here’s how to level your print bed: The thing is optimal Z offset can differ across 3D printers, projects, and the type of material being used. Generally, though, there’s a way. After setting up your printer, slide a feeler gauge or paper onto the print bed. Adjust the nozzle so that the paper fits right below the nozzle without chafing it. The sweet spot is not too close to the nozzle but not too far either. Test this at three to four spots for better accuracy.
Optimal Z offset will ensure that your print comes out right and balanced.
Pro Tip: Get a printer with automatic leveling and invest in a sensor-based leveler.
2 – Store Your Filaments Properly


We believe that in 3D printing a lot more depends on prep work than we think it to be. How good and structured is the design, how level is the bed, what material you use, and what temperature range you will work on – they all matter a lot.
While it’s not humanly possible to get everything right, there are things you could definitely improve. The easiest is handling the printing materials.
Most filaments used in FDM 3D printers are hygroscopic i.e., they tend to absorb water from the atmosphere which can make them unfit for extrusion. Water-drunk filaments can expand or crack open in the middle of printing, wreaking havoc on your entire print.
To avoid mid-print anxiety attacks like this, we recommend storing your filaments the right way. Store them in an airtight box with drying agents such as silica gel or desiccants that can control the moisture level inside the box.
There are also heated bins available in the market that better protect your filaments from both moisture and dryness.
Pro Tip: In case you already have spools of filaments that have drunk a lot of water, you can try heating them in an oven at low temperatures. If you’re lucky, microwaving could dry them out.
3 – Keep Your Printer’s Firmware Up-to-date
Like you do for every software or device you own, keep your 3D printer’s firmware and slicer up-to-date. Check for updates periodically and take the time and effort to install them. While security fixes are not really relevant to 3D printers, updates can include anything from improvements to slicer software bug fixes.
Some printer manufacturers like Anycubic or Elegoo may not alert you about firmware updates. Therefore, try to check their official websites and community pages to see if there has been an upgrade since your last visit.
We recommend checking for firmware and software updates every six months.
Pro Tip: If you are looking for a particular setting in your slicer and your existing one doesn’t have it, look up online and see if you can add it yourself through some open-source line code.
4 – Use Glass Print Beds
The default print bed that came with your 3D printer might do a decent job. But to improve your print quality further, you’ll need to invest in a glass print bed.
Glass beds for 3D printers are known for their flat surfaces, smoother finishes (especially the bottoms), and anti-stickiness. These features will automatically improve the overall print quality of your models.
Having said that, we recommend experimenting with different types of surfaces. There is Polyetherimide or PEI sheet that offers great adhesion, Kaptan tape with its promise of smoothness, and glue-on polycarbonate sheets. There are also proprietary print beds by Anycubic and other brands that are worth trying.
While all these print bed materials have their own sets of pros and cons, most of them do improve the print quality by aiding in print removal or good adhesion.
At the end of the day, what bed works for you will depend on the type of prints you create and the materials you use.
5 – Adjust the Bed and Nozzle Temperatures
3D printing is all about the temperatures you play with. While different filaments need different temperatures to melt, some print models tend to have a reverse effect due to high or low temperatures. That is, the model can start malforming due to the temperature change.
For instance, if your estimated print time is long, your nozzle may require to be kept at the same temperature for that entire period. This can melt away some of the already-formed print. Their cool-off period is interrupted, which can cause stringing, warping, or an elephant’s foot. The same goes for the print bed. A change in temperature can negatively affect the model.
Keep adjusting the temperatures as the situation demands to get the best output. While it may be tempting to put the printer on autopilot and do some other work, you’ll need to watch the temperature to get better-quality prints.
6 – Calibrate Your 3D Printer Periodically
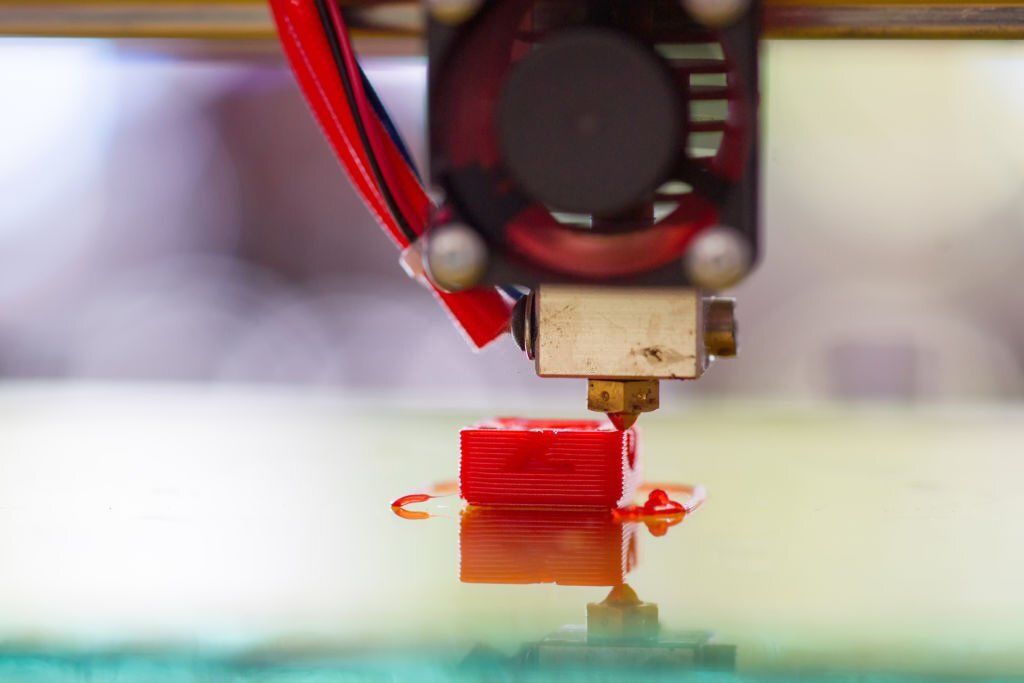

Calibration involves finetuning the stepper motors, axes, extruder, and other mechanical and electrical parts of your 3D printer. It can be a painstaking process for beginners, so we recommend referring to the user manual and doing it slowly the first time.
Doing so will ensure that your printer’s working in tip-top condition, eventually treating you with high-quality prints. Calibrating your extruder and stepper motors will mean that they work without a hiccup and ensure greater accuracy.
You should also look at resetting your slicer settings and redoing any customization that you may have done. Some free slicer software tend to misbehave if more than a few settings have been changed to custom.
We recommend calibrating your 3D printer once every 3 months of regular use.
Pro Tip: Every time you calibrate your 3D printer, print out a sample cube just to check if everything’s working fine before you start working on a bigger project.
7 – Use Support Structures
We know 3D printer enthusiasts who use support structures for every other model they make. Now that’s overkill.
But it doesn’t hide the fact about their usefulness. Support structures make great catalysts in 3D printing, as they help you manage complex prints with multiple bridges and/or overhangs.
Support structures, if used well, can help you salvage a complex print model. Just place them right – to support a bridge here or an overhang there – and see how strong your print comes out to be. It works because the printer then doesn’t have to print in the air. It has a lower layer as a reference to build the section, not to mention the support structure’s aid in the cooling period.
Even the drawbacks of longer printing time and more post-processing work do not make it less of a worthy printing tip to try.
8 – Take Care of Your Nozzle
Ask any seasoned 3D printer enthusiast and they’ll tell you that the nozzle is the most important part of 3D printing. Too many users pay less-to-no attention to it until it’s clogged and starts affecting their prints.
A sureshot way to ensure better print quality is to regularly clean and maintain your 3D printer nozzle. All you need to do is use a wire brush to clean the narrow lanes inside your nozzle. Make sure you switch off the printer while doing so to avoid burns or shorting.
Other methods such as cold pull can also be employed. Read the printer manual to find out the ideal way to care for your nozzle.
9 – Improve Printer Placement
What if we told you that even minor vibrations while printing can affect the quality of your print?
Well, it’s true because vibrations can influence the extrusion, thereby giving you slightly crooked structures and areas on your prints. This can happen due to any reason such as the placement of the printer on an uneven surface, components not held together tightly, a wobbly nozzle, etc.
To avoid placement issues, ensure that your printer is held down securely on a flat surface. If you’re using a table, ensure that it doesn’t wobble.
The same goes for the printer’s assembly too. If you self-assembled your printer, it’s possible to have a loose nut here or an unrestrained latch there. Check all such potential areas every now and then to avoid vibrations.
Pro Tip: If your work area doesn’t have the privilege of a flat surface, consider using vibration-dampening pads.
10 – Tighten the Printer Belts
A lot of the printer’s actions depend on the various belts that handle the extrusion. And if the belts are not tightly held, it’s possible for them to lose path and print outside the design space. This can lead to gross malformation and you’ll lose your time, effort, and money.
Ensure the belts are held with appropriate tension and they do not hang like curtains. This should be checked periodically and also before major projects so that they work effectively during the actual printing.
11 – Get Some Upgrades
Regardless of what 3D printer you own, you could do with a few upgrades to improve your print quality. Yes, we are talking about filament guides or advanced extruders and nozzles. Anything that can minimize the error quotient while printing is worth investing in.
For instance, a filament guide can provide better support to your filament spool and extruder mechanism. In an ideal scenario, you want the filament to be reeled in slowly and smoothly. A filament guide can ensure that, ultimately allowing the hot tip to work its magic at its own pace.
Pro Tip: Try designing a filament guide and 3D printing it on your printer.
12 – Upgrade Your Nozzle


Talking about upgrades, if you’ve been printing for a long time, chances are that your nozzle has given up. Sure, we have spoken about cleaning it regularly. But sometimes, even a wire brush can’t help you fix a nozzle with bends or holes. The only situation then is to replace it.
When looking for a nozzle replacement, check your manufacturer’s recommendations to get the best fit. You don’t want to purchase an expensive nozzle only to find out that it’s not compatible with your machine.
Pro Tip: Replacing your nozzle requires delicate handling of the printer. Make sure the printer is at room temperature before replacement.
13 – Calibrate the Extruder Flow Rate
Another critical tip worth using involves extrusion setting customization. It’s called e-steps which control the amount of filament that the extruder extrudes while printing. It needs to be at optimal setting because both large and small amounts will lead to poor-quality prints.
The best way to set e-steps accurately for your project is to execute a sample print. Measure how fast or slow and how much the extruder pumps into the sample print to get an idea if it needs to be changed. Then go to your firmware settings and change it accordingly.
It’s worth noting that different materials will pump differently due to their varying densities. What might work for a plastic filament may not work for, say, silk.
14 – Slow Down Your Prints
We spoke about studying your slicer software and learning to tweak its settings for better outputs. While that’s essential for a better 3D printing experience, there’s one thing in particular that can lead to better prints: taking it slow.
Oftentimes, we are in so much hurry and lack patience that we fasten the printing process. What should have taken two hours is reduced to about an hour or so. This can adversely affect the extrusion as well as printing, giving you inferior-quality prints. You might be doing everything right and still getting substandard models. Now you know why.
One way to avoid that is to reduce the extrusion speed. Look for speed settings in your slicer and try different speeds at the lower side of the spectrum. Your prints may require more time but they’ll definitely come out a lot better.
Pro Tip: Don’t reduce the speed too much or your print won’t even materialize. Already printed parts may overheat due to the nozzle tip’s high temperature.
15 – Play with Fan Speed (Cooling)
Sometimes neither speed nor temperature change works in your favor. You need something like an external stimulus to improve the situation. That’s when you can take advantage of your printer’s cooling fans.
Depending upon your 3D printer model, you may have fans to cool your mainboard, power supply, and even the hot tip. And if you’re lucky, there may be a setting to control the speed of this fan. That’s a pretty useful control.
If you’re working with PLA filament, it might be a good idea to slightly increase the fan speed so that your print cools off quicker. This has dual benefits:
- Solidifies the print faster
- Prevents bridges or overhangs from drooping (in case of no support)
Different materials need different fan speed settings, so make sure you play with the fan speed according to your project.
Additional Quick Tips for Best 3D Print Quality
Here are a few more honorary tips worth using.
- Try silk PLA material if nothing else works out
- Use Cura slicer if nothing else works out
- Consider investing in a paid slicer like ChituBox, Simplify3D, KISSlicer
Conclusion
The key to getting superb quality prints on your FDM or resin 3D printer starts with taking care of your printer and its critical components. As you can see from the tips above, many are directly connected to how functional and error-free the components are. User-driven actions are limited to settings changes and filament storage.
This highlights an important point about 3D printer maintenance. If you’re consistently experiencing poor-quality prints, it’s possible that the issue is with the printer itself. Investigating what that issue then becomes your aim.
We hope these tips help you create better, usable models.
What personal tips do you have? Let us know in the comments for the community.
