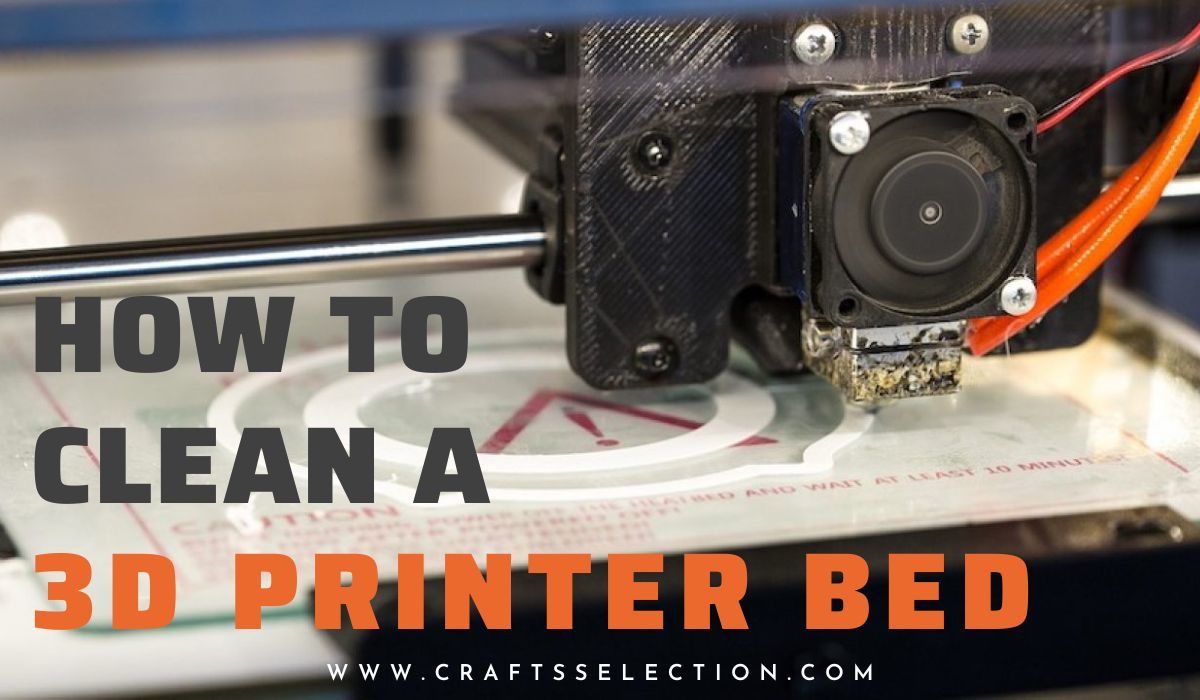
3D printer bed cleaning is one of the most overlooked areas of the overall maintenance of a 3D printer. Many users feel that a couple of sweeps with an alcohol wipe cuts it.
Unfortunately, that’s not true. Cleaning a 3D printer bed requires a bit more effort so that you can enjoy stable printing, easy removal, and high-quality prints.
A dirty print bed can cause several printing problems such as poor adhesion and removal. This can impede all your efforts as the print model will refuse to print, stick, or move.
All of these can be solved and prevented with regular print bed maintenance. Here’s how to clean 3D printer bed effectively and easily.
8 Common Types of 3D Printer Beds and Build Plates
Before we jump into the cleaning process, let’s understand the different types of 3D printer beds. The make of the bed should influence the cleaning method and process and there’s no one-size-fits-all strategy (as with most other 3D printer parts such as nozzles). It’s best to customize your cleaning ritual based on your printer bed type.
Here are the common 3D printer bed types available in the United States and elsewhere in the world:
1 – Tempered Glass
Glass is the most commonly used 3D printer bed type available due to its low cost and versatility. Retailing at about $20 to $30, you can choose between smooth and textured finishes according to your requirements.
Textured glass beds have good grips which make removal easier. Tempered glass works with almost all printing materials such as PLA, ABS, and nylon.
Glass with carborundum coating is costlier but offers better heat resistance and strength. Most mid-level 3D printers from brands such as Ender and Creality come with carborundum-coated glass beds.
Anycubic Ultrabase


It’s a special type of tempered glass build plate designed by Anycubic. Originally a proprietary product exclusive to Anycubic 3D printers, the company now allows third-party installation too. This means you can buy the Ultrabase and install it on your printer.
Anycubic Ultrabase has high tensile strength owing to its high-tension glass material base. It offers the best build plate adhesion to almost all major types of filaments, making it a crowd favorite. However, installation and auto-leveling can be tricky.
We recommend Ultrabase only to seasoned 3D printer users.
2 – Spring Steel
Spring steel is a flexible form of steel with magnetic properties. Build plates made of spring steel can therefore be attached to most 3D printer metal beds. They offer a smooth and clean printing surface but lack adhesive properties.
Most spring steel print beds come coated with a polyetherimide or PEI film which improves their adhesion. Then too, print removal is a concern with PEI sheets. To solve such issues, some manufacturers offer spring steel with textured PEI sheets. They are hard to find but if you can get hold of them, they’re worth an experiment. Spring steel beds retail in the same range as glass printer beds.
Spring steel is preferred by a niche group of 3D printer enthusiasts who are looking for a particular type of finish for their prints.
BuildTak FlexPlate


This is a three-part build plate produced and sold by BuildTak as a more flexible and bendable version of the regular spring steel build plate. The FlexPlate offers great adhesion as well as removal, making it a better alternative for beginners.
Compared to Anycubic Ultrabase, FlexPlate is easier to install. However, it is more expensive than regular spring steel build plates.
3 – Polypropylene
Originally a 3D printing material, polypropylene or PP is now also used to make build plates. A form of flexible plastic, it allows for easy printing and removal. Its decent adhesive properties ensure that your prints stick firmly on its surface and also detach easily after cooling off.
While polypropylene print beds are cheap and moderately heat-resistant, they cause warping and are highly susceptible to scratches and nicks. You’ll need to replace them more often than you would a glass bed, for instance.
4 – G-10 (Garolite)

G-10 is a composite material made of glass cloth and cured epoxy resin. It’s tough and extremely durable, making print beds made of it superbly long-lasting. You don’t have to worry about cracking your G-10 bed plate. The adhesive properties are similar to tempered glass.
G-10 print beds are also cost-effective, retailing at around $10 in the United States.
5 – GeckoTek EZ-Stik
EZ-Stik is more of a sticker than a build plate. Choose any base build plate and stick it over its surface to enjoy hassle-free print removal.
GeckoTek’s products are cheap but are intended to be used and thrown, so they can set you back by a lot if you print regularly. This is because, after every use, you are supposed to peel out the entire sticker with the printed model. One unit of GeckoTek EZ-Stik costs $6.
There are two types of GeckoTek EZ-Stiks:
- EZ-Stik Hot for heated beds
- EZ-Stik Cold for non-heated beds
6 – Kapton Tape (Polyimide)
Print beds lined with Kapton tape or polyimide are highly resistant to heat (over 200 degrees Celsius), cost-effective, and have superb adhesion. It’s usually used as an add-on film on existing build plates and the base can be made of anything like glass, fiber, or plastic.
The only major trouble with polyimide is the installation. It’s similar to the process of sticking a tempered screen guard on a smartphone. You’ll need to get rid of tiny dust particles, air bubbles, and other debris from the surface to ensure a truly flat print bed.
Other print bed add-ons available in the market are glue, hairspray, and painter’s tape.
7 – Easy-Peelzy
Easy-Peelzy is another type of tape that is made of polymer. It was invented to make the job of 3D printer users easier. As in, get rid of the hassle of removing printed models.
Easy-Peelzy stickers come in two parts: a base layer that sticks to any build plate material and a top layer made of polymer that’s compatible with most filaments. They are expensive.
8 – Polyetherimide (PEI) Sheets
PEI is an all-rounder print bed material. This is because apart from the usual adhesion, heat resistance, and wear resistance, it also offers resistance from chemicals and electricity. It’s not exactly scratchproof but a couple of sweeps with an alcohol wipe is actually the only thing you need to keep it pristine.
Polyetherimide sheets are low-maintenance add-ons and come in various colors and forms.
How to Clean a 3D Printer Bed or Build Plate?
Now that we have gone through the common types of build plate materials, let’s look at their cleaning processes. As we’ve noted before, you’ll need to customize your 3D printer bed cleaning based on the material.
Here are step-by-step processes for the best ways to clean your 3D printer beds made of the materials discussed above:
How to Clean Your Glass Bed
A glass build plate can easily get dirty but is thankfully also the easiest to clean. Tempered glass can be scrubbed clean unless there are deep scratches. In that case, you’ll need to replace it.
Necessary tools and cleaning solutions
- A scraper
- Soap or detergent liquid
- Scrubber
- IPA solution with 70% concentration or acetone
How to clean
Follow the steps below to clean a glass print bed:
- Switch off the 3D printer and wait till the build plate is warm
- Use a metal scraper to scrape out debris, stuck filament, and other particles
- Use soap or detergent solution to scrub the glass afterward
- Optionally, use IPA or acetone to wipe the plate clean
When to clean
For glass beds, we recommend scraping after every print. This will make maintenance easier in the long run.
Use soap solution as and when you feel the need or once every two months. IPA wipe can be done two to three times a year depending upon the frequency of your printing.
Maintenance tips
- To avoid injury while using a scraper, scrape with one hand and keep the other hand on top of the scraper’s blade
- Remove the bed plate if possible before cleaning to avoid cleaning liquids spilling into the motor or power supply
How to Clean a Spring Steel Bed
Spring steel beds may require a tougher cleaning regime as sticky grease and oily particles can be stubborn. The process to clean a spring steel bed is the same as that for a glass bed.
Necessary tools and cleaning solutions
- IPA with 91% concentration or acetone
- A microfiber cloth
How to clean
- Switch off the 3D printer and let the print bed cool completely
- Soak a piece of cloth in the IPA solution and scrub the spring steel bed surface thoroughly
- Use acetone to wipe if the grease spots are too stubborn
- Let the surface dry before using the printer again
When to clean
Spring steel beds must be wiped after every few prints. If you print daily, we recommend using acetone wipes once a month on spring steel beds.
Maintenance tips
- Use a higher concentration of cleaning liquid to tackle tough grease stains
How to Clean a Polypropylene or G-10 Bed
Cleaning a polypropylene or G-10 bed is easy. Simply use a cleaning liquid and scrub the surface clean.
Necessary tools and cleaning solutions
- IPA with 91% concentration
- A microfiber cloth
How to clean
- Switch off the 3D printer and let the print bed cool completely
- Use the IPA solution and wipe the surface with the cloth
When to clean
We recommend cleaning your polypropylene or G-10 build plates every four to five prints. If you print regularly, consider cleaning after every print to extend its lifespan.
Maintenance tips
- With G-10, it’s best to read the manufacturer’s instructions too before deciding on a cleaning process
How to Clean a Tape or Film Bed
With most kinds of tapes and films, the biggest pain points are dust, oil accumulation from incessant touching, and scratches. While you can get rid of the first two, avoiding scratches will need a separate approach.
Necessary tools and cleaning solutions
- IPA with 70% concentration or acetone
- A microfiber cloth wipe
How to clean PEI or Kapton Tape
- Switch off the 3D printer and let it cool
- Soak a piece of cloth in the isopropyl alcohol (IPA) solution
- Gently wipe the plate surface
Make sure you cover all the sides and corners to get rid of oils, dirt, filament debris, etc. You can use acetone solution for deep cleansing every month or two of regular printing.
If you are using removable sheets or tapes, the best way to clean them is to put them in a sink and give them a proper wash with soap or detergent.
When to clean
Clean your PEI sheet or Kapton taped build plate after every 4-5 prints or once monthly.
Maintenance tips
- Use fine-grit sandpaper to rub out scratches from your filmed print bed
3D Printer Build Plate Cleaning Tips
In addition to the tips given below, here are a few more generic tips to maintain your 3D printing bed.
- When cleaning, focus on the central print area. Don’t leave out the edges and corners
- If 70% isopropyl doesn’t work on your bed, try 91% or higher. (100% acetone is stronger than 91% IPA)
- Use acetone sparingly as it can make some surfaces like PEI sheets brittle
- Use more cleaning solution to tackle tougher grease and oil stains
- When using soap solution to clean a print bed, take extra care of spillage
- If soap solution doesn’t work, try using hot water with liquid detergent
- Always let your print bed dry completely before using it again
Conclusion
We hope this DIY guide on how to clean a 3D printer bed has given you enough information to get started. Depending upon the material of your print bed, the tools and solutions can change. So, make sure you invest in a 3D printer bed cleaning kit of sorts to take care of your build plate.
In any case, having IPA or acetone solution handy is always good. Even if you don’t clean your print bed regularly, a couple of wipes with an alcohol-based solution can make a lot of difference.
While there are special cleaning solutions and sophisticated kits available in the market, we recommend going the easy way with these DIY cleaning steps.
What’s your print bed maintenance routine? Let us know in the comments below.
