Aiming for high-quality 3D prints? Pay attention to your nozzle. Keep it clean, unclogged, and sharp.
This is the advice you get almost everywhere. Yet it’s also the most cumbersome maintenance job in an FDM 3D printer. How to do it effectively, what tools to use, and how often are all questions that remain unanswered.
So, we thought we’ll sit down with our in-house 3D printer experts and flesh out a comprehensive guide on cleaning and unclogging FDM 3D printer nozzles.
Here’s a beginner-friendly nozzle-cleaning guide that will show you how it’s done, what you’ll need, and some expert tips to ensure your nozzles last long. Let’s go.
Why You Should Clean Your 3D Printer Nozzle
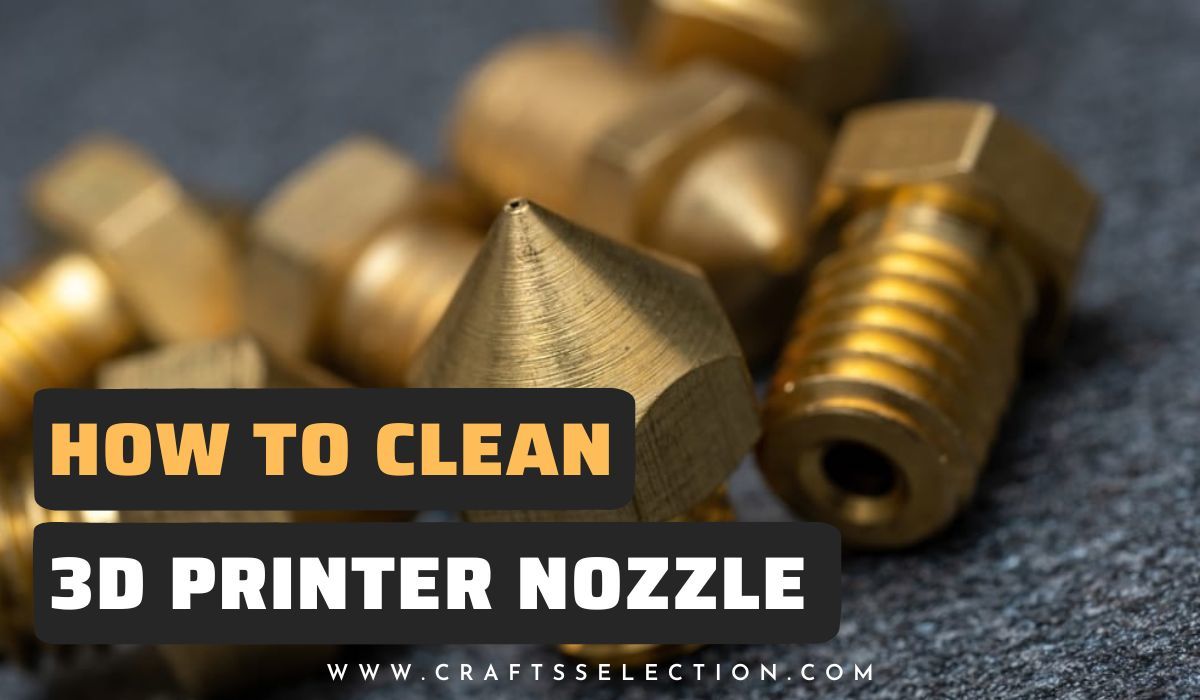
You should clean your printer nozzle for the simple reason that it gets dirty or clogged due to regular use. Considered the most important component in an FDM 3D printing machine, the nozzle directly influences the quality of your prints.
For the uninitiated, a 3D printer nozzle is responsible for pushing down extruded filament on to the print bed. Its directional actions controlled by the stepper motor create the print layer by layer. In most FDM printers, it’s usually located below the extrusion area and connected to a hot tip.
An unclean or worn-out nozzle can cause a lot of printing problems. Print quality aside, it can lead to malformation, material wastage, and even machine damage. Since nozzles handle melted filament at high temperatures they can get clogged easily. This is also the reason why it’s difficult to clean them.
Not to mention that nozzles have a limited lifespan. Regular use and strain from different materials can lead to wear and tear. Cleaning them regularly then can ensure that they work well and also have extended lifespans.
Nozzles come in different types and sizes and are further characterized by the type of materials. This can make caring for them trickier as there is no one-size-fits-all maintenance guide for nozzles. You’ll need to customize your cleaning routine according to the type of nozzle.
In summary, a dirty nozzle can cause the following printing problems:
- Extruded filament doesn’t come out of the nozzle (clogging)
- Sticky nozzle that leaves a hanging trail on the print
- Bursts of melted filament
- Semisolid filament
- Over-extrusion or under-extrusion
A quick clean-up can also help you fix a printing problem. If you feel a particular issue is due to the nozzle, try cleaning it with a wire brush. In many cases, a dirty or clogged nozzle is the root cause.
How to Clean a 3D Printer Nozzle?
Whether you are trying to fix a printing problem or just doing routine cleaning, knowing how to clean and where all is crucial. For any kind of FDM 3D printer nozzle, there are two parts to cleaning:
- Exterior cleaning
- Interior cleaning
The following steps expand on these parts where we also look at different ways to achieve them.
1 – First, Clean the Nozzle Exterior


Regular printing can lead to filament accumulation on the tip and the sides of the nozzle. This gets aggravated the more you print without getting rid of the deposits.
To tackle the dirt on the nozzle exterior, take an alcohol wipe and scrub the outside of the nozzle. Ensure that the nozzle is hot so that the deposits do not cling to its surface. Wear hand safety gloves to avoid burning your fingers.
Next, pick a wire brush and gently scrub the mouth of the nozzle. This will remove any solid debris stuck to it. You can also use a needle or a tweezer to remove lone spots. Use a magnifying glass if needed.
The trouble with a nozzle interior is that it can attract a lot of filament buildup than the exterior. Every time you print, the newly melted filament will stick to the older filament and create tiny clots. These clots grow bigger and eventually cause under-extrusion.
2 – Unclog the Nozzle’s Interior
Cleaning the exterior of a nozzle is child’s play. The real trouble is cleansing the innards.
In some heavily-used printers, even the sight of a clogged nozzle can cause anxiety. It’s also difficult to clean. But there’s always a way no matter how long you have stalled it.
Cold pulling is the most effective way to unclog a 3D printer nozzle. Here’s how to do it.
Unclogging a Nozzle Using Cold Pull Method
Sometimes also referred to as “atomic pull”, the cold pull technique basically involves inserting a string of filament into the hot end to attract all debris from the nozzle. Instead of using a tiny pin to clear the nozzle from the bottom, cold pull takes a top-down approach.
The unique characteristic of the cold pull nozzle cleaning method is that it uses one filament to remove the debris of another filament/s. So, if you’ve been using PLA or ABS as your primary material, you can use a third filament to pull the cold pull method.
What You’ll Need:
- Slippery and non-brittle filament like nylon or silk
- A cutter (to cut the filament you’ll use)
- A plier
- Hand safety gloves
Executing Cold Pull on Any FDM 3D Printer
- Keep the extruder open and heat the hot end as per the temperature of the filament you’re using
- Insert a string of filament from the hot end’s mouth till you feel it has reached the nozzle’s mouth
- Use a plier to push and pull the filament so that it starts to melt and also gathers the debris from the nozzle
- Release the temperature and let the hot end cool down
- Continue to push and pull the string to collect as much debris and dirt as possible
- Raise the hot end temperature and slowly pull the filament out
If you notice a lot of buildup around the tip of the filament string, you can confirm that your cold pull attempt was successful. Repeat it a few times till you feel the nozzle has been unclogged.
Pro Tip: Use a different color filament than you generally use to print to see how much debris you collect during the cold pull process.
Other Methods to Unclog a Nozzle
- Use a small needle to clear out solid debris from the nozzle
- Use a cleaning filament for the cold pull method
3 – Clear the Gap between the Bowden Tube and Nozzle
Sometimes a gap can form between the Bowden tube and the nozzle head. This can cause the filament to build up in the gap, which can lead to hot end clogging. While not a very serious issue, if not cleared up, it can cause printing problems and even damage your printer.
Use an alcohol wipe to clean the gap between the Bowden tube and the hot end. Do this after the hot end has cooled down. Once cleared up, tighten the Bowden coupler so that there’s no gap. Keep checking for this gap regularly to avoid a buildup.
Tips to Maintain Nozzle Health
The best way to keep your printer nozzle clean is to avoid filament depositing on it. Printing material attracts itself, more so if it’s in liquid form.
Since this is easier said than done, we’ve rounded some solid tips to keep your 3D printer nozzle clean:
- Increase the Z offset value in your slicer to avoid filament deposits on the nozzle
- Level the print bed before all projects
- For regular use, carry out nozzle cleaning once every two weeks. Otherwise, once every two months
- Use a nozzle sleeve to prevent material from depositing on its outer areas
- Incorporate nozzle cleaning into routine 3D printer maintenance
- Invest in special cleaning tools such as an acupuncture needle or miniature hand drill
Should You Clean or Replace Your Nozzle?


In 3D printing, components wear out faster than you think. It very much applies to nozzles too. If you feel your 3D printer nozzle has served its term and is beyond repair or cleaning, you should get a replacement immediately.
Most nozzles made of brass or similar material are rated for a few hundred hours of printing. Other than the make, the diameter of the nozzle also influences its susceptibility to dirt and wear and tear. The smaller the diameter, the less susceptible it is to dirt but more difficult to clean.
The type of filament you use also matters. For example, if you use fancy filaments like wood, the nozzle can get clogged easily and quite often.
Therefore, you should replace your nozzle if:
- Multiple cleanups including a cold pull have resulted in no improvement
- It has worn out completely
- If it is beyond its usage rating
- It’s visibly malformed or dented
Repairing a nozzle is rarely an option as there is nothing to fix. As in, over time a nozzle simply loses its ability to pass the melted filament from the extruder, and there is no way to retain its pristine structure owing to its intricacy. The best you could do is consult a professional repairman.
But it’s more convenient and easier to just replace your nozzle than attempt to repair it. After all, brass nozzle replacements are very cheap.
Upgrading Your Worn-Out Nozzle
So, how do you replace or upgrade your 3D printer nozzle that’s beyond cleaning?
Here are some notes to help you find the right one.
If you’ve been printing for some time, you’ll know that the diameter and make of the nozzle are paramount. When shopping for a new nozzle, keep these factors in mind.
Most 3D printer enthusiasts stick to 0.4 mm diameter as it gets them the right balance between detailing and print time. In comparison, 0.2 mm and 1.0 mm are on the extreme ends of the spectrum, giving you detailing and fast printing respectively. If you have a preference here, go with that.
You can also buy a couple of nozzles across sizes to experiment with and see which one works best for your needs. Having a spare nozzle is also helpful in case you’re in the middle of a project and your connected nozzle gets clogged.
Once you figure out the diameter, consider the make of the nozzle. There are three common options:
- Brass nozzles – Cheap, easy to buy, and limited lifespan
- Stainless steel nozzles – Longer lifespan than brass and not cheap
- Stone-tipped nozzles – Very expensive, therefore strong and long-lasting
Beginners should own a couple brass nozzles and one steel nozzle to begin with. Special, custom-made nozzles may be a good option for users who print regularly or who own a business.
Conclusion
Cleaning a 3D printer nozzle can seem intimidating at first. But not if you take it slow and do it in phases. The key is to start with the nozzle exterior and then tackle the interior. Having professional cleaning tools like a wire brush and alcohol wipes can make cleaning easier.
Even then, sometimes you have to realise that nozzles (unlike your 3D-printed models) aren’t forever. After regular use, you will have to replace it instead of losing your hair over getting sticky debris out of a nozzle’s tip.
We hope this guide has helped you take care of your 3D printer nozzles. If you have any personal tips, let the community know in the comments.
