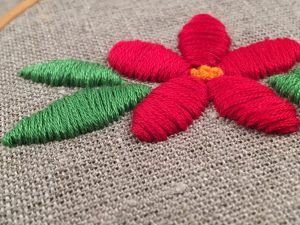
Working with a textile is a constant practice. You should learn the basics first on how to embroider by hand so that you will be guided with your embroidery career.
Expand your knowledge in tapestry by trying out the various stitches and combine these tailoring techniques to come up with beautiful hand-made designs on your fabric.
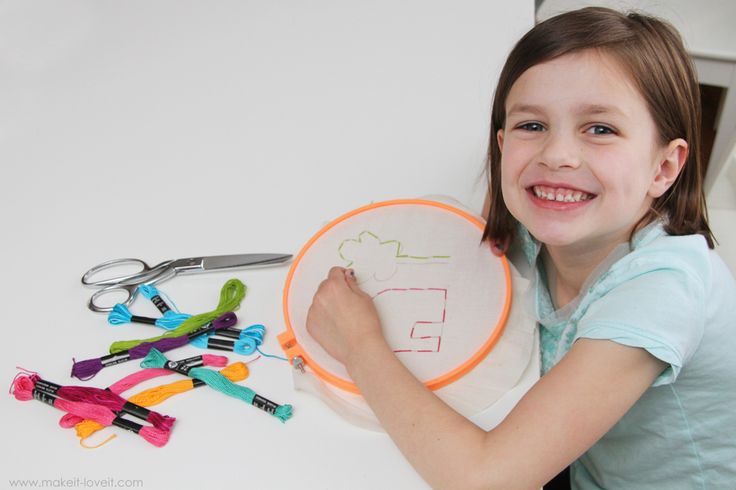
Handmade embellishments imply personal touch and sentimental value as well as definitely, your fabric will stand out if you stitch constantly, properly, and finely-detailed.
The artistry of embroidery is well appreciated using the craftsmanship of the bare hands.
In this context, you will be exposed to the different techniques using hand embroidery and the fundamental tailoring tricks to produce a fashionable hand-made embroidered fabric.
Simple Guides on How to Embroidery by Hand
Embroidery reflects the originality, personality, character, and creativity of the tailor.
With the use of the hands, materials, and passion in sewing designs on the textile, you will absolutely craft a high-end and modish fabric.
List Down The Needed Materials And Sewing Tools
Gather the necessary things to complete your hand-made craft such as scissors, various threads, embroidery hoop, needle, glue, and pins.
Be sure to have these tools and materials so you may perform the tapestry.
Ready Your Designs
You may personalize the designs to be sewn on the textile by drawing it first on paper or search the internet, print it, and put a twist on the illustration.
Remember to use a blueprint of the design that will align with your capability, creativity, and talent so that it will result to an amazing masterpiece.
You can learn how to transfer patterns for embroidery in this article.
Learning the Different Tailoring Techniques
Select among these sewing design techniques so that you will achieve the desired outcome of your embroidery. You may combine some of these designs for a voguish appearance of your fabric.
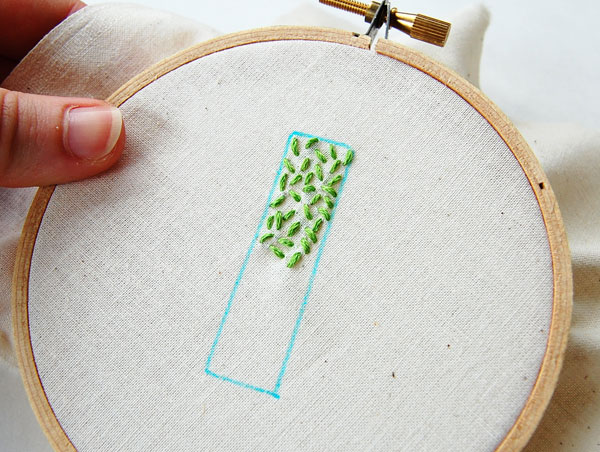
Seed Stitch – it is a sewing style whereas you will insert the needle at the back going in front and creating seed-like stitches as if they were formed in a plot.


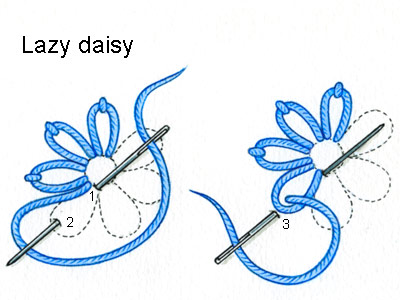
Lazy Daisy – a particular stitch technique whereas the needle will form a petal-like a figure then tighten the figure by inserting the needle again to close loop end of the petal-like stitch.


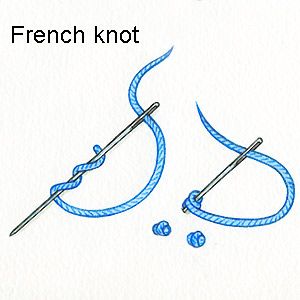
French Knots – a type of stitching style in which the needle is inserted from the back of the textile going to the front and swirling the thread around the needle then going back to the same spot where the needle was inserted until you formed a knot figure.
Click here for step-by-step guide on making a french knot embroidery.


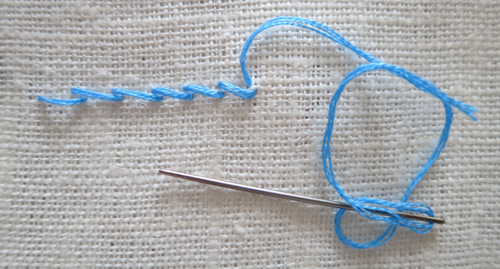
Stem Stitch – a sewing design whereas the needle is inserted from the back of the fabric in a dual motion hence, creating a spiral thread.


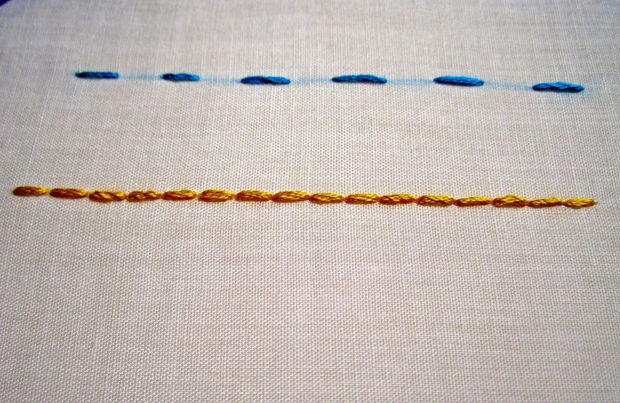
Back Stitch – it is a typical basic sewing style whereas you are creating consistent stitches following the contour of the image.


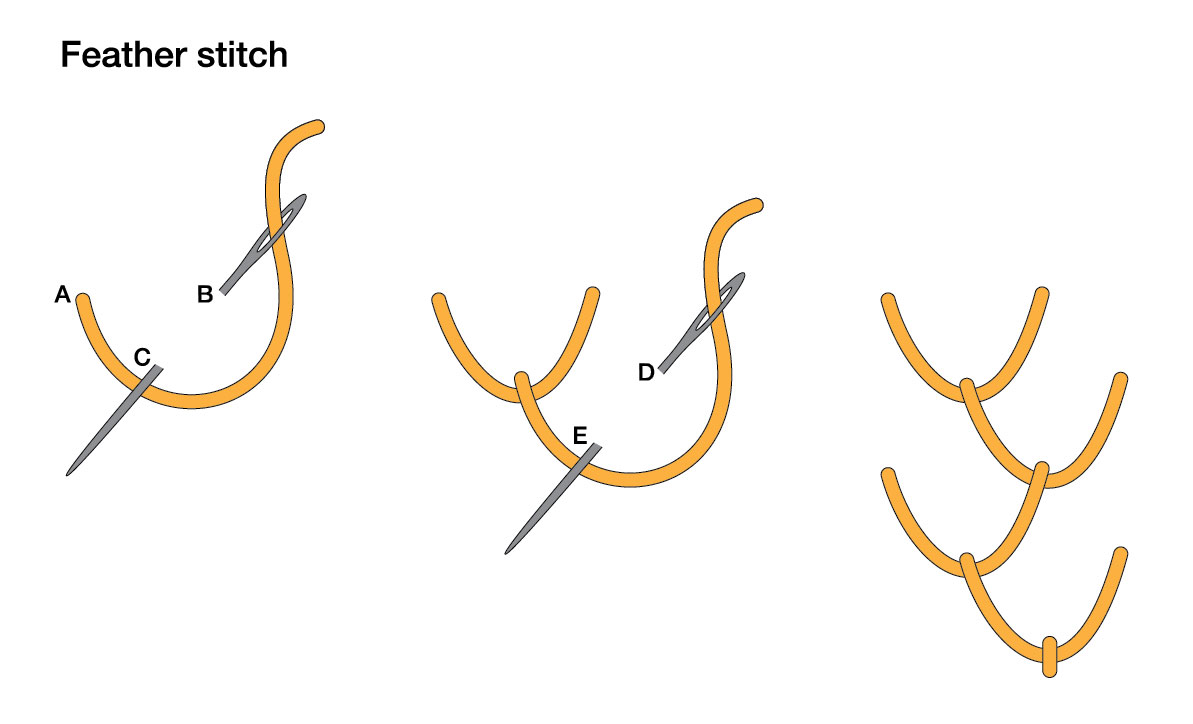
Feather Stitch – it is a fun sewing technique whereas the tailor will create multiple triangle forms on the textile’s surface.


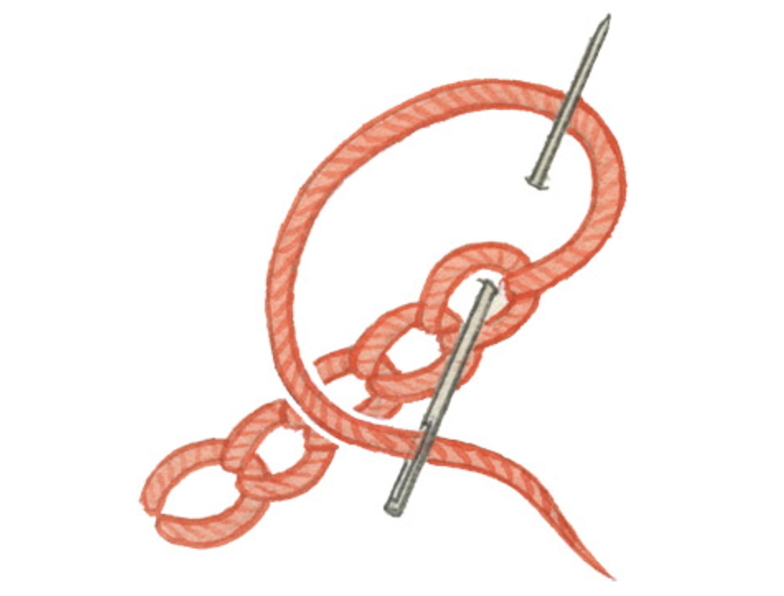
Chain Stitch – it is a loop to loop tailoring style forming a chain-like figure.


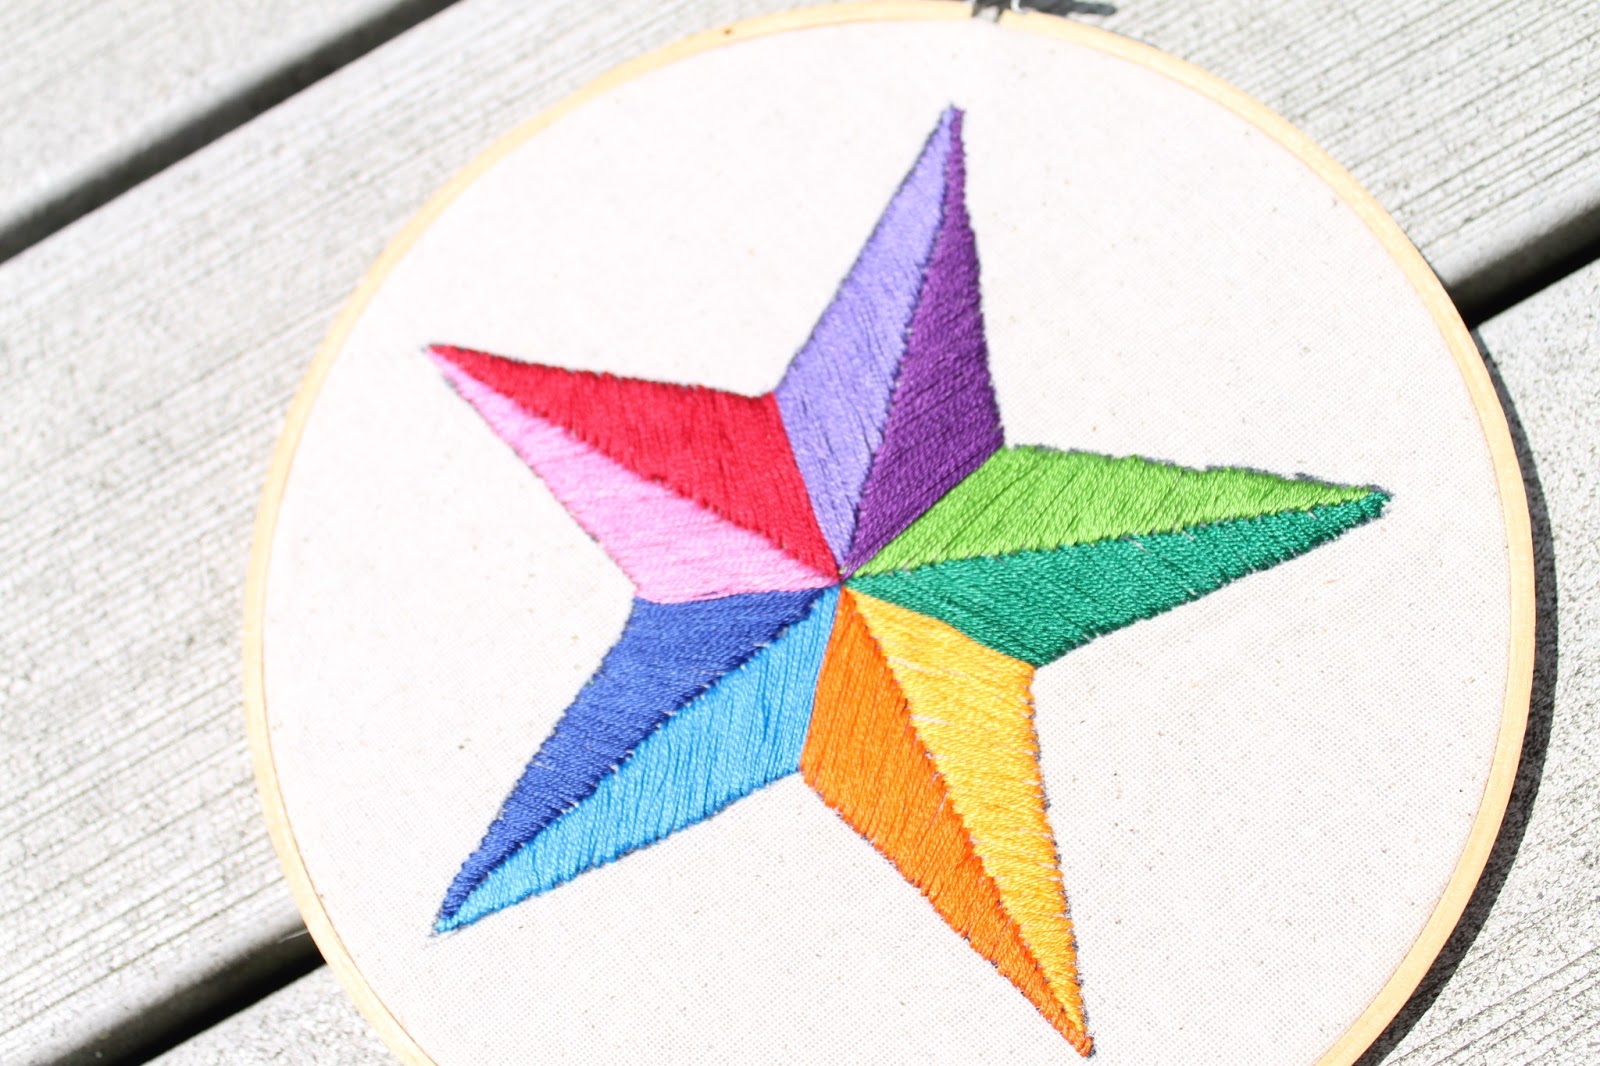
Satin Stitch – it is usually applied when you want to color the background of the image that you are sewing.


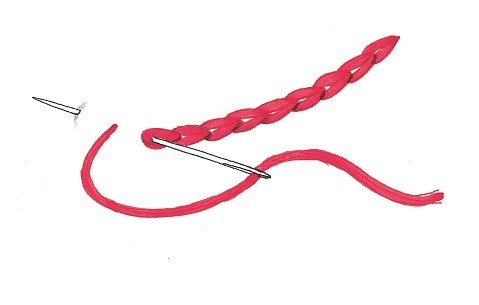
Split Stitch – a tailoring style somewhat similar to the stem stitch but the thread’s form is much similar to a braid.


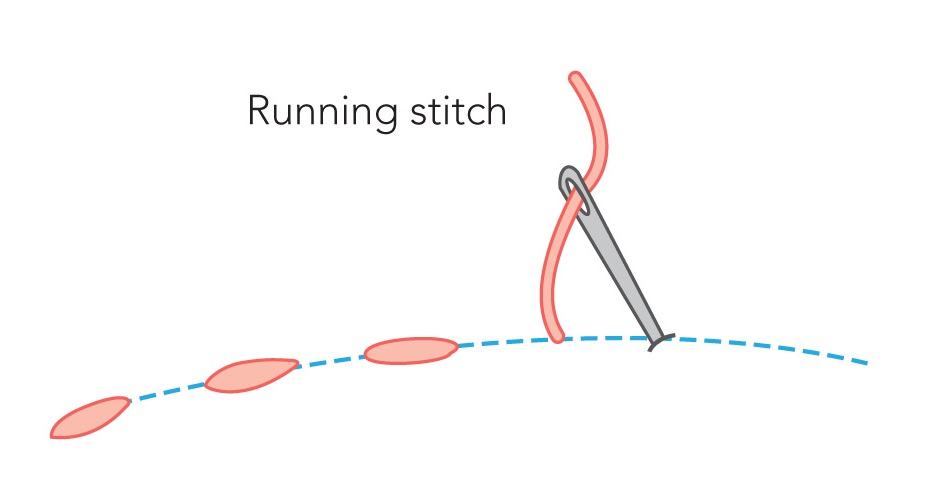
Running Stitch – the most popular and classical stitching technique whereas you are just inserting the needle in a straight and consistent motion.


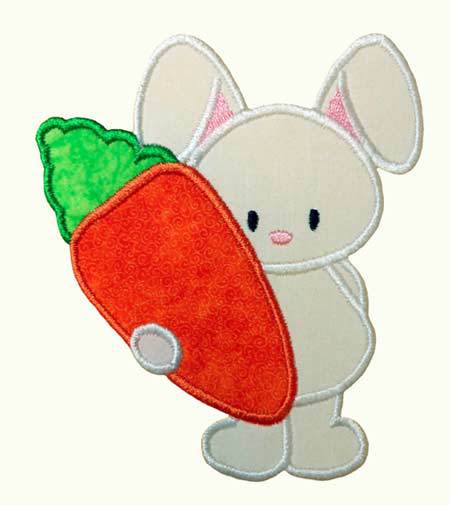
An Embroidery Tutorial for a Rabbit Design
Step 1
Trace the image first on the textile to have a guide in embroidering the design. Take note of the colors of threads to be used and different sewing styles to be applied to the fabric.
Step 2
In this image, you’ll need a white, green, orange, black, and pink colors of threads. Follow this format below for the colors of the rabbit’s appearance.
- White resembles the rabbit’s body, face, and ears.
- Black is used for the rabbit’s eyes.
- Pink is appropriate for the rabbit’s lines on the ears and nose.
- Green matches the carrot’s leafy part.
- Orange is the color of the carrot’s body.
Step 3
Apply the stitching styles mentioned above in this image and it is advisable to start with the contour following the details of the image.
In this particular pattern, you will use a satin stitch on the contour, eyes, ears, and nose but before using the satin stitch, you may trace the drawing by using running stitches so you could have a guide with the contours.

Step 4
Aside from the running and satin stitch, you may work out with your needle and try something unique by combining it with various thread colors and sewing styles to make the embroidery art more appealing to the eyes.
Just keep practicing to what you have started because for sure, you will be a great tailor once you’ve persevered in your entry-level phase of your embroidery career.
