Stability is one element to consider in crafting your needlework project because you will perfectly attain the consistency, finely-detailed and creative masterpiece out of the textile, needle, and threads.
How are you going to do this? The concentric wooden ring or rectangular structure will perform the trick for you.
As a simple hint aforementioned, you can make your needlework stable through the use of embroidery hoops.
To explain it further, let’s define what are embroidery hoops all about.
What is an Embroidery Hoop?
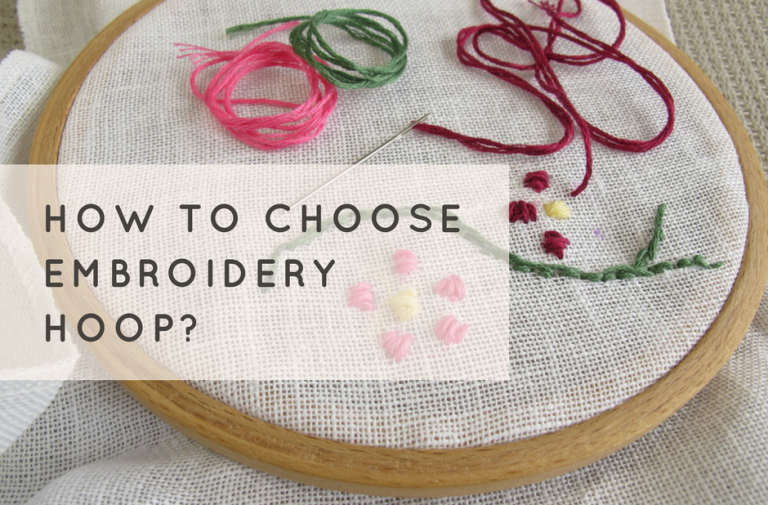
An embroidery hoop is a classical tool used for stabilizing a fabric to create beautiful stitches, embellishments, and patterns.
The traditional version of these hoops are derived from ivory or bone material but nowadays, the elasticity of the wood and plastic material made the embroidery hoop more efficient to use.
If you’re thinking what makes the hoop stable is, through the built-in tightening screws that support and hold the fabric firmly. The embroidery hoop is adjustable and versatile to use.
Moreover, it is essential when you perform the manual way of embroidery craft.
Size Of The Hoops Matters
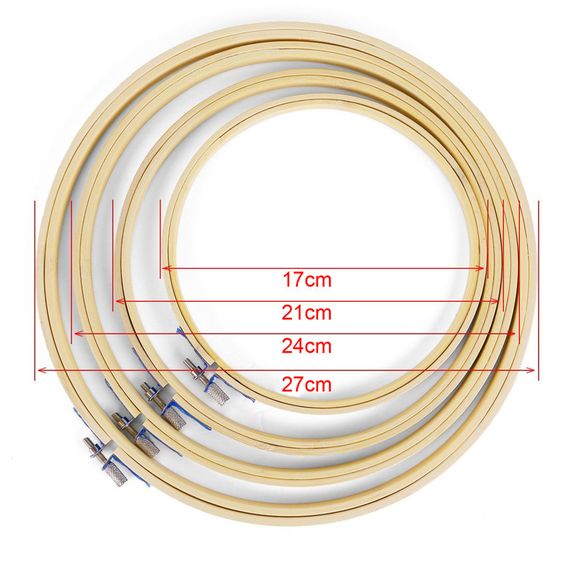

When you visit an embroidery or sewing shop, you can find different sizes, diameters, and circumference of hoops.
The thing is, you must be comfortable in handling the hoop while doing your tapestry.
A range of 4 up to 12 inches diameter is the available size for embroidery hoops.
However, the median sizes 6 to 8 inches diameter are the ones efficient to use because of their average size and ergonomic structure.
What are The Types of Hoops?
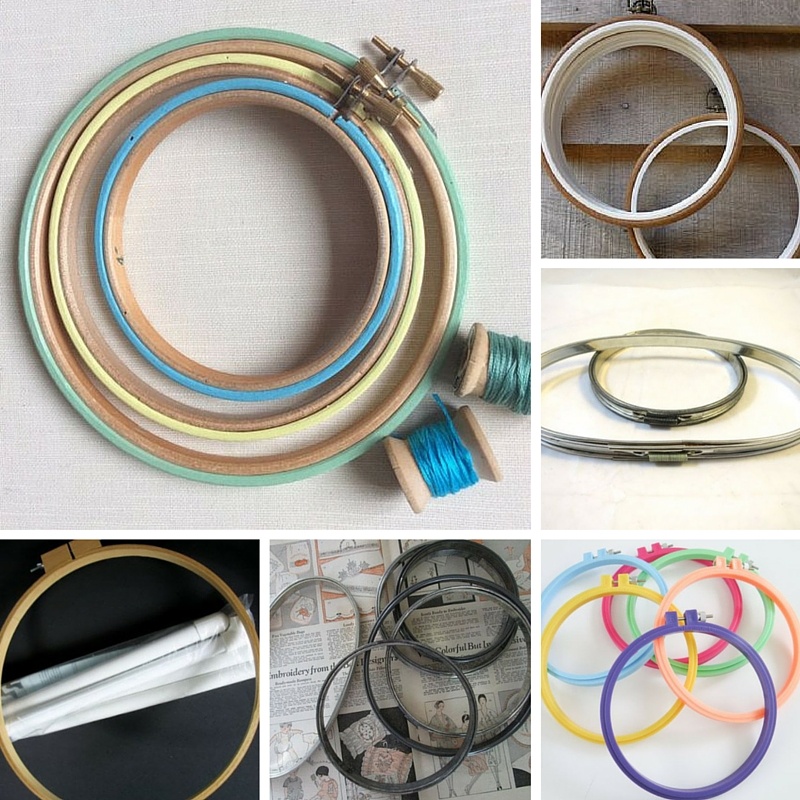

Traditional wooden hoops – These hoops are the classical embroidery tools made from wood such as bamboo. It manifests lightweight, steady and tightening adjustable screws.
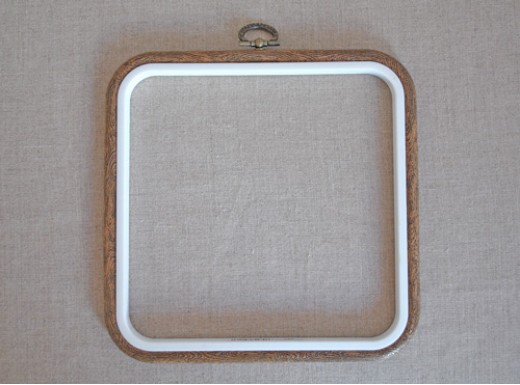
Q-snaps – are one of the best alternatives to wooden hoops since these are made of plastic tubing converted together to form a rectangular structure. This loop is lightweight and easy to store.


Metal embroidery hoops – these are lighter than the wooden hoops and the sewers are usually made from cork. They are rarely used today because they are prone to corrosion. Get very efficient to use for stabilizing purposes.
Spring Hoops – these are modernized hoops intended for sewing machines. These are often flat relating to slip on the sewing machine. Usually, there are made from plastic and a metal spring.
Plastic hoops – considering flexibility and durability are the primary edge of this embroidery hoop. It is not prone to breakage since it is made from durable plastic.
Flexi Hoops – as the name itself suggest these hoops are ergonomic, flexible and convenient to use. Most of these hoops consist of solid plastic rings composing of an inner and outer hoop.


How to Choose the Right Embroidery Hoop?
1. Take note of the quality of the material used on the hoop. You may list down the popular stores around the town to have a canvass and search for the best embroidery hoops. You may also try window shopping via online to find for the reliable, quality, and durable hoops.
2. Choose what size, diameter, and material that would comfort your needs. You may try the made of wood or plastic as well as come up with a rectangular or circular shape of embroidery hoops.
3. Make sure you won’t regret in buying the hoops and check it all over. It should not be too sturdy so that it can be stretched and be able to taut the textile properly.
How to Use Embroidery Hoops?
Here are simple steps to use an embroidery hoop
Step 1
Match the textile with the embroidery hoop but make sure to have an enough allowance to perfectly fit the textile on the hoop. It will prevent the textile to crumple while doing the stitching.
Step 2
The hoop has 2 layers in which, you should place the textile on the inner ring thereafter put the outer ring on top of the inner ring then adjust the screws to achieve the perfect tight. Make sure that the screws are properly adjusted and tight.
Step 3
When you have targeted the comfortable fit and tight on your hoop, you may now start creating your stitches.
You may also prepare for the backing material as a support with the textile after doing the embroidery. The backing material will hide the visible stitches at the back of the textile.
See also: How to Build an Embroidery Frame?
