Here’s an inescapable fact: Regardless of how crafty you may be, messing up the first time you use a heat press is inevitable at times. However, these mistakes should not thwart your love for design and be a reason to quit trying. Mistakes are just part of learning how to do things right.
And if you are genuinely passionate and burning to master the craft of garment printing, it’s well worth sacrificing the time and effort, some sacrificial t-shirts, and heat transfer papers.
I have yet to meet a print designer who’s never reached the point of giving up on a project after detecting a noticeable fault or inaccuracy a couple of hours before the deadline.
I remember just four months into the art; I bumped into my first serious client who wanted 50 commemorative t-shirts for a class reunion. She wanted the tees printed with the words;
‘Class of 1998 REUNITED. And it feels so good!’.
In the beginning, everything seemed to be flowing well. But it was only after running about 15 t-shirts that I realized that the first ‘E’ in ‘REUNITED’ was missing. Part of the text also appeared to be cut out. I did not notice in the fore since my workspace was poorly lit. Needless to say, I had to throw out the entire press run, with just 36 hours left to submit the order.
I had to order more blank apparel and transfer papers on the same day to make up for the spoilt ones. I then worked 20 hours straight without rest, so to meet the client’s time limit.
But have no fear, friends! You need not suffer in silence. Ahead, we want to help you avoid falling victim to these frustrating mistakes by equipping yourself with knowledge of the possible slips and blunders you are likely to encounter.
Also, you will get to know every effective way of avoiding and solving these errors.
9 Common Mistakes Heat Press Beginners Make
#1 – Unsuitable Temperature and Insufficient Pressure
Heat press machines use high temperatures coupled with sufficient pressure to bond the print to the substrate. Even so, it is common for novices to be afraid to allow proper heat and apply enough pressure. This results in poorly bonded prints that peel off after a few washes. The print will also have a problem staying in place when you are done printing and need to peel away the overlay sheet.
Adhere strictly to the given temperature and timing specifications to ensure the utmost quality of the image. Use covers, pads, and pillows where necessary to ensure even heat distribution.
What’s more, frequently check the temperature’s accuracy in different parts of the platen and ensure that there are no cold spots. Make sure you adjust the heat level so that the fabric can stand up to the press’s temperature without scorching, discoloring, or melting.
Always test the material by placing it in the heat press at the specified temperature for the said time frame and check if it can withstand these conditions.
If the garment is made of several types of fabrics, begin by heat printing one area while avoiding other sides as much as possible. We recommend preheating the apparel for a couple of seconds before printing to eliminate any residual creases and moisture.
Have you ever heard of Dye Migration?
Dye mitigation occurs when the high temperature in the press turns the dye in a synthetic fabric into a gas that permeates your printing ink. You will need to reduce the temperature setting to prevent this occurrence.
#2 – Poor Choice of Materials
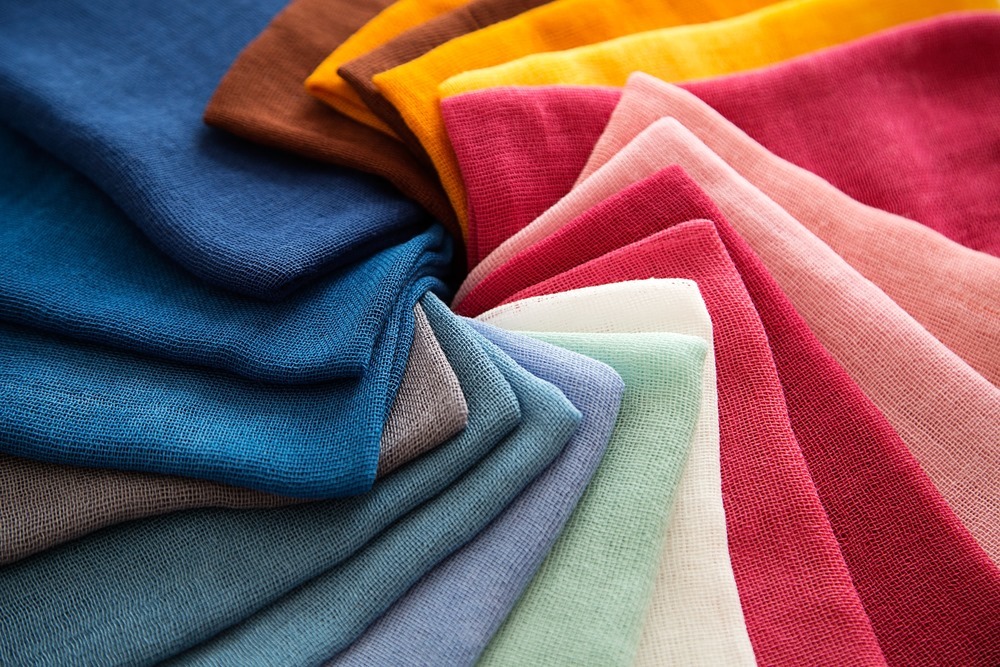

The type of material you will use will be a key determinant of the quality of your prints. Avoid heat-sensitive fabrics and may melt, get ripped or wrinkled when placed on the hot printing surface. Restrict yourself to cotton, nylon, spandex, polyester, and Lycra garments.
Examine your transfer paper carefully and ensure that the quality is top-rate. Transfer papers can either be light or dark. As the name suggests, light paper should be used on white and other light-colored garments for vibrant and accurate images.
On the other hand, dark transfer paper transfers the ink with a white background that blocks the color of the garments from coming through the print ink. This makes dark paper ideal for dark fabrics.
Not just that, ensure the color combination is contrasting and easy to see. For example, if the print fabric is black, the ink you use should be white or light-colored and vice versa.
#3 – Ignoring Instructions
Another blunder newbies make is paying little attention to the small details in the instructions. Remember, no two transfer types are similar. So, stick to the specified time, temperature, pressure, and peel, among other details. This will significantly cut the number of mistakes you will make during the entire process.
For example, during my early days, I occasionally found myself altering application instructions when using different apparel types should the instructions seem not good for that apparel. Rather than the instructions, I should have changed the transfer type.
Another wrong with people who are just getting started is allowing distractions in their workplace. A friend or family member may occasionally pop in for a chat, or you may need to answer ringing phones and notifications.
After these uncalled for breaks make you lose your focus for a fair bit of time, and take little notice of previously captured details. Consequently, you will be more prone to making mistakes. Try to avoid distraction and multi-tasking by setting aside time for work, interaction, and pleasure.
Not to forget, always read the user manual. This will guide you through set up, use, and maintenance. Although most heat press conforms to a similar operation framework, several functions and features are specific to particular models.
So, even if you have been around heat press machines for a while, you should go through the user guide and equip yourself with these helpful cues.
Avoid using aftermarket power cords since they may not supply the appropriate amount of voltage and current and could cause underperformance and damage to the machine.
Always power your machine using the correct power cord provided by the manufacturer to ensure optimum performance.
#4 – Not Doing a Test Print
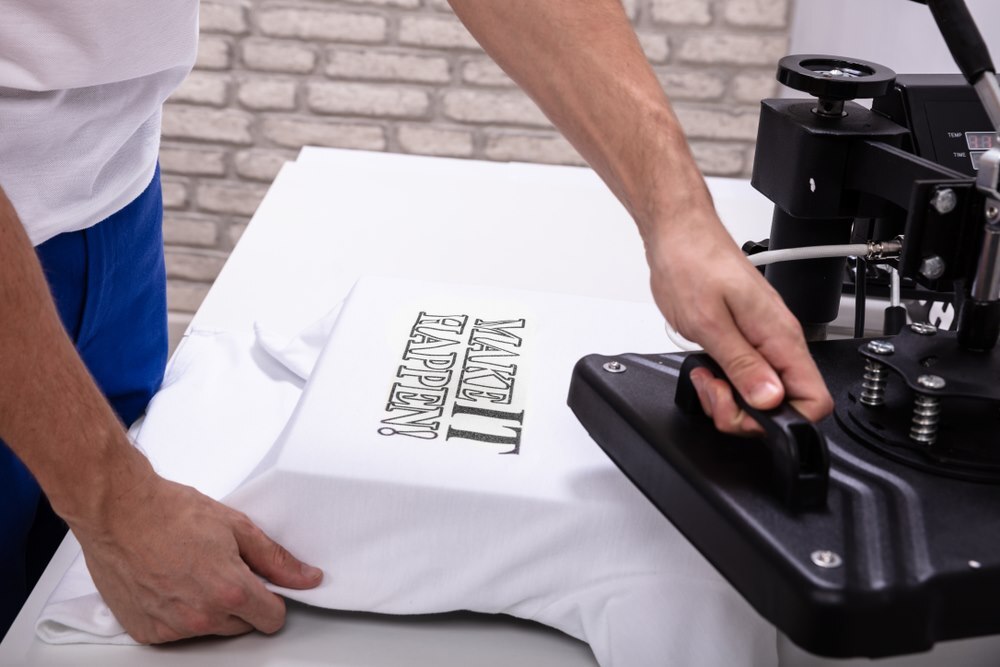

After pushing the project to the last minute, you will want to work on it hurriedly without running a test print to save time. However, this procedure can save you time, effort, and materials in the long run. And as a novice, you want to minimize mistakes, reduce wastage, and cut back on any extra expenses.
By printing a sample preview of the design, you get a rough picture and a clear understanding of how the final print will look. It is easy to generate more design ideas and concepts and foresee the possible problems you will face and how to tackle them.
Print fabric and transfer papers are quite costly, and it would not be a wise idea to test print on them. Instead, use standard paper or an old T-shirt you do not mind burning.
Check for color matching, text placement, spelling, logo errors, and more in your artwork and fix any issues.
Do not mind repeating the procedure multiple times until you are perfectly familiar with it and gain confidence. Try printing the artwork in mirrored mode and confirm that the entire image is captured on the paper.
#5 – Poorly Maintained Equipment
Do not wait until the point where dirt is visible to clean your heat pressing gear. Regularly clean the press machine’s components and other equipment to prevent dirt and dust from damaging the parts and compromising its functionality. Use an air duster to blow off the dust and dirt on the exterior and interior components alike every couple of months.
Always clean up all your equipment properly after you are finished with your job to prevent the ink residue from freezing and lent pieces from sticking. These residues may create spots on your next printing job and corrupt the quality of your final art.
Gently clean the upper platen regularly using lint-free soft fabric dipped in cleaning solvents such as mineral spirit or alcohol for evenly distributing the heat and pressure and clean and accurate prints.
Avoid using rough objects, abrasive materials, or metal scrapers since they may damage the Teflon coating. Do not expose cleaning solvents to hot surfaces, flames, or sparks since they are highly flammable.
That’s not all, periodically lubricate pivot points or wear points such as pistons and rods to reduce undesired stress on your machine’s pivot parts and hinges, increase productivity and reduce friction and wear.
Check your press at least twice every year for worn out, cracked, punctured, warped, chipped, dented or deformed parts. If any, do not hesitate to order a new replacement from the manufacturer or trusted supplier or retailer.
#6 – Garment Misplacement
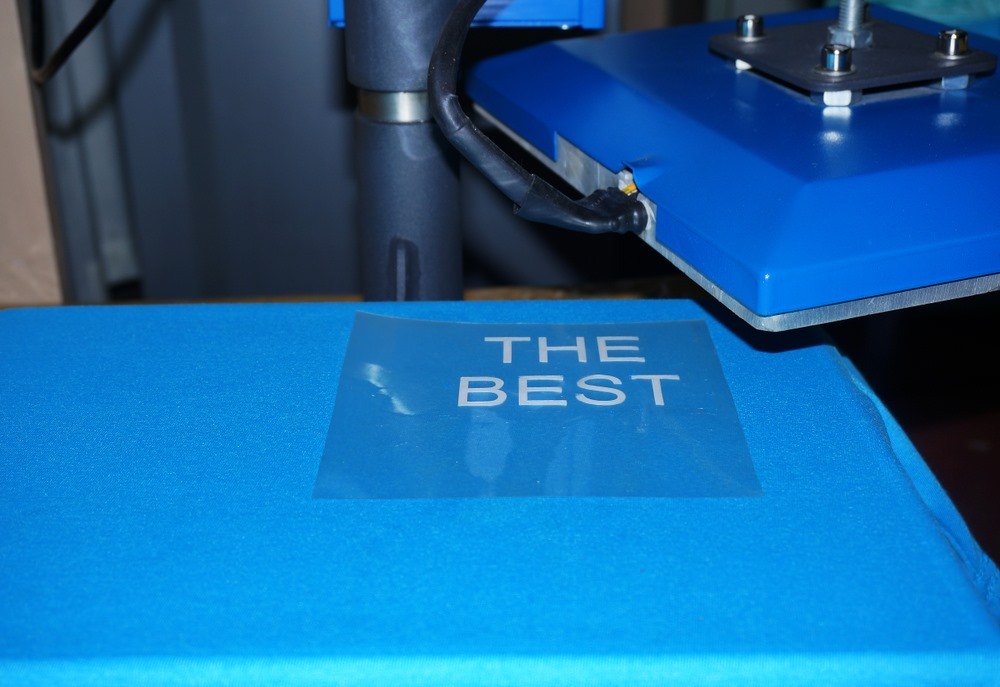

Positioning the apparel correctly on the press is yet as common a challenge for newcomers. I have often found myself misprinting garments after placing them on the press without lining up correctly, upside down, too high, or too low.
Such faults are common at the end of a long tiring day in the workshop. The results are crooked, off-center, cut off, backward, or upside-down images.
Take time to identify the center point of the garment and position it correctly on the press’s pad. Check that the garment is properly aligned and always work from the center of the platen since the heat emanates from the center before spreading out to the edges.
Also, ensure you trim off any extra paper at the edge of the artwork for more precise prints.
If the artwork contains numbers and texts, ensure you begin by mirroring or reversing the image. Print the image in mirror mode, so it appears the correct way in the final print.
#7 – Uneven Printing Surface
Having traces of any dust, lint, hair, and other debris that can get stuck in the garment during the transfer means poor quality prints. Ensure your printing surface is clean and free of these spoilers. Look out for buttons, zippers, snaps, tags, or any sharp-edged object on the apparel.
If any, say in the case of chest buttons on a polo shirt, use Teflon pillows and pads to ensure a leveled surface. Scratch-free surfaces make it easy to smoothly slide off the tees from the pad without the risk of puncturing them.
#8 – Melting Finished Prints
Ever found yourself melting an image you had already pressed? This could be due to either placing the garment poorly on the pad or poor design planning. Ensure the portion of the garment with finished prints do not come into contact with the hot surface.
When deciding where to position the images on the apparel, ensure it’s easy to press one image without sacrificing the other.
#9 – Ink Bleeding and Press Marks
Ink bleeding mostly occurs in thin garments when the print ink sips in and stains the garment’s back layer. Use a Teflon pillow between the layers of fabric when dealing with very thin garments to prevent bleeding.
To prevent the ink from staining your Teflon pillows, lay a parchment paper sheet on the pillow.
Press marks are those big heat press squares in the middle of your finished fabric.
And I am certain that you dislike them as much as I do. Put a Teflon pillow inside the shirt when pressing to keep press marks at bay.
Wrap Up
Whether you intend to make some extra bucks from selling your homemade printed fabrics or need one for your own use, you need to avoid these tiny mistakes and stay on top of your game.
Remember, you expect satisfied customers to refer more clients to you. Therefore, there should be little to no margin for error. Just keep in mind the shortcomings mentioned here and try as much as you can to not be an easy victim, and you will do just fine.

