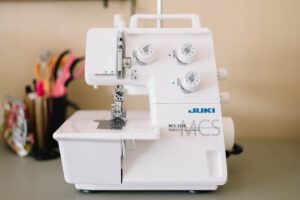
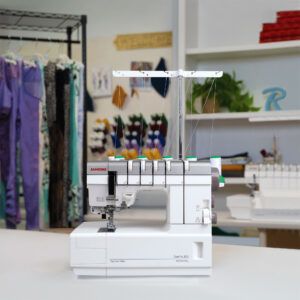
It’s another thing they don’t tell you about. That a coverstitch machine can be a real challenge to operate and troubleshoot. Even more so when the user manual doesn’t help and you’re not familiar with the brand.
Here’s a DIY guide on how to fix common issues in a coverstitch machine. You don’t have to call for professional help anymore.
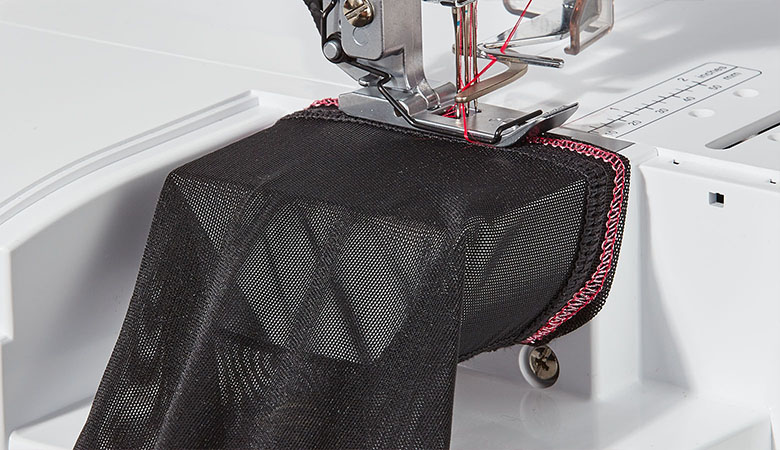
Common Coverstitch Problems and Solutions
If things go wrong with your coverstitch or CS machine in the middle of a project, check out these troubleshooting steps.
Since coverstitching is mostly “blind stitching”, you realize something is wrong only after you’re done with a side or section. This can aggravate things but not if you follow this guide of common coverstitching problems.
Since more common problems like broken needles and feeding errors are covered in the manufacturer’s user manual, we have only focused on complex problems.
1 – Skipped Stitches
Skipped stitches are perhaps the most common problem faced in a coverstitching machine. It occurs when the needles skip one or more stitches while sewing a hem (usually in thick fabrics).
It will be a relief to know that every coverstitcher faces skipped stitches. It’s like a part of coverstitching.
Solutions for Skipped Stitches:
- Use needle size 90/14 for best results. Remember: use a needle that has a wider eye and groove than your current needle if you’re experiencing skipped stitches. We recommend Schmetz ELx705 for coverstitching.
- If you’re noticing skips in a humped area or side seams, use a hump jumper. In most skipping cases, the cause is slow fabric feeding.
- Study the movement of your machine’s feed dogs using the user manual or instructional videos for better judgment.
Pro Tip: Use a larger needle for thick fabrics like denim and leather. Always stitch on a sample piece first.
2 – Needle Thread Breaking
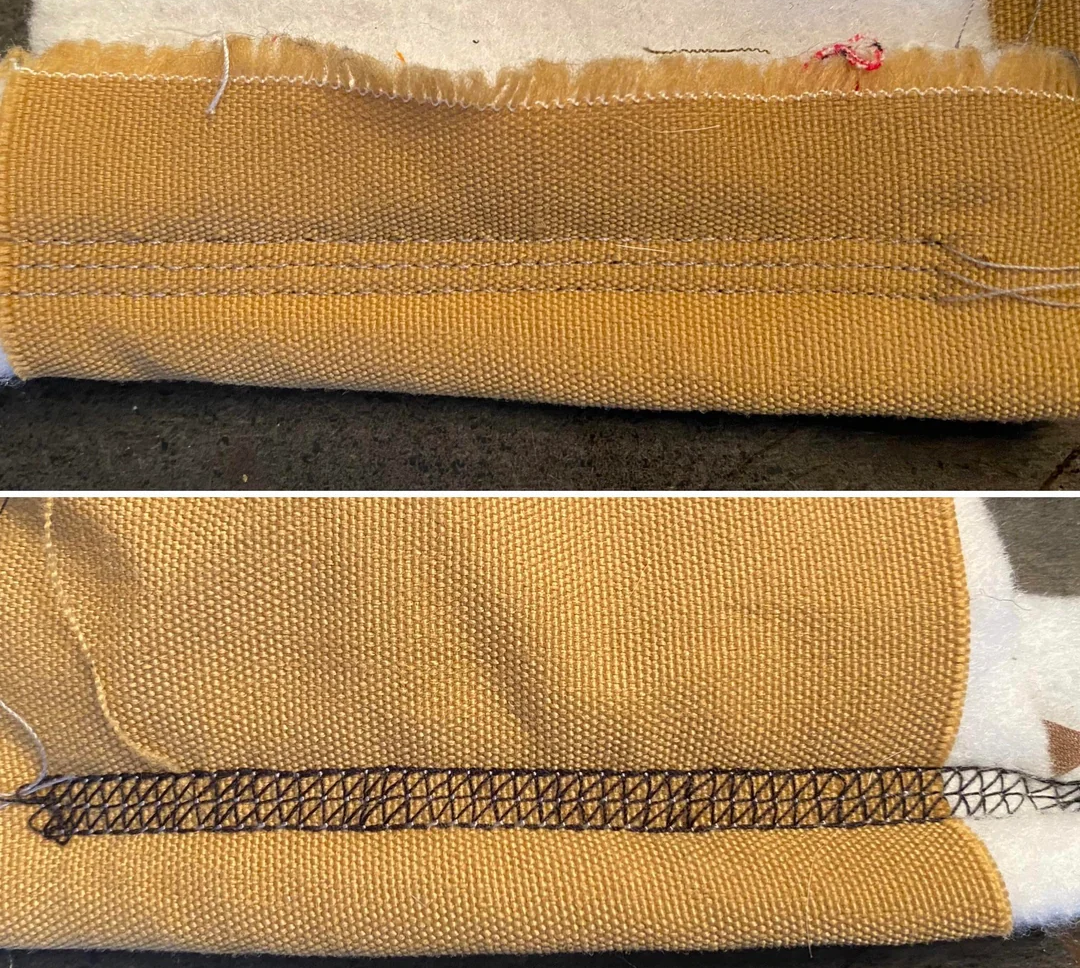


Thread breaking is another common problem faced by coverstitchers. It can be frustrating if it keeps happening even after you’ve done everything. What gives?
Solutions:
- Thread breaking can be a systemic issue with the machine or how it’s been configured. We recommend unthreading entirely instead of immediately rethreading. Remove all threads and clean the machine for lint and residue and then try again.
- Check if the needle and looper are touching each other. If they are, adjust the tension or unthread and rethread again.
- Check the thread path and see if it has slipped out. If it has, try rethreading.
- Check the thread tension and turn it back to default and see if the problem persists.
3 – Coverstitch Tunneling or Zigzagging or Puckering
When sewing into a hem, the fabric between the coverstitching forms a tunnel or zigzags near the edges. This is far too common in light fabrics and is assumed to be due to poor thread tension.
Solution for tunneled stitches:
Tunneling occurs due to poor feeding, irregular fabric movement, or stretchy fabric. The best solution is to use a fusible stabilizer tape that holds the seam in place while stitching.
You can also use regular tape to hold the seam properly after hammering it flat. We recommend Pellon’s EZ-Steam II for the best results.
In some cases, the cause could also be improper needle position. Try using a higher size to see if solves the problem. Using a brand-new bobbin and broadening the needle space would also work like a charm.
4 – Unable to End the Stitch Properly
Another common problem faced by coverstitch machine owners is during the ending. Since 2 or more needles are involved, it can be overwhelming to end it smoothly and with the right finish. What can you do?
Solution: As a general rule, always pull the needles up to their highest point. This is the first standard step to end your coverstitch nicely. Then, raise the presser foot and use a tweezer or an awl to bring the needle threads toward you. Cut the threads and pull the garment from the back. Then cut the looper thread to wrap up.
The critical part here is to pull the needles to their highest point to get the perfect finish.
5 – Wrong Thread Looping or Thread Not Engaged Properly


Another common coverstitching problem is incorrect looping in the hem caused by non-linear threading. It usually happens when you add a second needle later. It can mess up your hem and make it prone to loosening.
Solution for wrong thread looping: Lift the presser foot for the second needle to adjust the thread between the tension discs. Otherwise, it’ll not engage properly.
6 – Knit Fabric Folds up on Coverstitching
Whether you’re coverstitching with 2 needles or 3 needles, using auto tension or manually setting it up, if the needles are not right for the fabric, you will face issues. Knitted fabrics with an uneven surface are more prone to puckering and fold-up. There are easy solutions to this problem.
Solutions:
- Use a stretch needle for knit fabric or any garment that’s stretchable.
- Try stiffening the fabric in question with heavy starch, PVA glue, or wash-away stabilizer. The idea is to stiffen the fabric so that it gains a cardboard-like texture, thus helping you avoid folds or puckers.
- Shorten the stitch length or use a decorative stitch.
7 – Machine Stopped While Stitching over Thick Seam
Another common problem caused by thick fabrics. In some cases, incorrect settings can cause the machine to make a rattling noise or bent loopers.
Solution: First, use a sewing hammer to flatten the seam before stitching on it. Then, use a combination of a new, sharp blade, long stitch length, and foot pressure adjustment to get better results. The critical part is to have a larger, sharper needle.
This is more of a cautionary tale than a solution to a problem. Because stitching on thick seams can cause machine troubles and cost you a visit to a repairer.
8 – Looper Threads Breaking
Sometimes needle threads also give in, halting your entire project. Nothing seems to help even when you rethread and change the needle? Well, here’s what we recommend.
Solution: Rethread using ELx705 needles and some good threads from a local store. Do not use your existing thread range. If yours is a Pfaff machine, rethreading will likely solve the problem.
9 – Edge Stitching Becoming Loose
When you start to switch from the edge, say, for a drawstring tunnel in a nightdress pajama, the thread runs and starts stitching 1 or 2 inches away from the edge. This is caused due to poor thread tension and can lead to loosening.
Solution for loose edge stitching: Hold the thread after the first stitch to add tension. This will ensure that the stitch starts from the edge and doesn’t loosen.
I Can’t Diagnose My Coverstitch Issue or My Issue Is Not Listed

If you’re not able to diagnose your coverstitch machine problem or if your issue is not listed here, here’s what we suggest:
- If your machine is under warranty, contact your manufacturer’s customer care.
- If your machine is out of warranty, contact your local sewing machine repairer. It’s best to invite them home for a quick look.
- Use the troubleshooting guide in your instruction manual to diagnose the issue.
- Avoid trying to tinker with the insides of your machine.
Tips for New Coverstitch Machine Users
Got a brand-new coverstitch machine and want to tread and thread carefully? Here are some tips from our coverstitch experts:
- Use the right needles for your machine. Look at what the manufacturer or seller suggests.
- Start with a sample fabric before coverstitching on the actual garment.
- Use a rubber hammer to flatten the seams before stitching.
- It is best to spool a thread on your own cone because the way a thread is wound on the core can influence coverstitching.
- When you set your thread tension and feel like it’s the best configuration, note it down somewhere so that you can always refer to it. This goes for the overall settings of your coverstitch machine as well.
- Stitch on a single fabric or a uniform layer when using a coverstitch machine. For example, if you’re using 2 needles on 2 different pieces of fabric, ensure both needles are stitching over the fabrics together. If one needle stitches over 1 and the other over 2, you may experience irregular stitching.
- In most problems, the culprit is usually thread tension and the type of needle or thread. Check those 3 things before trying anything else.
- Lift the presser foot before threading your serger needle.
- Make it a habit to clean your sewing or coverstitching machine for lint every week if you use it daily. If you’re a hobbyist, do it as many times as you feel necessary.
- Once you have threaded your needles, keep the thread flowing all in one direction to get the best results.
In most cases, coverstitch problem-solving is standard for all brands. Whether you’re using a Brother machine or a Juki model, these standard solutions will help you navigate your coverstitch problems better. Just make sure you know the ins and outs of your machine well.
New users may find this difficult, so we recommend referring to the instruction manual quite often. Go through the tips above to better handle your machine. Watching how-to videos published by your machine’s manufacturer may also help.


