If sewing is your passion you would surely like to know all about the machine. When your machine does not function properly you might want to put it right by yourself, especially when the time of the different parts of the embroidery machine is not coordinated.
So here we will be telling you how to reset the timing on an embroidery machine all by yourself without any professional to do the job for you.

If you are in touch with your embroidery machine, you would know that it consists of two different parts where time is a key factor. They are the:
- Feed dog timing
- Needle and Hook Timing
Feed Dog Timing
To move the feed dogs and set them in time with your needle, it is necessary to make your stitch length the longest for some time.
The next thing that you should be doing is to arrange the needle and the needle plate in a manner that the needle is ideally 0.5mm above the needle plate. You can do this by using the hand wheel. Rotate the hand wheel just as much as required and make arrangements.
Next, you can loosen the gears and screws that hold the feed dogs in place. Now all you have to do is strategically allow the feed dog to move above the needle plate. As soon as the feed dog goes below the needle plate, tighten the gears and fix the feed dog. The feed dog is now tightened and is in time with the need.
There are no chances that you might miss stitches or have crumbling of the fabric or any other similar problems.
Needle and Hook Timing
Arranging and resetting the needle and the hook timing is not a matter of minutes. It takes a lot of patience and time. If you have that you are good to go.
Firstly for resetting this timing, you need to go through the user manual of the machine to make sure you can rightly disassemble it. Done that, you can replace the old needle with a new one.
After that move the hand wheel so that the needle reaches its lowest position. Arrange the needle about 2mm above the plate in the same manner.
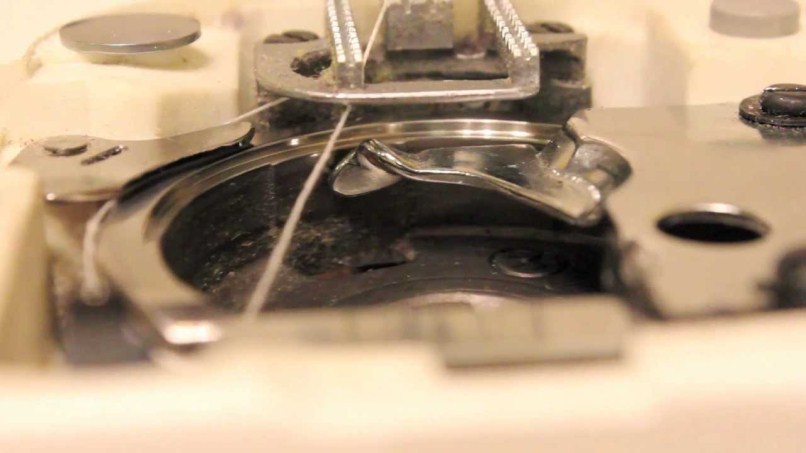
Then loosen the hook point and the screws using the belt pulley. As you loosen the belt pulley, you will see the hook point also moves simultaneously. Then all you have to do is bring the hook point right behind the needle. After that, tighten the screws, now the hook and needle are timed.
Final Words
When both these timings are done, you have reset your embroidery machine. There is absolutely no reason why you should be concerned about false stitches anymore. Make sure when all of it is done you put on the cover for your machine
Make sure when all of these steps are done, you put on the cover for your machine correctly. IF needed, go through the user manual to help you in your way.
Read more: How To Embroider Clothing Labels?


