After investing a ton on your capable heat press machine, you may want to think you are good to go. However, those of us who have been around heat press printing projects for a while will probably understand how challenging a task it can be to use these design tools.
The heat press is the spine of any garment printing business. And if you do not develop your background knowledge and have a solid understanding of how to use this printing tool, using it effectively can be a burdensome task.
Throughout my twelve years of experience in the design space, I’ve learned most of the proven steps and strategies on how to get the most out of your heat press machine. I have also consulted authoritative sources and taken the advice of experts in the respective categories.
Let me share what drills I’ve learned from more than a decade around heat press machines. I have relevantly used my personal examples from my rich experience as a heat press pro for 12 years.
Having these helpful tips at your fingertip ensures that you stay on top of your game as far as design goes. This way, you get clean, accurate, and eye-catching prints. Also, you get to complete the task at hand faster and get time to focus on other vital projects.
Helpful Tips on How to Use a Heat Press
We do not want you to rely on guesswork or trial and error. So our team invested time and effort to research and put together the following enlightening drills. Therefore, you will enjoy a superior expert approach when using your heat press.
1 – Read the User Manual
Always double-read the user manual. This will guide you through set up, use, and maintenance.
Remember, while most machines conform to a similar operation framework, some functions and features are specific to particular models.
Manuals contain many special clues that make it a cakewalk for you to set up, operate, and care for the specific machine. So, even if you have operated a heat press machine before, it is important to go through the user guide and equip yourself with these helpful cues.
2 – Identify the Type of Heat Press Machine


As a beginner, it is advisable to start small with basic models designed for doing smaller projects and home printing jobs. Such units are affordable, easier to use and perfect if you’re testing your feet in the design business.
If you are using a professional heat press machine, expect enormous pressure, immense temperature, and larger platens, making them suitable for mass orders and larger bulky projects.
However, these powerful design tools are more sophisticated to use and maintain, preferable for the veteran or pro entrepreneur.
Ensure what you have is a solid machine that is user-friendly to your skill level.
3 – Check the Power Source and Chords


Most heat press machines are compatible with 240V, 220V, or 110 V power supplies. However, it is important to confirm the product specifications and compare them with your electricity supply voltage.
While most residential premises use 110V power outlets, some professional quality machines only work when plugged into 240V electricity outlets.
Confirm that you are using the correct power cord provided by the manufacturer to ensure optimum performance.
Aftermarket power cords may not be capable of supplying the appropriate amount of voltage and current and may lead to underperformance and even cause damage to the machine.
Apart from that, heat press machines eat up a lot of power, so it is crucial that you set aside a dedicated outlet for your machine. This way, you will keep other electrical appliances and fuses from blowing out.
Caution!
Be careful not to allow any contact between the power cord and hot surfaces. Contact may cause fires, blowouts, and other safety issues.
4 – Identify the Type of Upper Platen


Confirm if the platen of your machine is Silicon or Teflon-coated upper platen. This coating prevents the printing inks from sticking and building up on the printing surface and ensures neat and accurate prints.
If your heat press does not have the coating, consider purchasing Teflon covers separately. One draw about the covers is the ease of cleaning whenever they get dirty. Also, they are inexpensive to replace.
Important to Note!
When using Teflon covers, it is advisable to increase the temperature settings by a few degrees to make up for what the covers absorb.
5 – Always Sample Print
As a new hand, you will want to cut back on any extra expenses. One clever way of minimizing wastage is to print a sample preview of the design on a regular piece of paper or an old t-shirt you do not mind burning.
You can repeat multiple times until you become familiar with the procedure and gain confidence. You also get a rough picture and a clear understanding of how the final print will look, generate more design ideas and concepts, and help foresee the possible problems you will face and how to tackle them.
6 – Use Quality Fabric
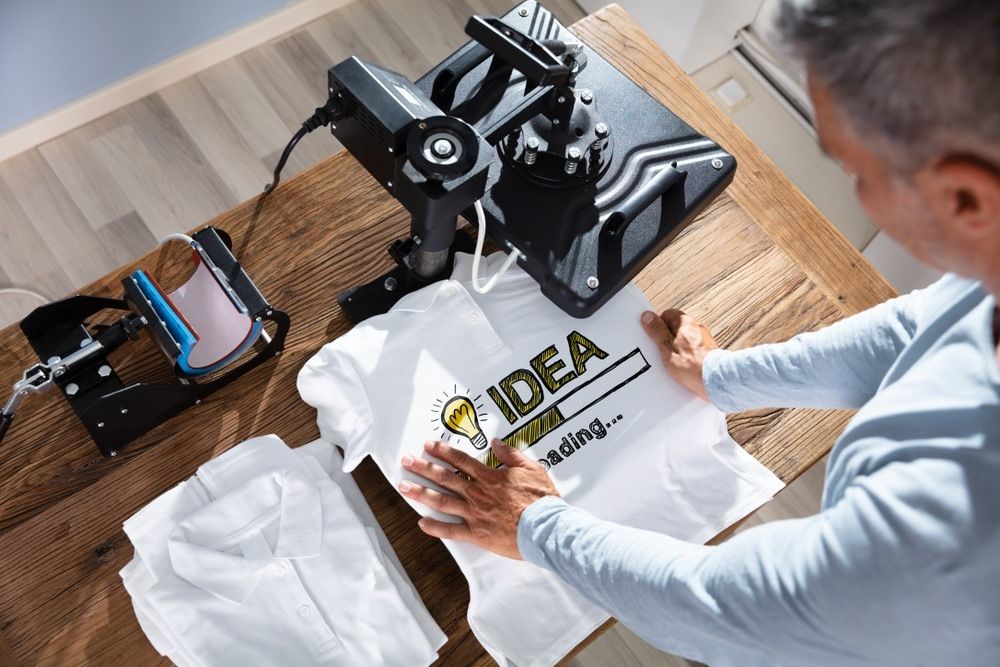

Note that some garments are heat sensitive and not meant for heat press printing. Such fabrics may melt, get ripped or wrinkled when placed on the hot printing surface. We recommend cotton, nylon, spandex, polyester, and Lycra garments.
Caution!
Make sure you stretch the fabric before putting it on the printing surface to prevent cracking prints. Besides, give a 24-hour allowance for the print to dry and lock before washing the printed fabric.
7 – Ensure a Clean, Smooth Printing Surface
Ensure the work area is clean and free of any dust, lint, hair, and other debris that can get stuck in the garment during the transfer. Remove any buttons, zippers, or any sharp-edged object.
If the garment comes with metal tags or sharp objects, cover them up with several patches of smaller dimensions. Just ensure the patches do not cover the print area.
Check that the platen is even and scratch-free without any worn out edges. This makes for even pressure and temperature and lends to clean and precise prints.
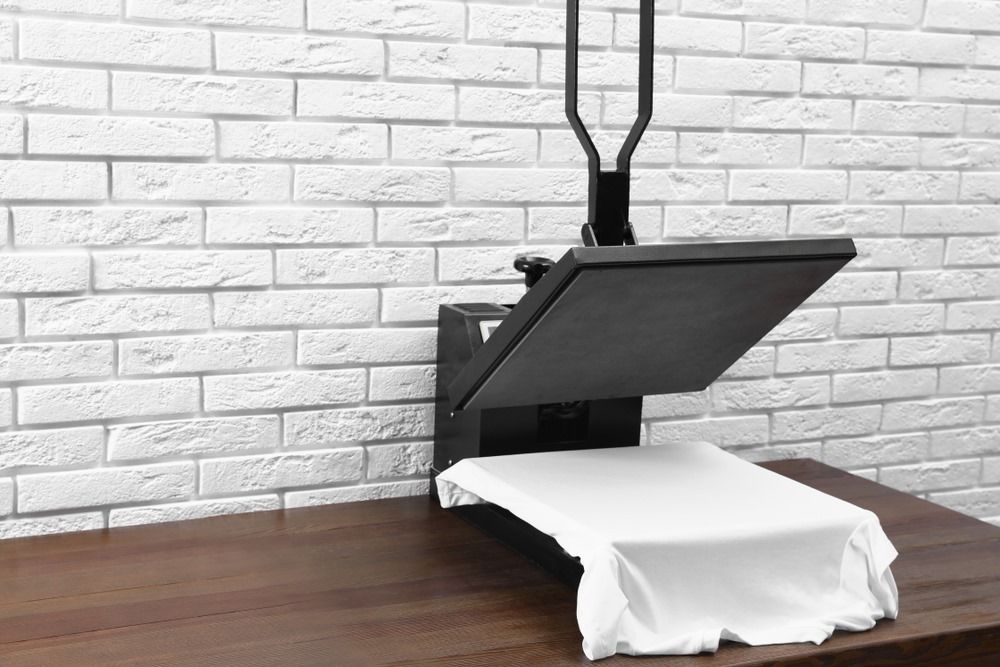

Not just that, scratch-free surfaces also mean smooth sliding of the tees on the pad without the risk of puncturing any.
If the pad is worn out, buy a Teflon cover to provide even pressure from the edges to the platen center. What’s more, ensure there is no buildup of excess ink. If any, ensure you wipe it off.
Important to Note!
Teflon can be made into sheets, covers, and pillows. Teflon sheets are put on top of the fabric to ensure they do not stick on the upper platen. Teflon covers are like mattress covers which enclose and protect the lower rubber pad.
On the other hand, Teflon pillows are used for even distribution of heat in the event of irregular surfaces due to buttons, tags, zippers, and more on the garment.
8 – Ensure Proper Alignment
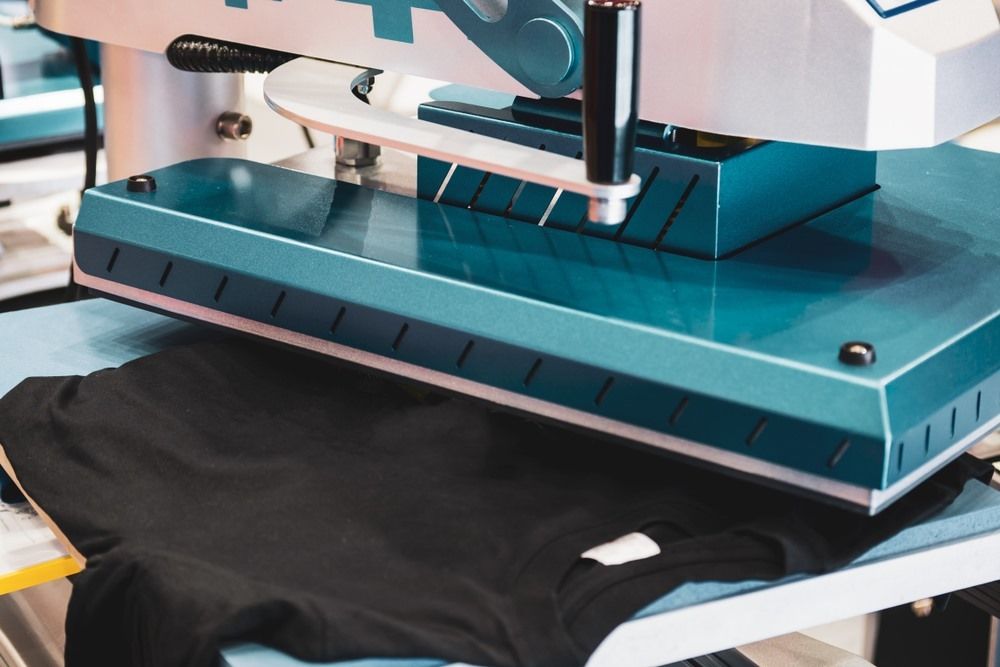

Make a point of running a keen eye over the print fabric and ensure it is properly aligned to prevent crooked prints. Always work from the center of the platen since the heat emanates from the center before spreading out to the edges.
After laying down the print fabric, slowly lay on it the transfer paper with the artwork to be printed. Make sure the transfer paper faces downwards.
Some models come with a function that projects a laser onto your garment, making it faster and more efficient to align the print material. That is not all, if the garment is creased or exposed to moisture, consider preheating it on the press for a few seconds without the transfer paper to remove the creases and dry the moisture.
Helpful Tips on Heat Press Machine Maintenance
9 – Cleaning
Of course, heat press machines feature electronic parts and moving components susceptible to damage by dust and dirt. It is, therefore, commendable to regularly clean the unit. Use an air duster to blow off the dust on the exterior and interior components alike every couple of months.
Regularly clean the upper platen to ensure a clean and smooth surface for even distributing the heat and pressure and top quality prints. Begin by switching off the press and letting it cool.
After that, use a lint-free soft fabric dipped in cleaning solvents such as mineral spirit or alcohol and gently wipe it clean.
In case of ink deposits on the filament, use lint-free soft fabric to wipe it off while the press is still on and hot, and the ink is still melted. Just be careful not to burn your hand.
Should the ink residue on the filament persist, do not hesitate to switch off the press and cool before enlisting a cleaning solvent such as mineral spirit or alcohol and a soft fabric or soft flannel to wipe it off gently.
Caution!
Remember that most cleaning solvents are highly flammable and should not be exposed to any hot surfaces, flames, or sparks. To add on that, DO NOT use any rough object, abrasive material, or metal scrapers since they may damage the Teflon coating.
10- Lubrication
The value of lubrication in doing away with undesired stress on your machine’s pivot parts and hinges, increasing productivity and reducing friction and wear, cannot be overstated.
It is crucial to grease the pivot points or wear points such as pistons and rods, every month or two depending on their frequency.
Most experts recommend high-temperature lithium grease that can stand up to the immense temperature heat presses are known for.
Caution!
Avoid applying too much grease lest it soils and damages your precious garments. In the unfortunate case that you have applied excess grease, gently wipe it off before using the machine.
11 – Spare Part Replacement
Like any other machine, heat press parts are vulnerable to wear after prolonged use. Case in point, the simple process of loading and unloading garments from the press can, in the long run, cause the edges of the silicon pad to wear out, crack, puncture, warp, get chipped, dented or deformed.
Therefore, the pressure and temperature will be uneven, and the final print will be shabby and down-market. Check from time to time if the parts are up to par and in usable condition.
To find out if the pad is tired out, put several paper strips at the different corners of the platen, and lock it.


Try pulling out the papers, and if they come out easily, you can rest assured that the pad is worn down. You can then order for replacement pad kits from the machine manufacturer or, better yet, buy a new platen.
Frequently test the temperature accuracy of the platens to ensure precise and even heat transfer. Set the temperature to different points and use the heat press test kit to verify the readings.
Contact your supplier, manufacturer, or retailer for compatible parts. Refrain from ordering parts from untrustworthy third-party sellers.
Did we mention that it is advisable to purchase several standard spare parts within easy reach in your workspaces such as power switches, circuit breakers, fuses, gas springs, and more?
12 – Air Operated Press
Pneumatic presses usually rely on air compressors to suck in air from the surrounding. The air comes accompanied by unwanted dirt particles and moisture, which may be detrimental to your machine’s functioning and may result in damaged internal components such as air valves and lead to leakages.
Frequently check the air filter element and make sure it is as clean as can be. If it is too dirty, replace it straight away. You will extend the lifespan of the air system of your machine and enhance its functionality.
In a Nutshell
We’d love to continue informing you about every tip and trick of the game, but we’d rather let you continue crafting.
Now you have the information you need. And you need not be a dummy to benefit from the advice this post offers. From the beginning of your journey of heat pressing onwards, this efficient guiding resource will be a helpful all-purpose solution.
