Sewing marked a huge role in terms of the people’s livelihood, home, industry, customs, craftsmanship, and art.
Almost everything that we used was inspired by sewing such as garments, home decor, amenities, figure displays, traditional clothing, and costumes.
Most of the tailor experts were using various techniques, materials, and tools to come up with a masterpiece. We usually encounter fabrics as their main material in sewing.
In this context, we will huddle about how to sew leather by hand.
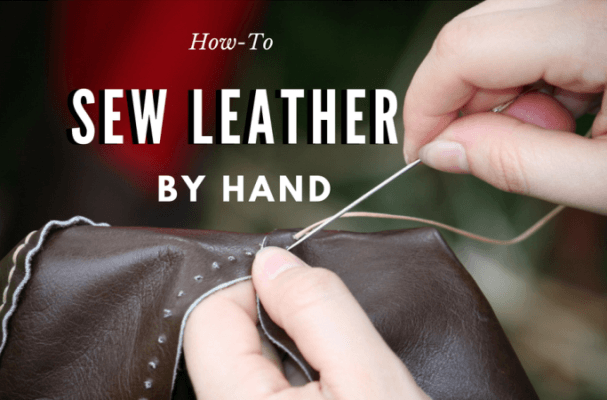
Leather is a thick and tough material to sew especially for a hand tapestry. It requires tools to efficiently sew the leather and properly perform the stitches.
Once you’ve understood how to sew the leather, it will surely become an easy task for you. Show off your hand-tailoring techniques and manage to do the amazing stitches using the leather.
Follow this simple tutorial session and make it a guide especially for a beginner like you!
Materials and Tools Needed
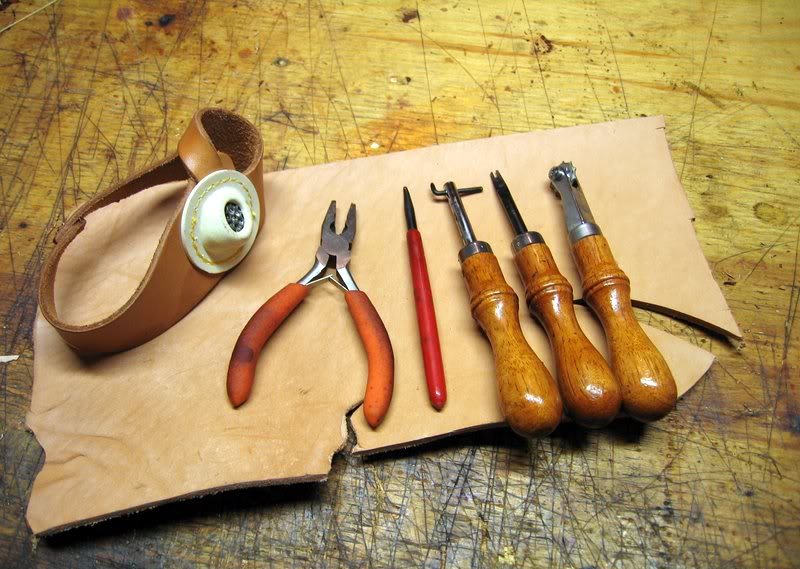


1 – Two Thick Needles
You will need 2 needles to stitch the leather tightly by inserting the needles in the opposite direction.
You may select the size of needles that you prefer within this available range: 110/18, 100/16, 90/14, 80/12, and 70/10.
2 – Wax Thread
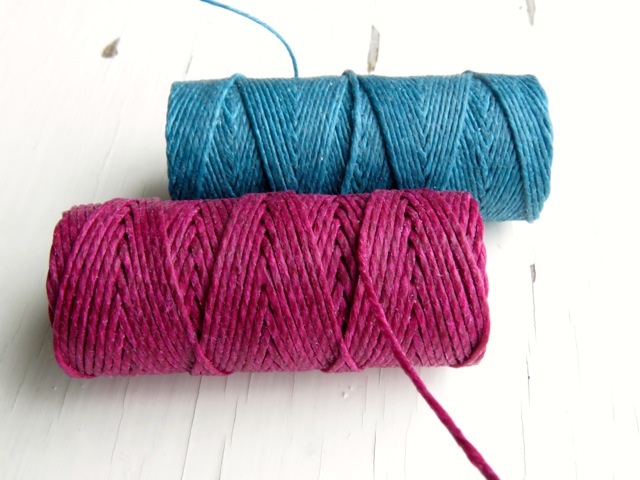


A wax thread is a flexible type of string mainly used for leather tapestry. It is tough, water tight, and thick which makes it durable and versatile thus, it is good for sewing leather material.
Find the best thread for sewing leather here.
3 – Leather Glue
This type of glue is effective and adhesive to leather material. It can hold the leather material to make it thick and durable. It increases the tightness of the leather and prepares it for sewing.
4 – Stitching Groover


A stitching groover is a tool used for engraving a line onto the leather to have a guide in performing the tailoring.
It can carve the leather smoothly and professionally for a finer look. It is important to have a marking so that your tapestry will result in quality and well-tailored leather.
5 – Stitching Wheel


This sewing device is used to create a stitching pattern in a consistent and uniform length and holes. It is a tool used for leather type material since it can carve patterns even in thick type of sewing material.
6 – Sewing Awl


To create larger holes, the sewing awl is the best sewing tool to pierce leather textile. The sewing awl is a great tool to assist the needles and make the stitching as efficient as possible.
7 – Stitching Pony
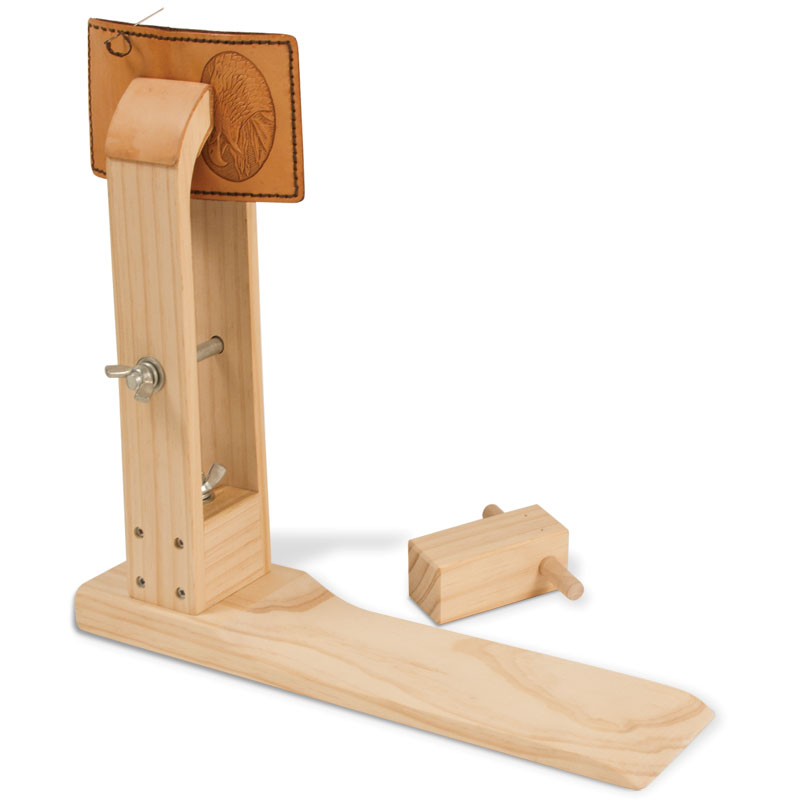


A stitching pony is a tool used to tighten the leather for ease of sewing. In fact, you can actually make a stitching pony using wooden material and screws.
8 – Lighter
This is an optional tool for leather tapestry. It is used to remove the excess and fluffy thread. Furthermore, it can make the appearance of the leather look professional and fashionable.
9 – Leather
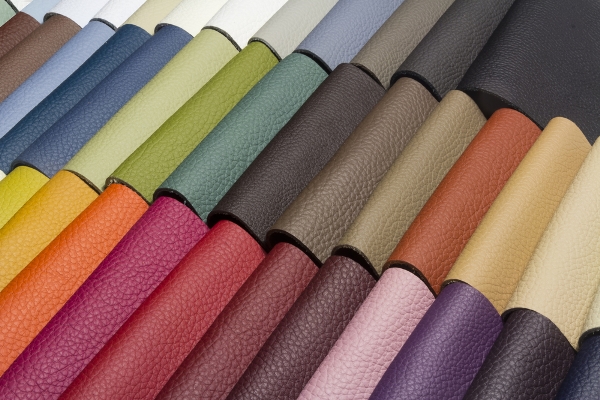

Leather is a material with smooth and rough surfaces. It is thick, flexible, and durable. Usually, it is used for sewing garments and home decors. Moreover, it is stylish and sleek to the appearance.
There are many classes of leather to choose from including bonded leather, top grain leather, full-grain leather, and genuine leather.
How to Sew Leather By Hand?
Follow these basic step to sew leather by hand
Step 1 – Thread the Needles
Pick your favorite color of wax thread and insert it on the needle. Be sure to pull the string with an excess strand. Next, loop the other side of the thread and pierce it to the needle.
Thereafter, pull the string towards the hole of the needle and create a tight knot. If you don’t have a wax thread, you can actually create one.
Get a thick thread and covered it with bees wax to make it flexible and tough as you use it to sew the leather.
Step 2 – Put Glue on Leather
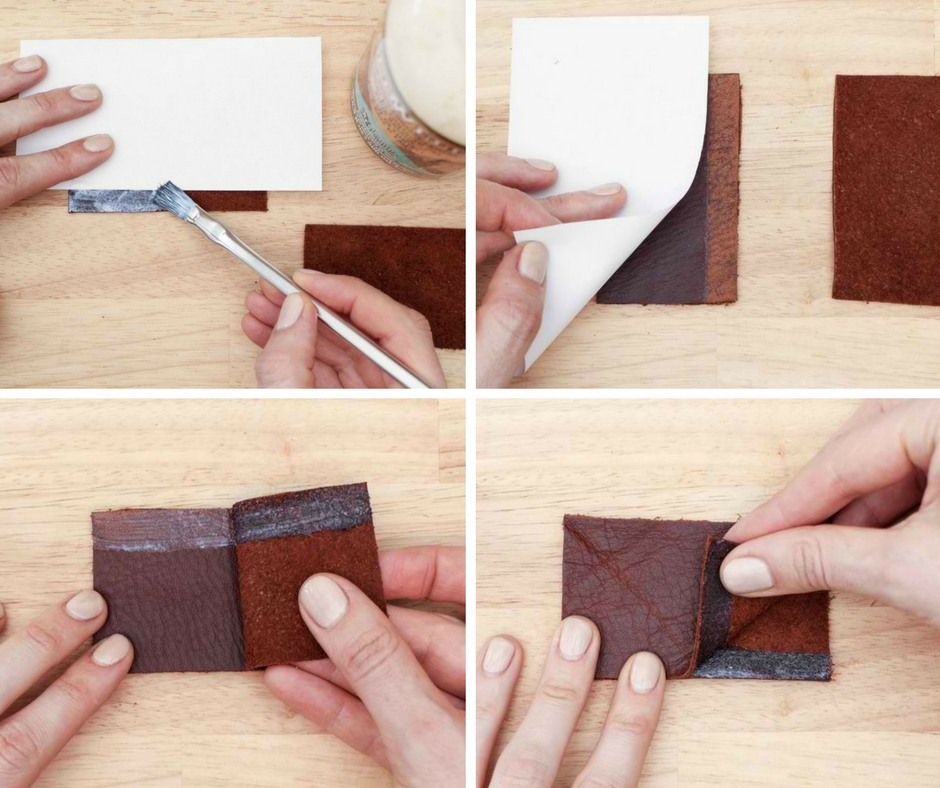


Prepare the leather and put glue on it to tighten the material. Make sure to apply the glue on the tough surface. The smooth portion should be exposed as the primary appearance of your leather.
Do not put any kind of glue on the leather because it may not be adhesive like the leather glue. It is better to use this glue since it is made specifically for leather types.
Step 3 – Mark a Line
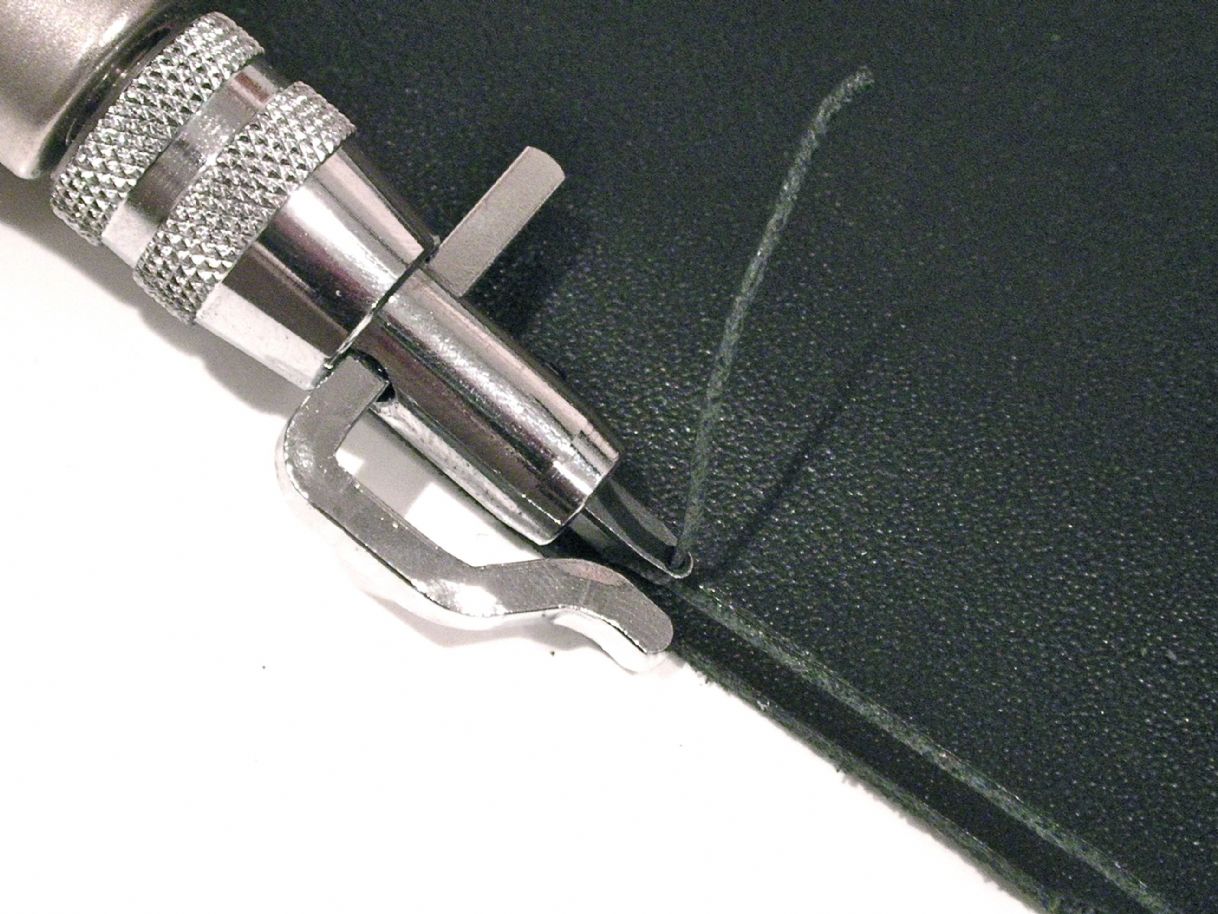


Use the stitching groover to mark a line on the leather so you’ll have a guide when you do the sewing.
Just press the stitching groover on the leather and make sure that you carefully move the groover in a straight line motion.
Step 4 – Create Stitching Patterns
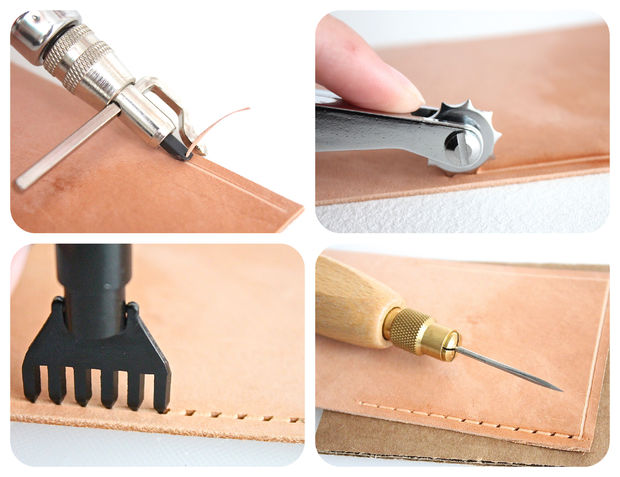
Next, create stitching patterns with the use of a stitching wheel. The stitching wheel can engrave consistent lines and holes to easily sew the leather.
Following the patterns will make the sewing more professional and efficient.


Step 5 – Get it Tight with Stitching Pony
Before you begin the stitching, be sure to insert the leather in-between the stitching pony. You should keep it tight so that when you sew the leather it will not move as you do the stitching.
Step 6 – Enlarge the Holes
After tightening it with the stitching pony, use the sewing awl to enlarge the holes of the marks that you’ve created using the stitching wheel. It is much easier to sew the leather with larger holes.
Step 7 – Do the Sew
You can now begin the sewing process, imagine tying up your shoelace, it is the same with sewing the leather.
First, you have to insert the needle on the other side and penetrate the second needle in the opposite of the first needle.
Repeat the steps as you soon finish sewing the leather and make a knot on the last part of the stitching process so that the thread will not lose its tightness.
After sewing, you may now release the leather from the stitching pony.
Step 8 – Burn Up the Excess Threads
You may burn up the fluffy portion of the thread to make it look neat and professionally sewn. Use a lighter to do the trick.
You may now display your leather creation or you may opt to embellish it with stylish designs to improve its appearance even more.
Conclusion
Sewing leather might be complicated at first but if you try it out, you will surely get along with it.
First, you have to familiarize yourself with the techniques, materials, and tools so that the sewing will be practically easy and your masterpiece will surely look voguish.
As a sum up, you should have complete tools before you begin the leather stitching which includes leather, two needles, wax thread, stitching groover, stitching pony, sewing awl, leather glue, stitching wheel, and lighter.
To enumerate, you have to thread the needles first, put glue on the leather, use the stitching groover to mark a line, create stitching patterns for easy sewing, place the leather in-between the stitching pony, enlarge the holes using sewing awl, thereafter do the sewing.
Follow the aforementioned steps as a tutorial for your hand leather sewing craft and be amazed at your creation. It might be a great hobby as well as a business especially for those who were passionate about doing crafts.


Well explained . step by step .