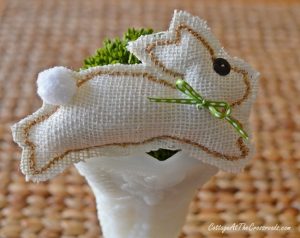
It goes without saying that burlap makes some of the cutest crafts out there. This timeless fabric’s strong and durable nature make it suitable for making both indoor and outdoor crafts.
This woven fabric is derived from the jute plant and other plant fibers.
Although burlap was originally only available as a coarse fabric, refined versions do exist today. Most people like it for the rusty feel that it provides.
If you are thinking of using burlap to add a new vibe to your home, you have come to the right place.
We have gathered up all the information you need in order to work with this popular fabric.
Types Of Burlap Fabric
This classic fabric comes in a variety of colors and prints. It also comes in different types.
Here are some of the most common types of burlap fabric.
1 – Laminated Burlap
This is burlap which is laminated on its back side. This lamination keeps out any form of liquid.
This property makes this fabric for use in creating table covers and storage bags. Laminated burlap is usually available in different colors.
2 – Fire Retardant Burlap
Burlap can be treated to make it fire retardant. This type of burlap is very useful in the making sacks for carrying grains or making crafts for your kitchen.
3 – Bituminized Burlap
Due to the bitumen infused into this type of burlap, it can withstand heavy outdoor use. This bituminized burlap is waterproof.
It is used for both indoor and outdoor applications. It can be used to make mats and other materials around tents and campsites.
Where Do You Buy Burlap?
Since burlap is such a popular fabric, it’s available at several retail and online stores.
You can get some good quality burlap at your local retail store or on websites like burlapfabric.com, JOANN, Walmart and Amazon.
How To Sew Burlap?
There are several steps involved in the sewing of burlap fabric.
1 – Get Some Burlap
Before you start your project, you should identify and get the type of burlap you need. You can buy it at a store or simply use any burlap sacks you have hanging in the house.
2 – Wash Your Burlap
Since burlap can be smelly, it is important to wash your burlap well before you use it.
In the case your burlap has a loose weave, it would be better to hand wash. However, if your fabric doesn’t have a loose weave, feel free to machine wash.
When machine washing, use the medium spin rinse cycle and use fabric softener. After drying is complete, your fabric will most definitely be wrinkled. Ironing it is a good idea at this point.
You should use the highest steam setting available for your iron box and spritz some water on the fabric to iron more efficiently.
Although burlap is a difficult fabric and is almost impossible to straighten out, it will become relatively flat. One thing you have to look out for during the ironing process is the amount of water you use.
Using a lot of water could lead to yellowing of your fabric over time.
3 – Cut the Burlap
Before you begin your sewing process, you’re going to have to cut it out. This is tricky because burlap tends to fray.
For a clean cut, make a tiny snip where you would like to cut your fabric, pull out one of the threads that run across the burlap then cut along the created straight line.
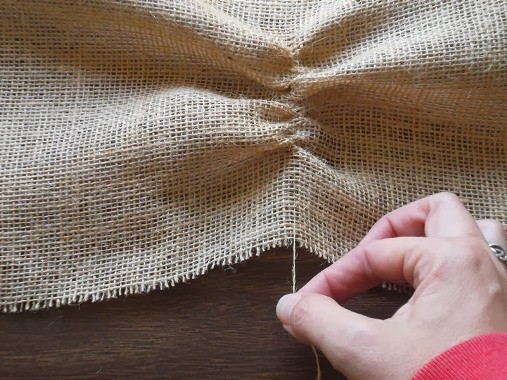


Once cutting is done, you should consider finishing your seams using a serger, zigzag stitches or a liquid seam sealant. This prevents farther fraying.
4 – Trace Your Burlap
When tracing a pattern onto your fabric, you could use chalk or a sharpie marker. Either one works just fine.
Just make sure to cut out the parts which have been marked using the sharpie marker in order to prevent the ink from running.
5 – Start Stitching
When dealing with burlap, you should use small stitches. This captures most of the fibers ensuring strong seams and less fraying.
To further reduce fraying, use any kind of interfacing or stabilizers.
These keep the fabric sturdy, therefore, preventing stretching. Using a seam tape to hold the fabric firm is also a good idea.
Useful Tips For Burlap Sewing
As I have mentioned before, dealing with burlap isn’t a cup of tea. However, there are several tips that can make it a bit easier.
Tip #1: Choose The Right Needle Size
Before you embark on your sewing project you need to get appropriate needles. Weak needles will break easily.
For machine sewing, you’ll need sharps and universal needles of sizes 60/8 t0 100/16. If you, however, decide to go with hand sewing, you should look for needles of size 5 to 7.
Tip #2: Choose The Right Sewing Thread
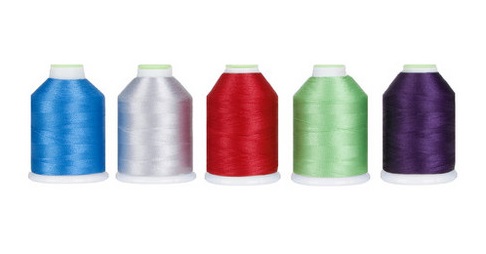
When dealing with burlap, we recommend using all-purpose cotton or polyester thread. You can also go for a cotton/polyester blend.
You can choose the best sewing threads in this article.


Tip #3: Ensure Your Machine Is Clean
Since burlap is made up of a lot of loose fibers, it’s important to clean out your sewing machine. This prevents pile up of lint in your basket.
Tip #3: Always Have A Lint Roller Or Vacuum Close
Since burlap will most definitely leave fibers all over your clothes and work area, it’s helpful to have a lint roller or vacuum around you. Otherwise, things can get really messy.
Tip #4: Use A Rotary Cutter If Possible
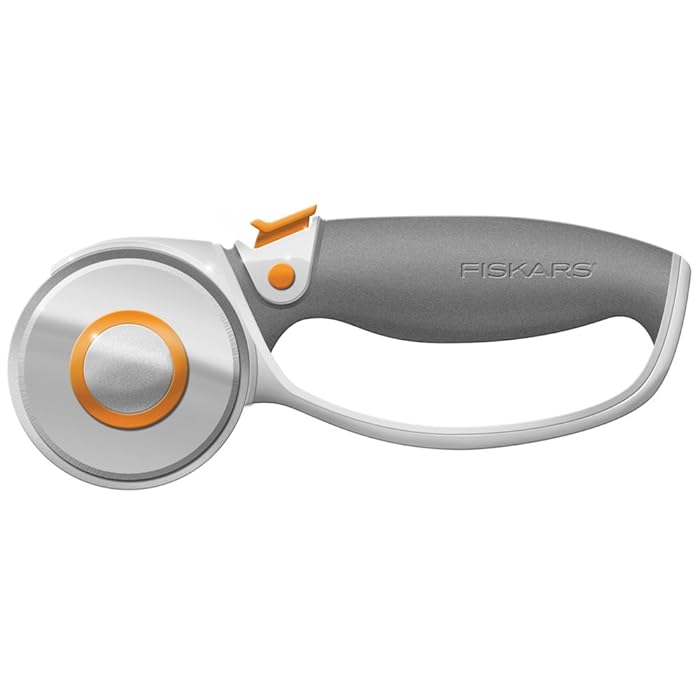


Anyone who has worked with burlap knows how it tends to move around a lot. Due to this, it would be better to use a rotary cutter than a shears where possible.
Tip #5: Add Extra Allowance To Your Seams
Now that we all know that burlap frays a lot, it’s advisable to add about ¼” to your seam allowance to make sure your project doesn’t turn out to be too small.
The Bottom Line
Though it may be difficult to maneuver, burlap produces durable high-quality crafts that you won’t regret making. At the end of the day, this fabric offers you a subtle sophistication that is rare to find.

Thank you for the information, it will be very helpful. I was surprised that your tips (4&5) were at the end rather than in the cutting section, but your comments are still helpful. ?
Thank you, yes it was very helpful. Even though I’ve sewed for years. Thanks!!
Thank you, This was very useful.
These are great tips!!! Thanks so much. Now I am anxious to get started!!