Applique allows you to be more fun and creative in your work. It’s obviously fun to attempt something which is new and can help you in learning technical things about the machine.
The embroidery machine is something that needs to be understood by the user before start using it. It’s different than the basic machine and you have to be focused to understand the mechanism.
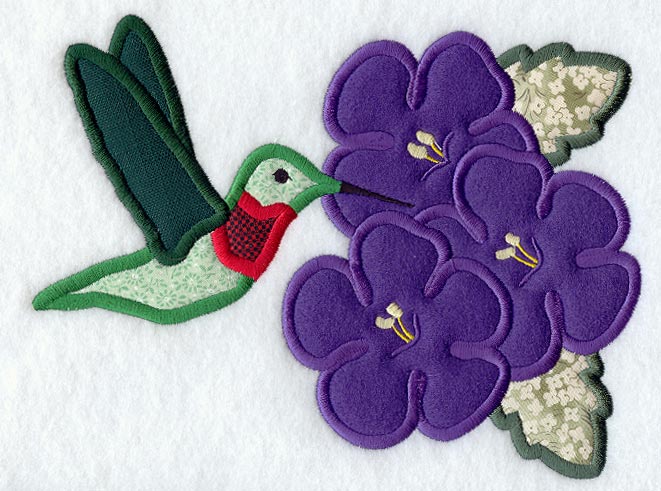
If you are already familiar with the whole concept of embroidery machine then this is just the right place for you because today in this post we are helping all the beautiful sewers out there looking for the ways to apply applique with the embroidery machine.
You can use applique to enhance the look of the dress and to make it look expensive, let’s go through the step-by-step guide.
How to Appliqué with Embroidery Machine?
By following every step of the guide, you can apply the applique to the project and this is going to be a smooth project for you.
Step 1 – Loading
Basically, you must have seen the small LED screen on the embroidery machine which is helpful when you need to review something before applying or when you are trying to select the specific pattern from the built-in designs.


At the time of doing applique to the dress and to make sure that what designing you are choosing must look the best on the project, you need to load it first.
Load your applique design in the embroidery machine and the design of the appliques are quite simple and you don’t have to go through the complication of editing the whole basic design.
Embroidery machine applique is suitable for all the users who want to complete the project as soon as possible. Just load the specific design to the machine first.
Step 2 – Hoop the Material
Now it’s time to move on to the hoop, on which your embroidery will be applied. Before you start doing applique or embroidery on the fabric, you need to stabilize it.
No matter if the fabric is thick or thin but stabilizing is going to help you in calming the fabric and you can apply the design on it smoothly.
Now another step is to apply stabilizer one more time. Between the hoop bottom and needle plate, you need to add a floating layer of stabilizer.
This trick will save your fabric from getting damaged due to any mishap and it will also enhance your applique experience.
Hooping the material will help you in avoiding the complications and you can actually work in peace.
Step 3 – The Outline
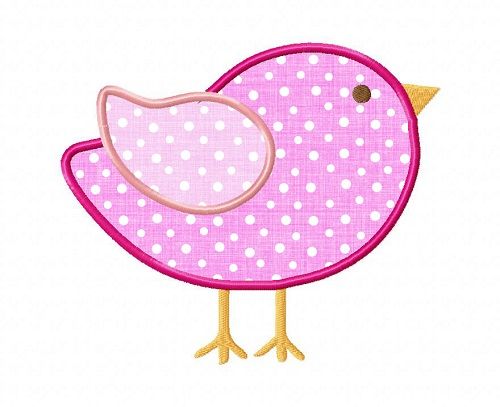


For the beginners, as we all know that outline is the most important part whenever we are about to draw anything.
In the same way, when we are applying applique for the first time then the first step is to draw the outline to make sure that the design is going to be perfectly fine on the fabric.
You can try any kind of color because later when you are going to apply the applique to the fabric, it will be covered anyway.
Use any thread color but take care of the stitch quality and the settings must be on point. Later you need to cover it up with the whole design after getting satisfied with the outline.
Step 4 – Bring the Fabric
After completing the whole outline with the cleanliness, now it’s time to place the applique fabric under the needle.
The problem which may irritate so many sewers is how you are supposed to hold it for the accurate sewing?
You can use a number of tools you usually use in the normal stitching like double sticky tape or you can hold it by hand. I don’t recommend pins as it can damage the needle of the machine.
Hold the applique fabric from one hand so it doesn’t move from the exact location. With the help of the outline, you will get the idea of the edges.
To tack the applique down, use the tacking stitches and it’s barely visible when you will use it on the fabric.
Step 5 – Cut Away and Trim
Now don’t unhoop the whole project but just remove the hoop from the machine.
Take any sharp tool like scissors or rotary cutter to cut the tacking shape we have done before. The blades of the cutting tool must be precise and accurate.
If you want to jump to the professional applique look then first to try to cut that shape into the clean one.
Cut the fabric close to the stitches but don’t cut the stitches. Once you have the whole picture out from the fabric, now it’s much easier for you to trim the whole design of the applique.
In the final touches of the cutting, you need to trim cleanly so at the time of stitching there must be no revealing edges.
Step 6 – Final Stitches
Congratulations, you have successfully done the applique work till now. This is time to give a few final stitches to the project to attach it to the project.
This is the reason why before the final step, you need to make sure that trim is up to the mark and the final look of the trimming picture must look like a professional shape all ready to get attached to the fabric.
Now put the hoop back into the machine and push the button to start stitching.
You can use the same color as the fabric or as the applique fabric to hide the stitches or you can use any color.
Some people like to use the decorative stitches as well to prominent that area with some different color but if you want to keep it simple then use the straight stitching and you will be done with the project.
Step 7 – Securing
Once you have attached the shape to the fabric with the help of an embroidery machine, now this is the time to secure the shape to the fabric to make sure that everything is at its place and you are done with the whole thing.

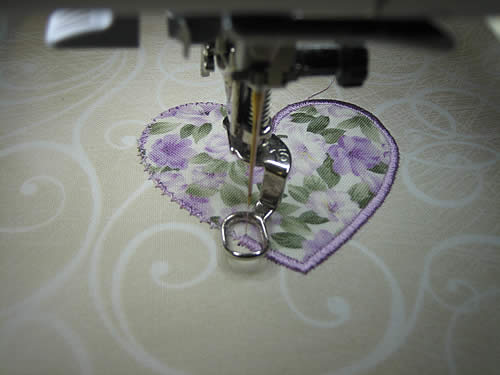
To secure the picture, now you have to run one more round of tack stitches. The 2 sets of stitches need to be clean and of high-quality to maintain the even quality.
If you have used the straight stitching in the first shape then you can use the decorative one in this one.
You can also go for some different colors for the second round or if you want to keep the stitches in the contrasting color.
Now you have a finished applique in front of you and you can do it, again and again, to try something new with the other fabrics as well.
Tips for Machine Appliqué
Now we know the whole process that goes behind creating an appliqué design from an embroidery machine. Here are some tips to follow:
- The fabric to be appliquéd must be well ironed
- Some adhesive spray would be required to work with slippery fabrics
- Some organic fabrics need to be washed before the embroidery in order to give it time to shrink beforehand
- Having a good pair of scissors is a must while working with appliqué designs
With these ideas, making an appliqué design is a rather simple task!
Conclusion
To work with the embroidery machine is not that hard as it seems to be. People usually think that doing applique from the embroidery machine may consume their whole day or when they are at the beginning level then they will not be able to do this.
In reality, doing applique is one of the easiest things you can attempt and this is going to add richness to your sewing experience. Attempt something out of the box and start creating to enhance the skills.

