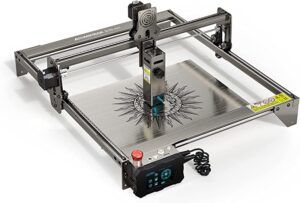
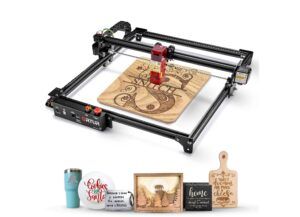
Investing in a good laser engraver is important if you want to run a business around it and don’t want to constantly run into problems with the device. A laser engraver machine typically requires very little maintenance, but there are still some procedures you need to carry out from time to time to ensure it runs smoothly.
Taking the time to learn how to clean a laser engraver and maintain its critical components is a good way to ensure your device lasts a long time.
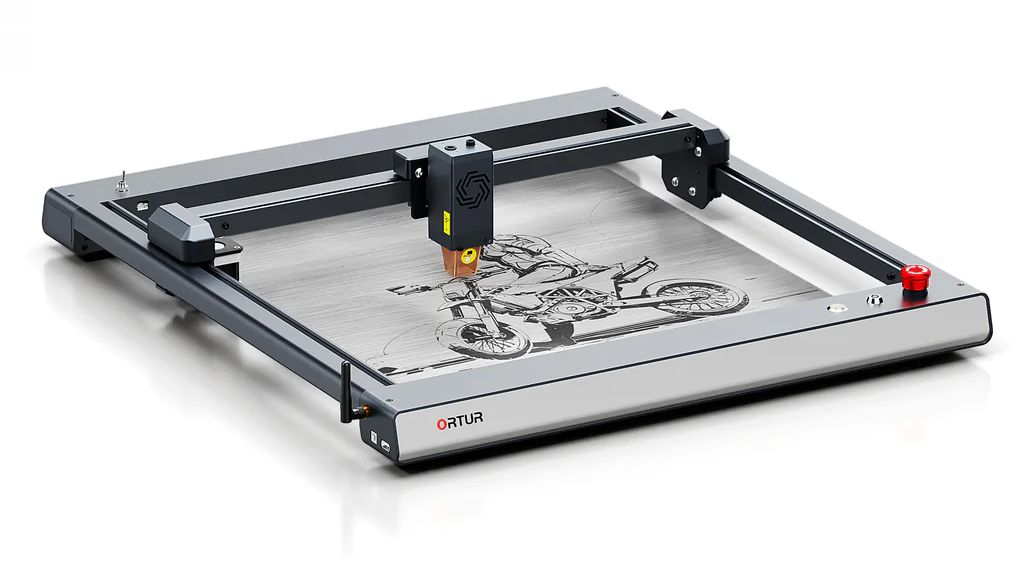
How to Maintain a Laser Engraver
Every laser engraver is unique and you’ll need to familiarize yourself with its specific maintenance requirements before starting to use it regularly. Still, some points are common across the board and should be explored no matter what type of laser engraver you have.
Knowing how to clean the laser engraver properly will save you a lot of time in its long-term maintenance. Here are some suggestions – make sure to check your user manual for more information!
1 – Clean the Lens and Mirrors
You should take the time to clean the lens and mirror of the device at least once per week. Some models might require more frequent cleaning, especially if you use them more actively. During regular use of a laser engraver, it tends to build up a layer of contamination over the lens and mirror. Those will initially not cause any problems, but the more you leave them unattended, the worse things will get.
To clean the lens and mirrors, simply take a piece of fine cloth (like microfiber) or a Q-tip, and use it to apply an optics cleaner solution to the components.
The design of your machine may make it difficult to get to those components without some disassembly. Make sure to read the manual about properly taking the laser engraver apart if you need to do that.
2 – Keep Your Vent in Check
Dust will eventually start to accumulate in your vent as well. If you don’t want it getting completely blocked – and creating a potential hazard – you should clean it out once a week as well. On most models, accessing the vent is as easy as reaching into it with a long enough object.
Be gentle to avoid disturbing the internal structure of the vent, but at the same time, apply firm pressure to ensure that you’re getting everything.
3 – Clean the Exhaust Duct
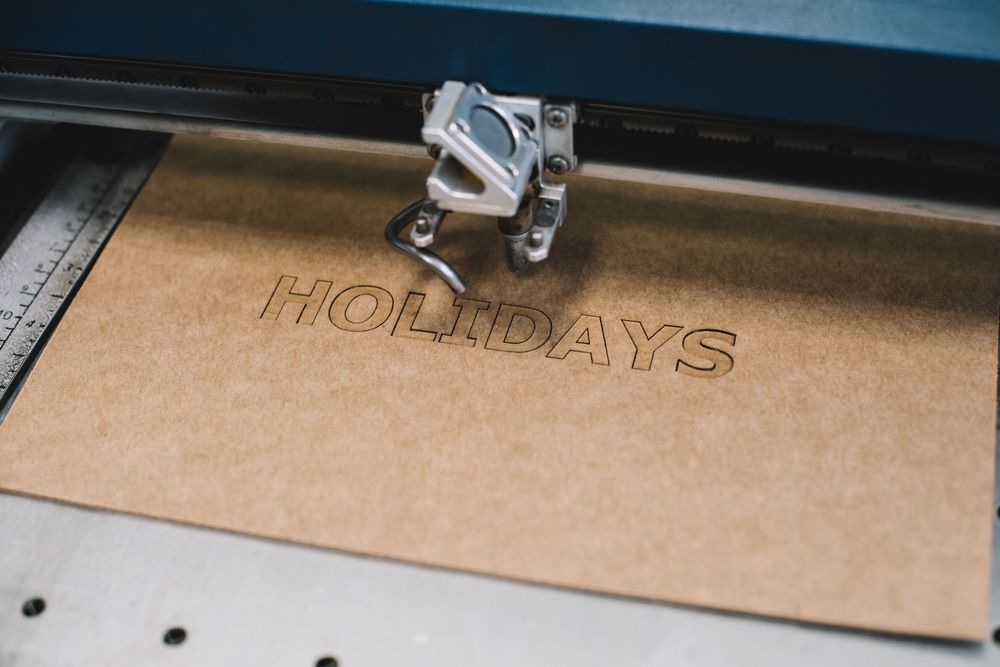


Other than the vent, you will also need to check the exhaust duct every once in a while. This can typically be maintained less frequently than the vent, but you should still do it once every month or so. This will help ensure that your laser engraver is operating optimally. It will also prevent situations where fumes are not getting vented to the correct location, which can cause health problems.
This part is especially important if you work in a small room with no ventilation and you rely on the exhaust duct exclusively for keeping the air clean. Even small build-ups in your exhaust duct can become problematic fast, so you should pay close attention to it.
4 – Clean and Lubricate the Motion System
Most laser engravers are designed to last a long time after their initial purchase with very little maintenance on the motion system. Even with the best home laser engraver though, you’ll need to clean out any dust that has accumulated inside and apply some lubrication to keep things running smoothly.
Cleaning the system is often best done with a portable vacuum cleaner. Just run it around all moving parts to suck all the dust out. Make sure to avoid hitting any internal components with the vacuum cleaner’s nozzle. After that, use a delicate towel with some general cleaning solution to wipe down all surfaces where the rails move.
Once you’re done with this step, wait some time for the cleaning agent to evaporate properly before turning the laser engraver back on. Otherwise, you risk damaging the system permanently.
Lubrication should be done once every 2-3 weeks for the best results. Use a lubricant that’s specifically designed for fine machinery. Ideally, you should check with your manufacturer for a list of recommended brands.
Applying the lubricant can be done with either a Q-tip, or a syringe directly on the rails. Be careful with the latter method though – it can lead to some spills inside the machine, which you definitely want to avoid.
After you’re done lubricating, clean all excess lubricant thoroughly. Lubricant can attract dust and lead to the creation of nasty clumps that can be difficult to remove, so you should do your best to prevent that from happening.
5 – Clean and Replenish Filter
If your laser engraver has a filter, you should regularly clean it and optionally change its pre-filter. Some filters need to be replenished as well – for example, if yours uses charcoal as part of the filtration process, you will eventually have to purchase a fresh supply of granulated charcoal and replace the one currently in your filter.
Many filters are covered in a pre-filter pad that traps particles and other contaminants before they have a chance to reach the filter’s interior. This pre-filter needs to be replaced regularly, because if it gets too dirty, its performance will decline.
Replenishing the carbon used in your filter can be a bit trickier and requires following the exact instructions of the manufacturer. Make sure to purchase replacements exactly as specified by the company. You may not be able to use all products you find on the open market by default.
6 – Check the Alignment
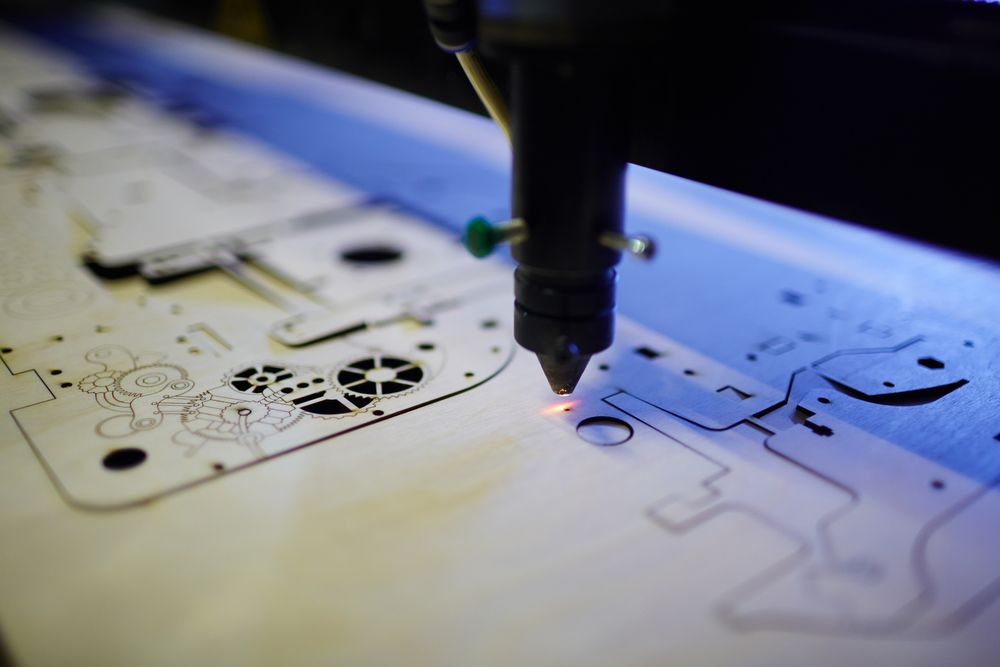

Sometimes your mirrors may get misaligned. This usually happens after transporting the laser engraver without packaging it properly. However, it can also happen while the device is stationary, usually as a result of the heat produced during the engraving process. Realigning the mirrors should be done carefully. If you don’t pay attention to what you’re doing, you risk making the problem worse.
When in doubt, consult a professional for this part of your laser engraver’s maintenance. Don’t brute force it, as the mirrors and lenses involved in the process are delicate components that require careful handling.
7 – Remove Debris from the Crumb Tray
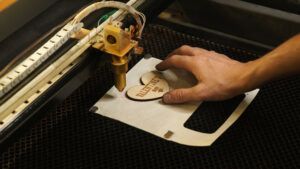
If your laser engraver also has a cutting function, you will often have small debris falling from the working material. Those will fall into a special crumb tray meant to capture them for easy disposal. The tray can eventually get full and needs to be emptied out on a regular basis. This is very easy to do – just open the tray access door of your laser engraver, remove the tray, and dispose of its contents in the garbage.
This should be done regularly, because allowing your crumb tray to overfill can cause additional problems, like larger clumps of material gathering and becoming very difficult to remove. Take some time to clean out your crumb tray every week if possible. It takes just a few minutes and it’s one of the simpler forms of maintenance you can perform.
8 – Cover the Engraver When Not in Use
When you’re not using the laser engraver, you should keep it covered under a wrap. This will prevent dust from accumulating in it. This can be particularly useful if you use your laser engraver in a small room without much ventilation. You may also see debris accumulating from other items that are being stored in the same room, especially if you keep your working materials in close proximity.
Covering the laser engraver will go a long way toward minimizing these issues. While it won’t completely prevent dust from making its way into the machine, it will help you keep things nice and tidy. Be careful with the type of cover you’re using – avoid any flammable materials. You should additionally give the laser engraver some time to cool down after working with it before you cover it.
Conclusion
Cleaning your laser engraver regularly and taking proper care of it when it’s not in use will be of great help in preventing some of the most common problems with devices on this market.
There are various procedures you’ll need to perform on the regular basis, but overall, the maintenance required by most home laser engravers is minimal.
If you spend a bit more on a high-end model, you can usually expect lower maintenance requirements from it. That’s not always the case though, so make sure to familiarize yourself with each product’s guidelines carefully.

