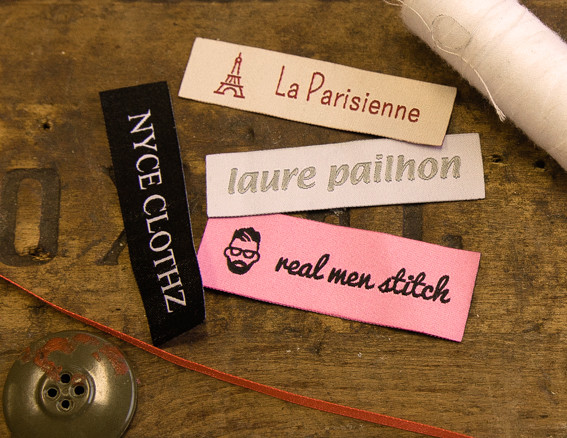
Wondering how to embroider clothing labels? If so, follow the steps below to get yourself beautifully embroidered tags. Do this to promote your company.

Supplies Needed
To embroider labels that will help you promote your brand name, you will need:
- Ribbons
- Threads with colors complementing the ribbon
- A pair of scissors
- An embroidery machine for home use
- An adhesive stabilizer
Step by Step Guide to Embroider Labels
Step 1
- Hoop your stabilizer using the smallest hoop. Ensure removing the paper topping.
- Once this is done, transfer the center marks from your hoop’s grid to the adhesive stabilizer.
Step 2
- Lay a longer length of your ribbon than the size intended for the label, on the adhesive stabilizer.
- To keep the ribbon straight, align its bottom edge with the horizontal center line.
Step 3
- Once you’re done positioning the ribbon above the horizontal center line, move the embroidery design up from its centered position to allow the ribbon set correctly.
- If this is being done on a computer, make use of the move cursor on your screen to help the design move up slightly.
Step 4
- Preview the design placement on your computer screen itself. To do this, make use of the trial key. This is an essential key that will help you check the placement of your design.
- Once the above is complete, print out the design to follow it.
Step 5
Your embroidery machine is what does the ultimate job.
- To make it run, you first need to lift up the needle with the handwheel set at the side of the machine.
- Place the ribbon below it and position it in a manner that will help you create your design over it with ease.
- Once the step mentioned above is complete, lower the needle with the handwheel to begin embroidering over the desired area.
Step 6
- When you are finished with your work, ensure removing the hook from your machine.
- However, if you intend to embroider more labels do not un-hoop the adhesive stabilizer.
- Place the ribbon you have already worked on with a new one to continue with the job.
Things to Remember
- Avoid getting distracted. Pay attention to the design being created to ensure every alphabet is following an equal alignment.
- Remember to patch the hole created when pulling off the ribbon. To do this, take a section of the adhesive stabilizer and stick it at the back of the hooped piece. Since ribbons leave very little residues on sticky stabilizers; you can patch and reuse the original hooped adhesive stabilizer many times.
Alongside all the tips mentioned above, make sure that the text size is within the border of the ribbon. Remember never to extend the needle such that it crosses the boundary of the ribbon.
Overstitching should be avoided under all circumstances. Bear these in mind to create unique embroidered labels.