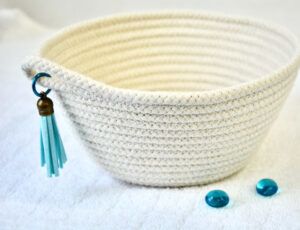
Explore your creativity and embark on a delightful journey of making embroidered rope baskets! It’s a craft that lets you express yourself and creates functional and beautiful storage solutions.
Picture having your custom-made baskets adorned with intricate designs or personal touches to organize your space. Whether you’re a seasoned sewist or just starting, this project offers endless possibilities.
This guide will walk you through making your first machine-embroidered rope baskets. You’ll learn how to create a sturdy base, choose the right materials, and add flair through embroidery.
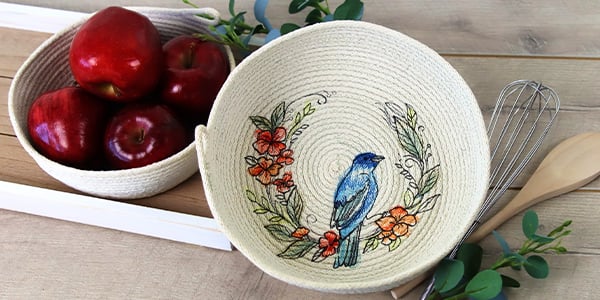
Necessary Sewing and Embroidery Supplies
Sewing Supplies:
- 100% cotton clothesline rope
- All-purpose thread
- Fabric scissors
- Sewing needle
- Spray adhesive
- Fabric marker or chalk
- Straight pins or clips
- Sewing machine
Sewing Machine Setting:
- Set your sewing machine to the zig-zag stitch.
- Adjust the stitch width to a range of 4.0 to 7.0mm.
- Opt for a stitch length within the range of 2.5 to 3.5mm.
- A heavy-duty or denim needle works best for this type of project. For size, go for a 90/14 or 100/16 needle.
- Use polyester or nylon thread since they work well with rope.
- Set the tension to medium.
- Use a standard presser foot.


Embroidery Supplies:
- Embroidery machine and needle
- Embroidery design and thread
- Lightweight bobbin thread
- Embroidery hoop
- Water-soluble embroidery stabilizers
Embroidery Machine Setting:
- Needle: Use a size 90/14 or 100/16 embroidery needle.
- Thread: Size 40 or 60-weight thread.
- Bobbin thread: A 60-weight bobbin thread should do the trick.
- Tension: Start with a medium-tension setting. You can make small adjustments as needed during your test stitches.
- Embroidery hoop: Choose a hoop large enough to accommodate the size of your rope basket design. Make sure the hoop is clean and free of any debris.
- Speed: Begin with a moderate speed setting. You can adjust this based on how well the machine handles the rope material.
Choosing The Embroidery Design
Choosing the best embroidery designs for rope baskets can enhance the overall look. Here are some friendly tips to help you out:
- Generally, it is best to use round embroidery designs.
- Pay attention to the size of the basket. A small, intricate design might get lost on a large basket, while a bold design could overpower a smaller one.
- Do not use solid-fill embroidery designs. Such designs often cause needle breakage.
- If the rope basket is very detailed or has a complex pattern, you might opt for a simpler embroidery design.
- Browse through craft magazines, Pinterest, or online craft communities for inspiration. You can also look up designs from the Embroidery Library.
- If you’re uncertain how a particular design will look, consider stitching a small sample on a scrap piece of fabric or rope. This way, you can visualize it before committing to the final design.
- If you are new to embroidered rope baskets, start with designs with less dense stitching.
- To make a personalized rope basket, you can add initials, a favorite quote, or a meaningful symbol.
How to Make an Embroidered Rope Basket


Create a Rope Basket With a Sewing Machine
The first step to making an embroidered rope bowl involves creating the base of the rope basket with your sewing machine. A sturdy base gives your basket a solid starting point, so it stays in great shape as you build the sides.
After completing the base, you can switch to an embroidery machine to add your preferred design. Follow the steps below to sew the rope bowl base:
- Pick the right rope: Embroidered rope baskets look great once you start with the right type of rope and density. Cotton clothesline rope is usually recommended for making rope baskets. Check the tutorial on How to Make Rope Baskets to find out the right thickness of rope you need for this project.
- Prepare the rope: This involves cutting and adding masking tape to prevent fraying.
- Coil the rope: Once the rope is prepared and primed, you can start coiling toward the rope basket shape. This article on How to Make Rope Baskets explains how to coil rope to make oval or square baskets.
- Sew the base: Set your sewing machine to zig-zag stitch together with other sewing machine settings. Then, start sewing the coiled rope slowly. Read “How to Make a Rope Basket” to find details on properly sewing the coiled rope.
Steps to Embroider a Rope Basket
- Step 1: Prepare the Coiled Base for Embroidery (as instructed above)
Ensure you sew the coiled rope to the point when the base is bigger than your embroidery design. Afterward, lift that foot and needle and gently pull the base away from the machine.
What you have is a long tail of top thread and your bobbin. Stitch them long enough to knot neatly. Then, tie them tightly along the tail’s inner border. Use a pair or triple loop.
It is usually easier to embroider the flat foundation. Finally, adjust the sides as tall as you like without worrying about stitching interference.
- Step 2: Position the Embroidery Design
Place a printed pattern in the middle of the spiral rope base to ensure the layout fits perfectly. Trace the template’s center and the vertical and horizontal marks with an air-erase marker.
Utilizing a ruler and an air-erasable pen, stretch the axis marks. This will simplify the appropriate position of the spiral rope base in the hoop.
A stabilizer should be hooped while being taut but not too tight. Place your coiled rope base inside the hoop after that. To keep it in place, use some fabric glue or tape. By doing this, the rope will be sturdy during the stitching stage.
Stitch the coiled base to the stabilizer using a hand-sewing thread and a needle. Only the coil’s outside edges need to be stitched. Ensure the base remains parallel to the stabilizer, level, and aligned with the hoop’s markings.
- Step 3: Set the Machine for Embroidery
Select the appropriate stitch type, typically satin, for a smooth finish. Adjust the stitch width to around 4.0 to 6.0mm, and set the stitch length between 2.5 to 3.5mm.
Use a 75/11 needle for the best results. This needle has a smaller tip and will pierce the stabilizer and rope with fewer holes. Make sure your thread matches the needle size.
Position the needle at the center of the sketched lines after attaching the hoop to the embroidery machine. Upload the embroidery template.
- Step 4: Embroidering the Design
Begin the embroidery process, ensuring to follow the design’s outline. Take your time and monitor the machine to prevent any hiccups. The satin stitch will beautifully cover the rope, adding a decorative touch.
- Step 5: Trim Loose Threads and Remove the Stabilizer
Take the embroidery hoop from the machine once the design has been sewn all the way through. The basting threads should be taken out with a seam ripper.
Next up, let’s deal with the stabilizer. Remember that backing you used to keep everything steady during embroidery? It’s done its job, but now it’s time to go.
Gently tear it away or use scissors to carefully cut it out. Take your time and patience – we want to ensure we don’t disturb those beautiful stitches. You can learn how to remove water-soluble stabilizers by checking the producer’s manual for guidance.
Next, carefully trim any loose threads. If needed, reinforce any areas that may require additional stitching for security.
Now that the embroidery design is on the coiled rope base, you can finish off the edges and sides of the basket. Read the article on How to Make a Rope Basket to learn how to sew the sides, create loops, and finish the embroidered rope basket.
Embroidered Rope Basket Ideas
Anyone can learn to embroider a rope bowl with the right ideas and techniques. You can start creating lovely rope baskets using any of the following embroidered rope basket ideas:
Rope Basket with Embroidered Fabric Base
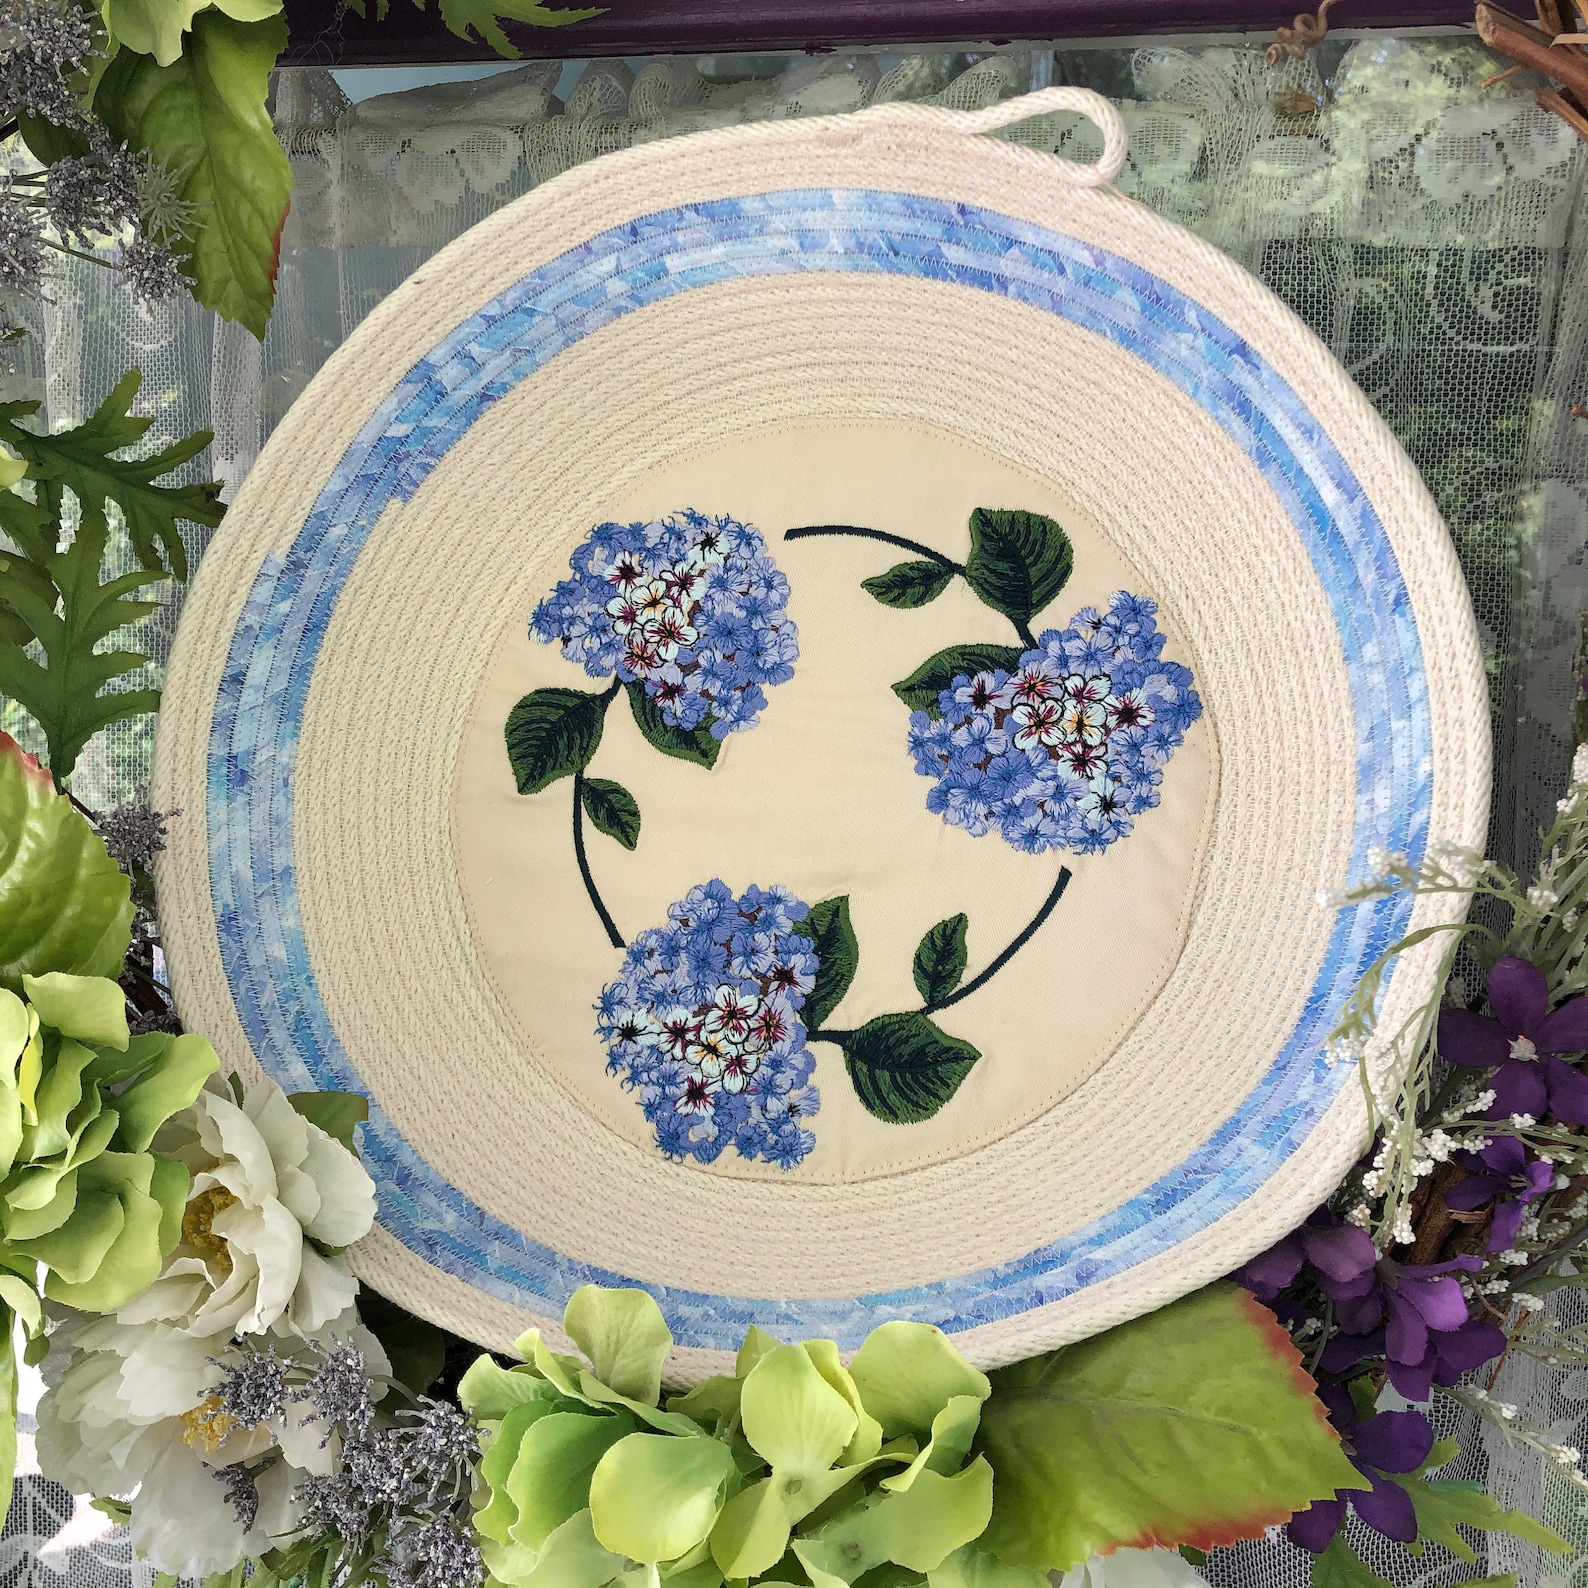


Here is an easy alternative to embroidering directly on the rope. Instead, we’ll jazz up the base with some embroidered fabric.
Start by coiling the rope and sewing the base, as described in the previous section. Then, cut out a circle from your chosen fabric – make it a bit bigger than the base of your basket.
Now, pick a cool embroidery design that you love. Hoop up the fabric and get your embroidery machine ready to roll. Finally, sew the embroidered fabric to the rope base and continue sewing the edges until it forms your desired basket.
Embroidered Oval Rope Basket
What makes this special is that the base of our basket will be oval-shaped, not the usual circle. To get that oval shape, start coiling it along the shorter side of the rope. That’s right, go horizontal instead of the usual vertical.
As you continue coiling and stitching, you’ll notice that the base naturally takes on that lovely oval shape. Keep it snug and neat as you go. Finally, embroider the oval base with the design of your choice, as described in the previous section.
Embroidered Rope Bowl with Fabric-Wrapped Sides


You can become creative by making colorful embroidered rope baskets with fabric strips sewn to the sides. First, coil the rope and sew the base before you machine embroider the rope bowl.
After completing the base, get your favorite fabric and cut it into strips about an inch wide. Check the tutorial on How to Make Rope Baskets to find out how to cut and attach fabric strips to the sides of the rope.
Embroidered Rope Baskets with Handles
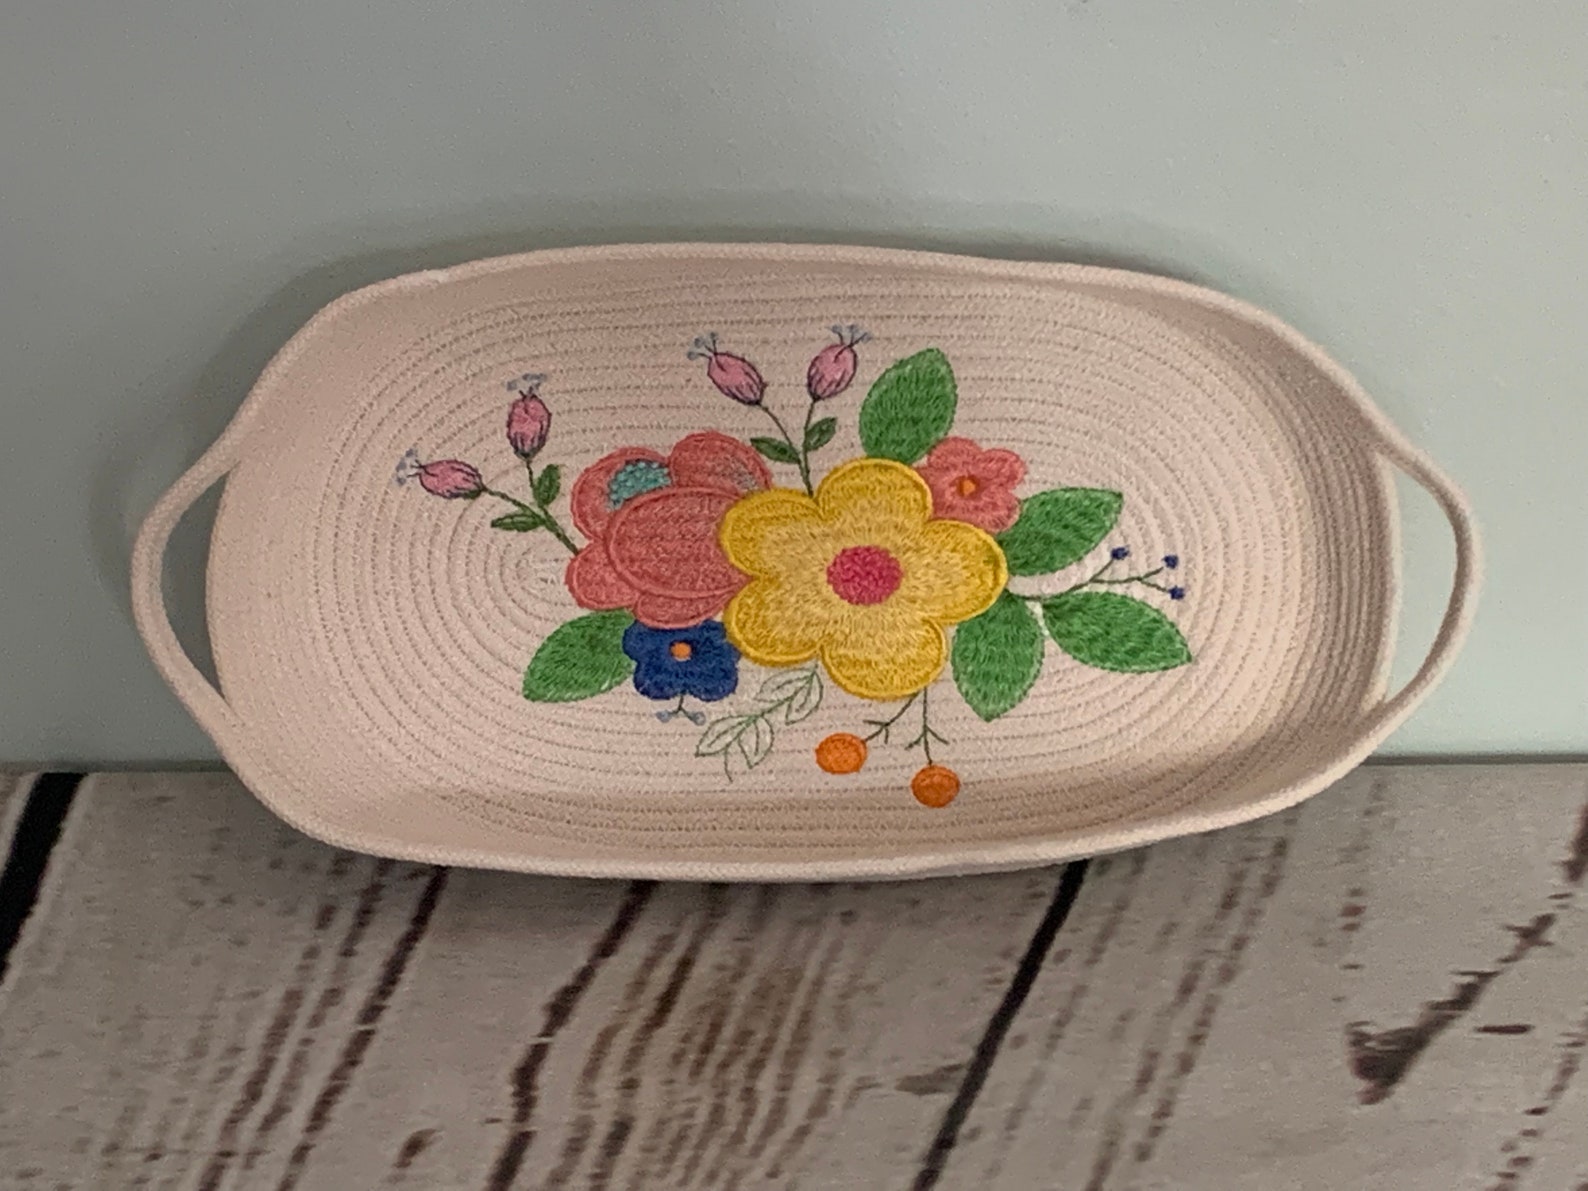


Including handles in the embroidered rope baskets makes them fashionable and functional. Start by coiling the rope into a circle for the base of your basket.
Stitch it together using a zig-zag stitch on your sewing machine. Then, hoop up your base in the embroidery hoop and choose an awesome design.
For the handles, decide where you want them and mark those spots. To finish off, use your sewing machine to attach them securely. You can make them as long or as short as you like – it’s your design!
Personalized Embroidered Rope Bowls
If you know how to create embroidery designs, then you’re on your way to making some seriously awesome personalized rope bowls and baskets. You can use free tools such as Ink/Stitch, Stitching Joy, and Stitchboard to create embroidery designs of your choice.
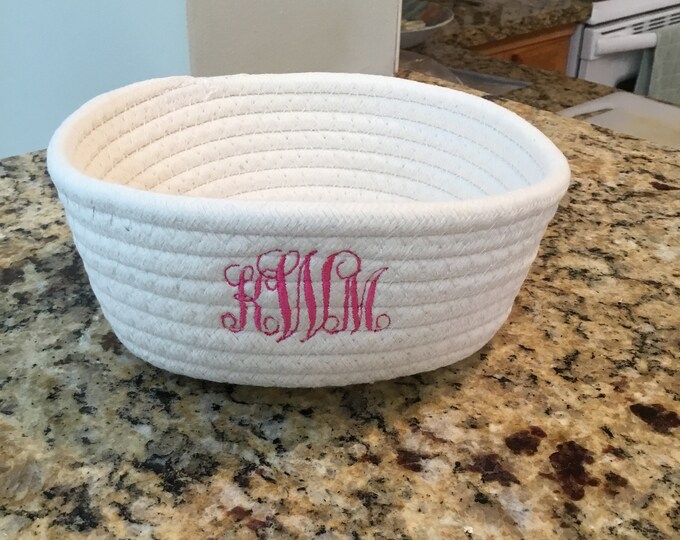


Personalizing your rope bowl can come in different ways:
- You can stitch your initials or full name to make it yours.
- Use thread colors that reflect your favorite shades or match your room decor.
- If you have a quote that inspires you, embroider it in your bowl.
- Add in fun shapes or symbols that resonate with you.
Conclusion
Creating different embroidered rope baskets with different designs is exciting. Apart from the fun, this craft hones your embroidery skills and lets you create functional, personalized pieces that brighten up any space.
The versatility of rope baskets allows for endless creativity, from choosing designs to experimenting with colors and textures. Moreso, they make fantastic, thoughtful gifts!
The steps are basic and easy to master. Always start with a solid base, whether coiled rope or a fabric-wrapped one. And don’t be shy about adding those personal touches, whether it’s your initials, a favorite quote, or a dazzling pattern.
