For many people who love sewing, the next step is usually to learn quilting.
After all, who wouldn’t want to have the expertise to create colorful warm cozy quilts. They are one of the most popular gifts and usually end up being one of those family heirlooms people pass on from generation to generation.
What’s more?
Making one with a loved one can be an incredible bonding experience.
The only problem is that making a quilt can be a little tricky for a beginner, making many of them shy away from the experience altogether. But worry not, we have got you covered.
Here you will find a compilation of all the quilting techniques that a beginner needs to know to make the process as seamless as possible. So sit back and relax as we make your life a whole lot easier!
Know Your Quilting Terminologies!
Before you even go forth and start quilting, the first thing you need to do is learn the basic quilting terminologies. You can do this by reading a quilting book or reading quilting articles like this one. Here are some of the most popular quilting terms:
- Quilt top: the design or fabric at the top of the quilt. It usually has a border and is made up of several quilt blocks
- Backing fabric: the fabric at the bottom of the quilt. It is usually 4 inches longer on each of its sides to allow for quilting using a long arm machine
- Batting: This is the material sandwiched between the quilt top and backing fabric. It is what makes a quilt thick and heavy. It can be made of natural fibers like cotton or polyester / poly-cotton blends
- Basting: This is a technique used to hold the quilt top, batting and fabric securely together while quilting is done using a sewing machine. There are three methods of basting; spray, thread and pin basting.
Master Rotary Cutting!
Now that you know your basic quilting terminology, the next thing to master is rotary cutting.
You want to know why?
Well, it’s because the success of your quilting project is highly dependent on your ability to make good fabric cuts. The good thing is there are many types and sizes of rotary cutters to choose from.
While the most popular sizes of rotary cutters are 45mm and 60mm in diameter, there are smaller sizes like the 18mm and 28mm ones.
Whenever you are choosing a rotary cutter, there are several factors you should put into consideration. These include:
- Rotary cutter diameter: Cutters with large diameters are better at handling high volumes of fabric while those with small diameters are better at cutting around curves
- Rotary cutter handle: Your choice in the handle is entirely personal. Options include curved handles, straight handles, padded handles and ergonomic ones
- The presence of a safety latch: For safety reasons, it is best to get a cutter with a latch that holds a guard in place to avoid accidental cutting. However, you should test out the different latch options available so that you opt for one that doesn’t hinder your cutting mobility
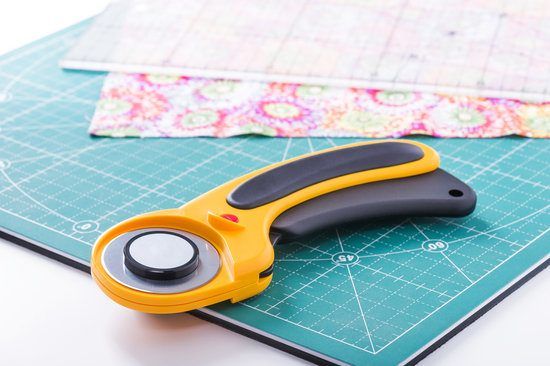

For best results, you should use a rotary cutter hand in hand with a quilt ruler and a self-healing mat. Here is a step by step guide of how to use a rotary cutter:
- Choose a cutting mat and spread it out on the working space
- If your fabric is larger than your cutting mat, fold it along its length once or twice as necessary
- Place your fabric flat on top of the cutting mat
- Place and pin the pattern on top of the fabric
- Undo the safety latch and roll the blade along the pattern line. At this point, you can use a ruler for greater accuracy
Use Pins to Make Your Piecing Easy
As any professional quilter will tell you, quilting is not complicated; it is simply sewing together different pieces of fabric, hence the term piecing.
However, there are some things you have to do to ensure that your piecing is as accurate as possible.
One of these things is simply using pins. Attaching the right sides of your pieces of fabric together using pins before sewing ensures that the edges remain still as you work. This reduces the possibility of errors.
Fortunately, you have several types of pins you can choose from. While glass head pins are suitable for projects that involve a lot of ironing, safety pins come in handy when you need to do some basting.
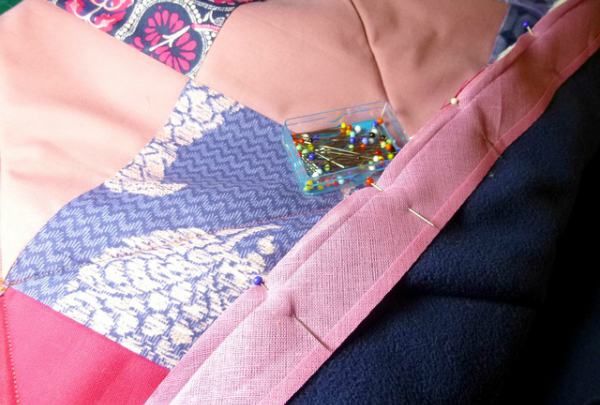

It is important to note that the best safety pins for basting are those that have a bend in the middle that makes it easy for them to pass through the layers of fabric and out again.
Some tips to keep in mind when pin basting include:
- Always start pin basting from the center as you move out and smooth any wrinkles in the quilt
- Don’t close any of your pins until you’ve finished basting at least a section of your quilt; just in case you change your design and have to undo everything
- Use bandages to protect your fingers from accidental piercing
- Close all your pins before you begin to sew
- Instead of using your bare fingers to close the pins, you can use a spoon or the edge of an old credit card
- Always choose pins that are large and strong enough to penetrate all three layers of fabric and come back up
Keep on Pressing!
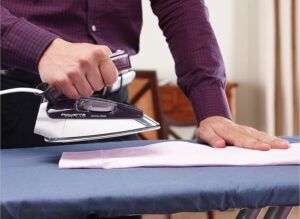
To ensure that your blocks lie properly flat, make sure you press each seam immediately after sewing it. This ensures that the whole quilt looks neat and tidy.
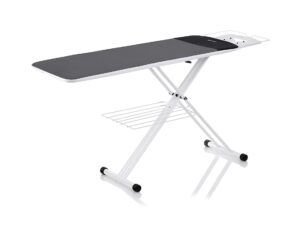
It also increases the accuracy of your entire quilting process. While you can use your usual steam iron and ironing board for pressing, you also have the option of getting a specialized quilting iron.
Use the Right Seam Allowance
If you have been sewing for a while, you are probably accustomed to using the ⅝” seam allowance. However, quilting will require you to get used to the ¼” seam allowance.
Although it may take a while for you to get the hang of it, practicing this seam is sure to help you get used to it as soon as possible. Here are a few pointers to get you on the right track:
Get a quarter-inch presser foot
While some machines do come with this specialized foot, you can always buy a new one. This foot’s edge is a quarter inch away from its needle position allowing your machine to seamlessly create ¼” seams.
However, using this foot exposes the feed dog on the right side, leading to a reduction in traction
Use an adhesive guide
Commercial adhesive guides like Collins Machine Seam Gauge & Adhesive Guide are readily available in the market today. Alternatively. You can make your own using masking tape or moleskin
Get Acquainted with Quick Piecing Techniques
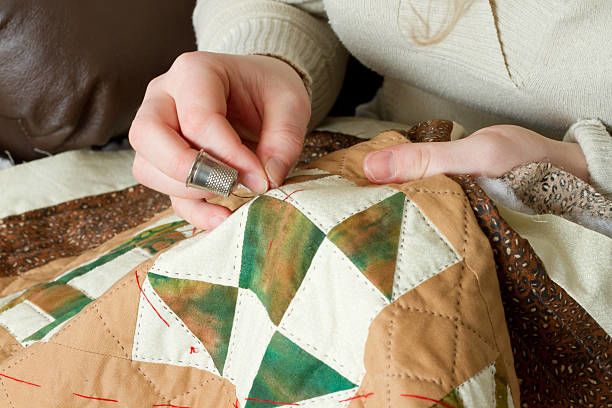

Needless to say, there are several piecing techniques that quilters usually employ to make their quilting process much easier and faster. Learning such techniques will definitely go a long way in building your sewing expertise.
The most popular ones include:
- Chain piecing: As its name suggests, this type of piecing involves stitching several pieces in a chain fashion; one after the other
- Strip piecing: This involves joining strips of fabric and then cutting them into smaller units
Learn to Measure and Sew Borders Correctly
In order to give your quilt a more attractive look, it is important to learn how to measure and sew borders correctly. It is important to mention that borders have a way of fixing slightly skewed edges.
Also known as butted borders, straight sewn borders are the most popular ones among quilters. This is attributed to the fact that they are quick and easy to sew.
Here is a step by step guide on how to create these borders:
- Measure the length of the quilt through its midpoint
- Cut two border strips that exactly match the above-measured length and with your preferred width
- Piece the strips lengthwise on the quilt from end to end
Some tips to keep in mind when making borders include:
- Consider allowing for a little extra length when cutting your strips to cater for any length lost in seams
- Consider taking quilt length and width measurements at several points and working with the averages to increase on accuracy
The bottom line
After everything is said and done, you should remember one thing: mistakes are all part of the learning process.
So whether your quilt blocks don’t look quite right or you are seriously beginning to question your choice in fabric, be assured that it is not the end of the road. Most of the tiny quilting errors can be rectified and those that can’t form beautiful lessons.
After all, as long as you have a sewing machine for quilting, you can always create better more beautiful quilts in the future.
