Let’s face it. Covid 19 seems to be here to stay. The World Health Organization, WHO, and the Center for Disease Control, CDC, recommend pairing face masks with frequent hand-washing and strict social-distancing for effective prevention of the spread of the disease.
Consequently, the demand for protective facial masks at an all-time high. The production of commercial masks can hardly keep up with the high demand for protective clothing. And it will not be long before sellers run out of supplies.
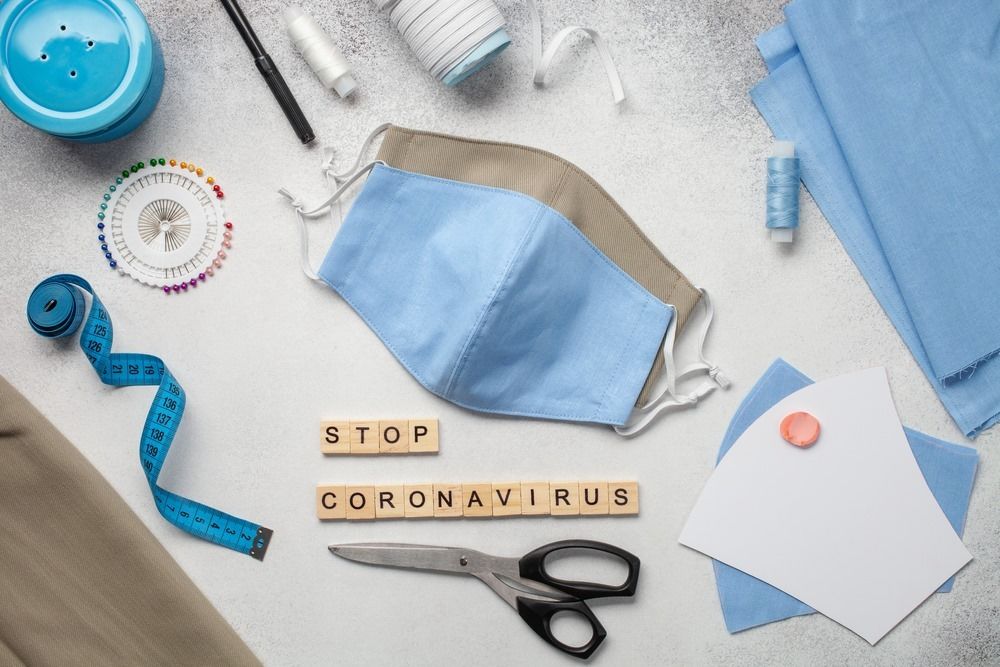
So, it is wise to embrace homemade no-sew face mask and reserve medical-grade masks for healthcare workers and other medical front liners and emergency first responders.
All thanks to the growing awareness of the viral pandemic, you need not be a medic to understand the value of these wearing cloth face coverings in public spaces.
This post contains proven steps and strategies on how to craft these protective gear right from the warmth of your home without utilizing any special tools or skills and without spending a ton.
Here are some of the best ways to make face masks without a sewing machine:
- Make Masks Using a Bandanna, Handkerchief or Scarf
- Make No-Sew Face Mask Using an Old Cotton T-shirt
- Make Masks Using a Reusable Grocery Bag
- Make Face Mask Using a Sock
- Pillow Case Face Masks
Advantages of Homemade No-sew masks
Easy to make
From the veteran who was born with a needle and thread in their hand, to the newbie who is scared even to pick up a needle, there is a DIY project here to match your skill.
Therefore, you have no excuse. And like any other DIY project, working with face masks should begin with small and simple projects before getting more ambitious.
Economical
Try not to misunderstand me – I cherish premade masks. But here’s an inescapable fact, while we all express admiration for the well-made commercial masks, some of our pockets may disagree.
With the CDC recommending washing masks after each use and wearing a clean one every time you go out, you will need multiple covers. This may prove quite costly.
Thankfully, you can avoid any expenses by using available resources at your disposal like handkerchiefs, T-shirts, socks, pillowcases, bandannas, hair ties, rubber bands, needle, thread, and safety pins.

Customizable
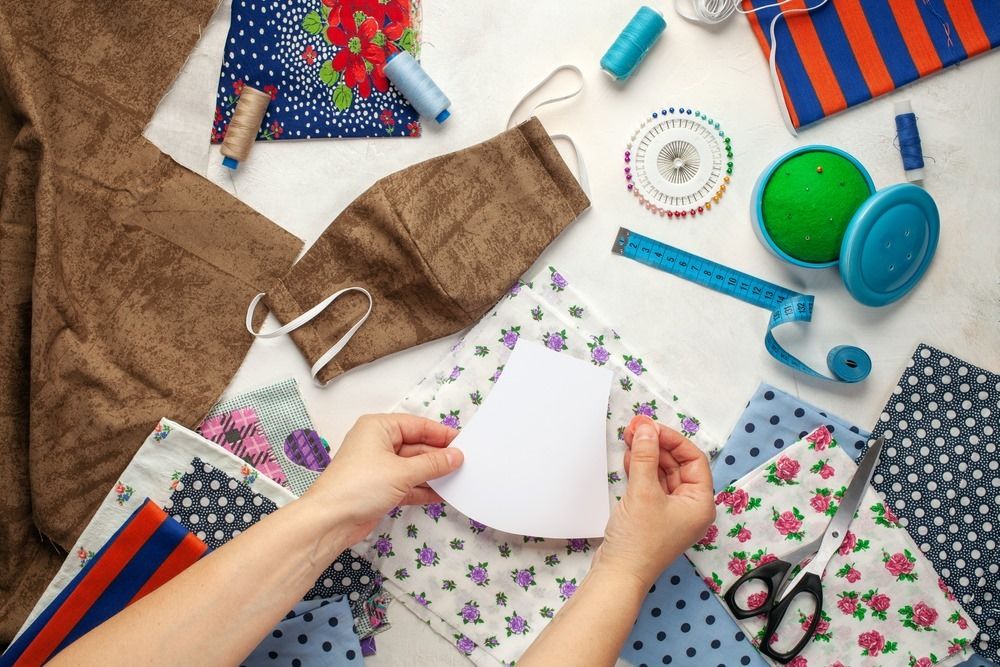
You also get the freedom to customize the mask to suit your preferences. If good looks concern you, look for colorful fabric and feel free to include any details or highlights that you prefer. This way, you will add a sense of style and complement your elegant apparel.
Environmental Conservation
Using recycled fabrics, shopping bags, and other is one sure way of reducing landfills and conserving the environment.
If you are genuinely into environmental conservation, then using these materials should be your first step towards expressing and affirming your passion as a conservationist.
Before You Begin
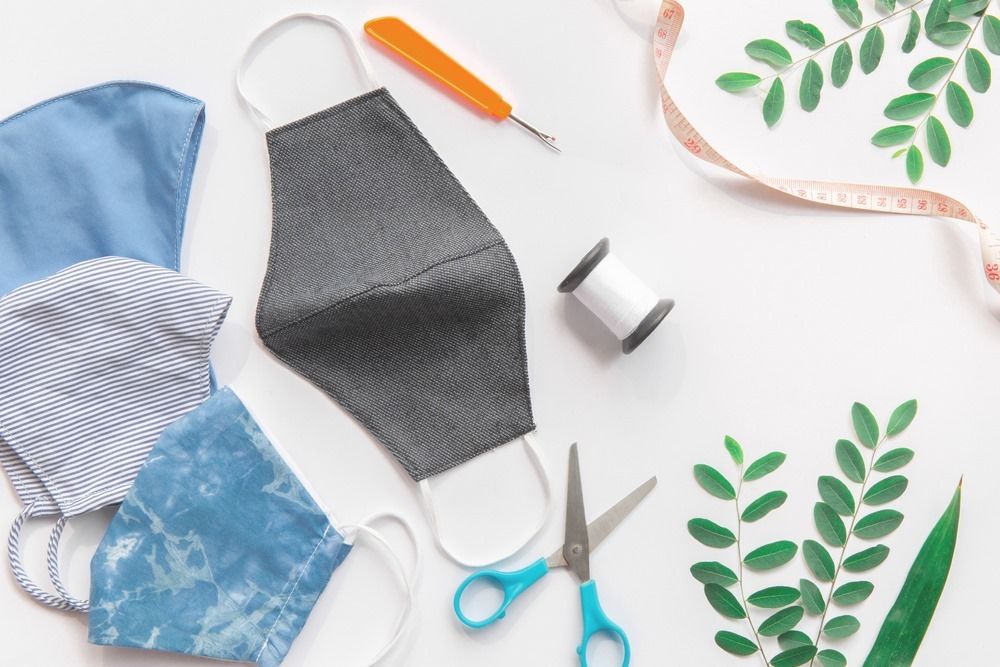

- Before you set out to construct your desired mask, take time to collect all the supplies you require for the project.
- Like any other DIY project, you cannot do without drawing a rough sketch on paper. The plan will give you a rough picture and a clear understanding of how the final unit will look. You will also get to think aloud on paper, generate ideas and concepts, and help articulate the possible problems you will face and find ways to tackle them.
- Make sure the mask fits snugly and comfortably over your nose and mouth and allows you to breathe and talk freely.
- For the novice DIY lover, simple is better, but if you are a pro and prefer a more sophisticated design, include all the details in your sketch.
How to Make Face Masks without a Sewing Machine
1 – Make Mask Using a Bandanna, Handkerchief or Scarf
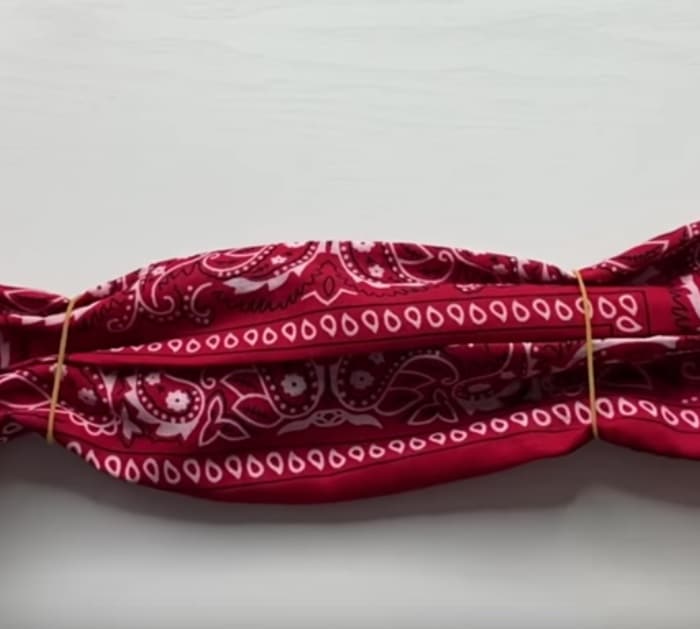


You need not have any tailoring skills to have the capacity to construct your stand-out bandanna mask. This process is a child’s play and perfect if a lot of resources are not possible for you.
What you need
- Handkerchief or bandanna
- Two rubber bands or hair ties
- Coffee filter or paper towel(optional)
Procedure
- Put the fabric on the table.
- Fold the top and bottom sides of the clothing towards the center.
- Fold the fabric again until it is about a quarter its original width. Confirm that it is wide enough to cover your nose and mouth.
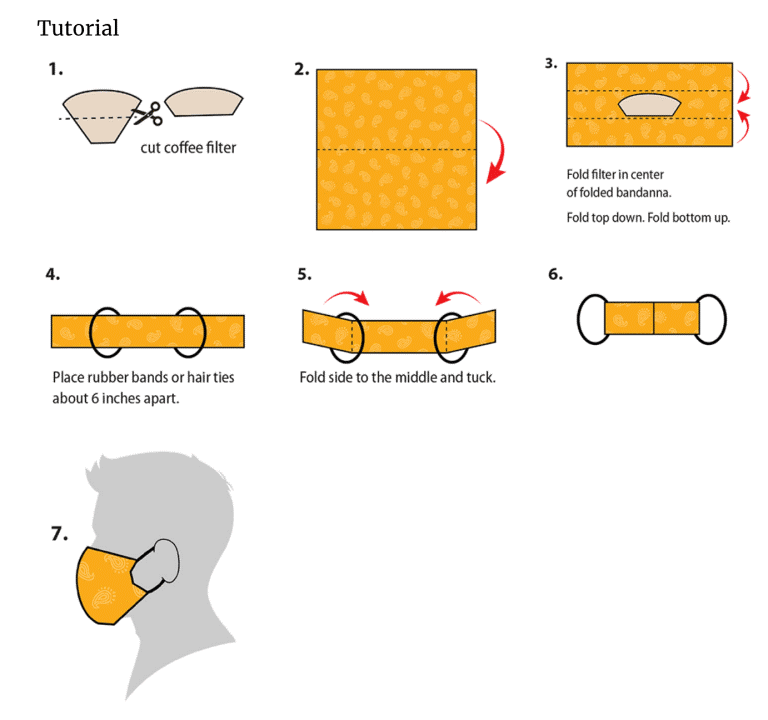
- Slip in the elastic bands or hair ties from the sides until they are about 6 inches apart.
- Fold towards the center, each of the two end sides from the point where the elastic bands are positioned. After that, tuck one side into the other.
- Fit the mask with the elastic around your ears. Adjust for a custom and comfortable fit.
- The level of protection offered by bandana and handkerchief fabric is basic and doubtable. Therefore, the CDC advises that you add a coffee filter, HEPA filters, or similar paper material as you fold the fabric for utmost protection. Hold your fabric up against a source of light. If you can see through the mask, then you will need a filter.
Talking about the CDC, below is their official graphic to guide you through the process.


2 – Make No-Sew Face Mask Using an Old Cotton T-shirt
Another worthy project that caught my attention is the old-cotton T-shirt face mask. Experts recommend cotton material for its ability to efficiently capture and block out any tiny particles and droplets emitted into the air that could carry the virus.
Cotton T-shirt material is also washable so that you can reuse your mask. Avoid very old, rusty and torn t-shirts. If there is no more life in the old dog, it may not be as effective.
What you need
- T-shirt
- Scissors
Procedure
Building a T-shirt mask is as simple as
- Place the t-shirt you have identified on the table. Find a marker and outline the pattern of the mask.
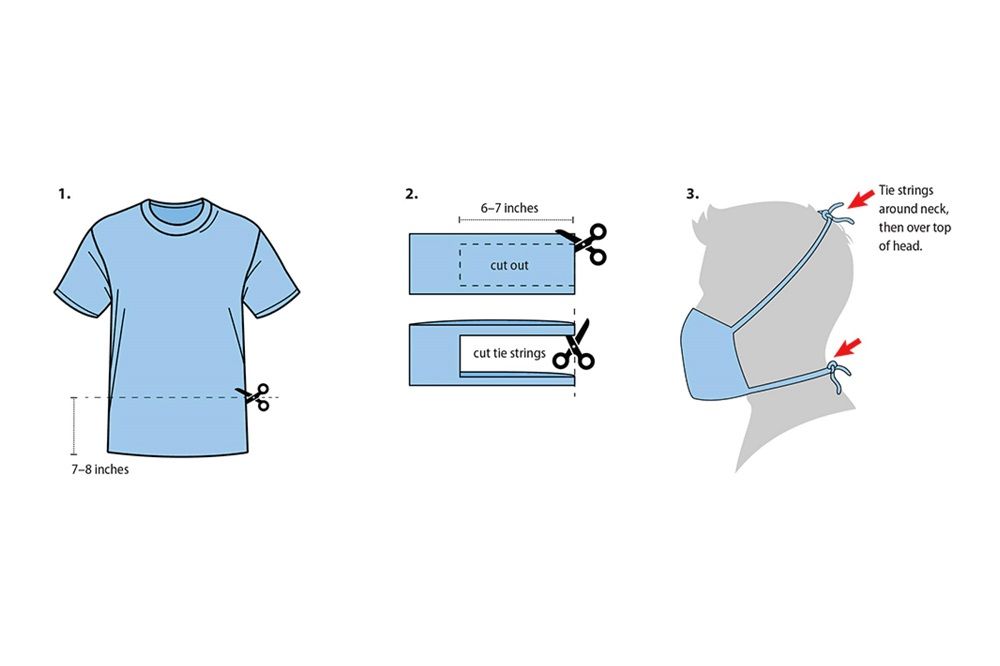
- Cut a straight line across right below the armpits and another straight line on the lower side about 4-6 inches from the hem. Check that the rectangular mid part you are left with is wide enough to cover your mouth and nose.
- Cut into the fabric’s sides, making cuts about 6 inches towards the center of the clothing. You will then leave two cut tie straps on the sides.
- You can choose to tie the two bottom straps together and two top straps for a behind the head hold. Otherwise, tie one top strap with a bottom strap for a behind the ears hold.
- Hold the fabric up against a source of light, and if it is too light, you will need to cut the 2nd layer separately and then stack them on top of each other. If the two layers still seem too light, you may want to consider adding a paper towel or coffee filter between the two layers and securing it with a safety pin.
Below, you will find another CDC infographic outlining how to make a no-sew mask from an old t-shirt.


3 – Make Face Mask Using a Grocery Bag, Shopping Bag, or Vacuum Cleaner Bag
Grocery bags, shopping bags, and vacuum cleaner bags are other excellent materials you can use for creating a no-sew mask. If you are using a shopping bag, look for a reusable grocery bag made of non-woven polypropylene or NWPP.


DO NOT use disposable plastic, insulated bags with foil on the inside, or waterproof bags with plastic linings. Such bags make it difficult to breathe or talk through the mask, enhance built up of heat and sweat, and make it uncomfortable to wear.
What you need
- Grocery Bag or Shopping Bag
- Scissors
- Two elastic bands
Procedure
- Trim the sides and corners of the bag to flatten its surface. Do not cut off the handles. Remove the seams at the bottom of any.
- Ensure you have two flat sheets with a handle each.
- Place the sheets of materials together so that your mask has two layers of fabric.
- Consider sewing the mask’s side seams for a more robust built. You can cheaply acquire some of the best handheld sewing machines, such as the CENGOY Handheld Sewing Machine. Such devices are quite inexpensive and will not drill holes in your wallet. Also, if you will not be all thumbs with the needle, consider hand-sewing.
- Outline the pattern of the mask on the fabric and cut a rectangle out of the material.
- Fold the top and bottom sides of the clothing towards the center.
- Fold the fabric again until it is about a quarter its original width. Confirm that it is wide enough to cover your nose and mouth.
- Use the handles of the bag as the tie straps.
- If the handles are not long enough to serve as tie straps or do not wish to use them, use elastic bands as tie straps. Slip in the elastic bands or hair ties from the sides until they are about 6 inches apart. Fold towards the center, each of the two end sides from the point where the elastic bands are positioned. After that, tuck one side into the other.
- Fit the mask with the elastic around your ears. Adjust for a custom and comfortable fit.
4 – Make a DIY No-Sew Mask Using a Sock
Gone are the days when you had to walk into a store and drop some bucks to purchase face masks. Lots of funds aren’t always possible for most people, but this should not be a problem when using socks to construct a DIY face mask. Look for stretchy material for added comfort and custom fit.
What you need
- A clean pair of socks
- Scissors
- Coffee filter (optional)
Procedure
- Put your sock on a flat surface and use your scissors to cut off and discard half of the foot area between the toe and the heel.
- Fold the sock at the heel section and cut the ankle area. Make sure that the distance between the heel and the top of the heel, and the distance between the heel and the foot are equal.
- Cut the cylindrical fabric open using your sharp pair of scissors to form a rectangular piece with the heel at the center.
- Slit two incisions about an inch from both sides and ensure that your ears can comfortably fit into the openings.
- If the sock fabric is light and requires extra protection, you will want to insert a folded piece of cloth like T-shirt material, cotton cloth, or coffee filter in the nose and mouth area.
- Also, confirm that the space between the two slits will fully cover your nose and mouth.
5 – Home-made Face Mask Using a Pillow Case
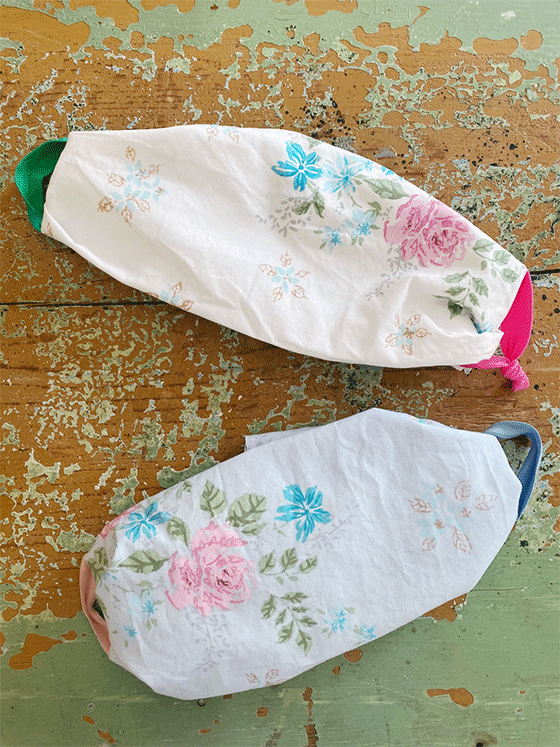


Save for the large size of the pillowcase, crafting a no-sew pillowcase mask is no different from making bandanna or handkerchief masks.
What you Need
- A cotton pillowcase
- Two elastic bands or hair rubber bands.
- Scissors
Procedure
- Place your pillowcase on a flat surface and cut along the sides, and through the hem, to form a rectangular piece of clothing. Reduce the fabric to about the size of your handkerchief or bandana.
- Fold the top and bottom sides of the clothing towards the center.
- Fold the fabric again until it is about a quarter its original width. Confirm that it is wide enough to cover your nose and mouth. As the size of the rectangle gets smaller, it also gets thicker with each fold.
- Slip in the elastic bands or hair ties from the sides until they are about 6 inches apart.
- Fold towards the center, each of the two end sides from the point where the elastic bands are positioned. After that, tuck one of the overlapping folded sides into the other.
- Fit the mask with the elastic around your ears. Adjust for a custom and comfortable fit.
Final Words
It’s time for you to unleash your creativity, ignite the artist inside of you, and learn how to make a face mask. You should stop complaining about how costly it is to constantly replace face masks and embrace these convenient and effortless ways of constructing protective clothing.
Whether you need one for your own use, or you intend to make some extra bucks from selling your homemade masks, this post has got you, and your face, covered.

