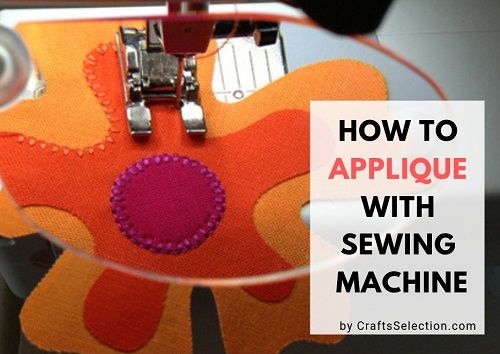
For the professional sewers, applique is an art which can never go wrong. You can attempt to do applique in two ways. It can be done by the hand and it can also be done by the regular machine.
The hand applique takes a lot of time but obviously, it’s too clean and hides the edges so well. For the machine applique, you need to first understand your sewing machine well.

The machine is always the quickest way to complete the applique as well as to finish the raw edges in the best possible way.
If you are a beginner or moving towards the intermediate sewing, this is the time when you should attempt the applique. Don’t worry about the guide because here we are going to help you step-by-step to make this working.
How to Applique With Sewing Machine?
Let’s go through some of the simple steps you need to follow for the clean and quick applique with the help of sewing machine.
Step 1: Fabric for Machine Applique
In order to create the applique, you need to choose one of the fabrics from woven and knit. You can use woven fabric as a background to the applique or make the applique itself.
If you are about to apply the applique to the knit fabric then always go for the woven fabric. Woven applique can be easily applied to the knitting and it will not get stretched at the time of stitching.
If you are creating applique out of the knit fabric then it needs a little effort and you may go through a little trouble.
For the straight stitching, knit applique is an ideal one because the edges will not fray.
When you are about to apply knit applique to any fabric, then it’s essential to apply any background first because at the time of stitching knit is going to be stretchy. The background will provide support to the fabric.
See also: How To Applique With Your Embroidery Machine?
Step 2: Choosing a Thread
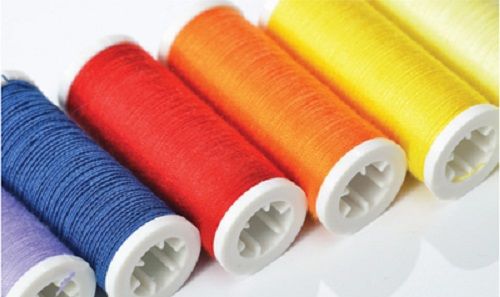
Once you are done with the fabric choices, now this is the time to go for the thread. You need to choose the thread on the basis of color and thickness.
The thread is going to be responsible for the finishing edges and how your applique is going to look in the end.
To hide it, you need to choose the same color but to highlight the applique on the project, you need to choose the bright contrasting color.


Along with the thicker and thinner fabrics, you can go for the embroidery thread as well. As embroidery thread is shiny and it will add beauty to the whole applique thing.
Another thing which should be in your mind at the time of choosing the thread is what is the weight of the fabric?
If the weight of the fabric is heavier then you need to increase the thickness of the thread accordingly.
Step 3: Pre-Washing
Before you start applique on any kind of fabric, make sure you are pre-washing the garment.
In sewing pre-washing is one of the basic factors, every sewer needs to work on because in some cases we almost forget to pre-wash which brings trouble later.
If sewers want to step into the professional world and want to recognize by their work then work on the basic principles of sewing.
Always pre-wash the fabric and then move forward for the applique. In case you are not going to pre-wash the fabric then later after washing you are going to see the major difference between the fabric shrinking and applique work.
This is going to be a whole big mess for you and all your hard work will go in a vain.
Step 4: How to Fuse
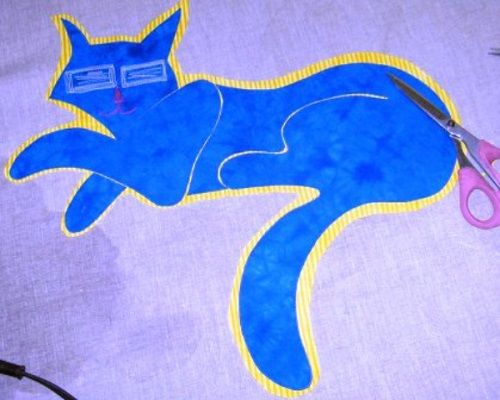
First, you need to cut the shape of the thing you need to apply on the garment.
Now trace the shape in the backward position the position of the fusible web must be front.
Trim the shape and leave a little area around the shape.
At the time of fusing the fabric, some people don’t like to see the traces on the iron, so you can have an extra piece of clothing to save the iron plate from getting the pattern as well.


Now peel off the fusible web backing paper and start applying it to the wrong side.
Always provide the heat to the fabric in a limit mentioned at the fabric because more can make your fiber damage.
The shiny fusible side on the fabric must be on the background of the fabric. At the time of fusing the fabric, you need to press the iron gently on the fabric without moving it and consider the suitable amount of heat.
Step 5: Stitch Setting
Always before start stitching no matter what is the project, it’s essential to check the stitch settings. It’s always worth your time and the finishing you will see in the end will enough to compliment your work.
If you are going towards the thin woven or knit fabric then always use a stabilizer on the fabric background as this thing is going to control the stitching on the fabric and you can control the project.
Other than the stitch setting, you need to take care of the needle according to the fabric thickness. If you are using a thick fabric then needle needs to be accordingly.
Use a rough patch of the same fabric you are preparing and test stitches on it. Once you are satisfied with the whole look of the stitches and if everything is going smoothly on the patch, then start working on the fabric.
Read more: Best Affordable Sewing Machines For Home Use
Step 6: Stitch Around the Applique Area
Once you are done with the whole process of fusing the applique, now you are ready to stitch the applique on the fabric.
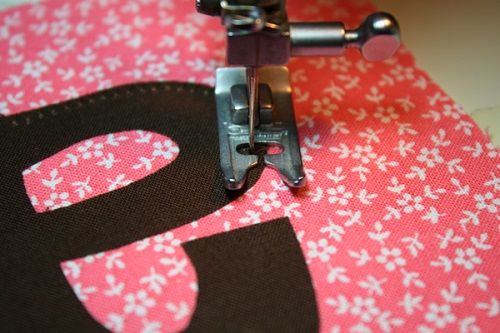
Stitch the raw edge of the applique on the garment and don’t leave the larger seam allowance because the raw edge is going to fray more.
Sew every curve of the applique in the finest possible way and make sure the edges are not hard or revealing.


To sew the exterior corners, you need to stitch the edge of the applique and then stop at the right side with the needle down.
Now with the help of presser foot pivot and start stitching from the left side. At each corner, you will be able to see the overlapping of the stitches.
Give the finishing touch to the applique by coming back to the beginning and cut the useless end of the thread.
Step 7: Secure the Thread
This ending will help you in tying the knots of the thread without a backstitch. This method is going to provide the professional and neat look to the whole project.
With the help of a needle, bring the thread from the front to the back side of the fabric, gather all the threads together and tie them.
Make a strong knot at the back of the fabric, cut the threads and you are done with the applique.
Conclusion
Applique is such a fun thing to try no matter if you are attempting it for the first time. This experience is going to help you with learning lots of things about sewing. The above step-by-step guide will help you in completing the whole process of applique much easier.


