Table of Contents
There is no doubt that we all want to share our love for creativity with the whole world and one of the best ways to do that is by designing beautiful patterns on fabrics with the help of embroidery machines.
One such brand is Brother which has been consistently providing some of the best embroidery machines to its customers. They enable you to fulfill your love for designing with a simple click of a button as it has various designs uploaded in its memory thanks to the USB stick that comes with it.
But have you ever wondered what will happen if this beautiful piece of machinery breaks down unceremoniously?
This is a question that has been bothering the embroidery fraternity for a long time. But the answer to how to repair a Brother embroidery machine is not that difficult.
All you need to do here is follow the specifications and methods properly and your Brother embroidery machine will work as good as new.
Supplies Needed
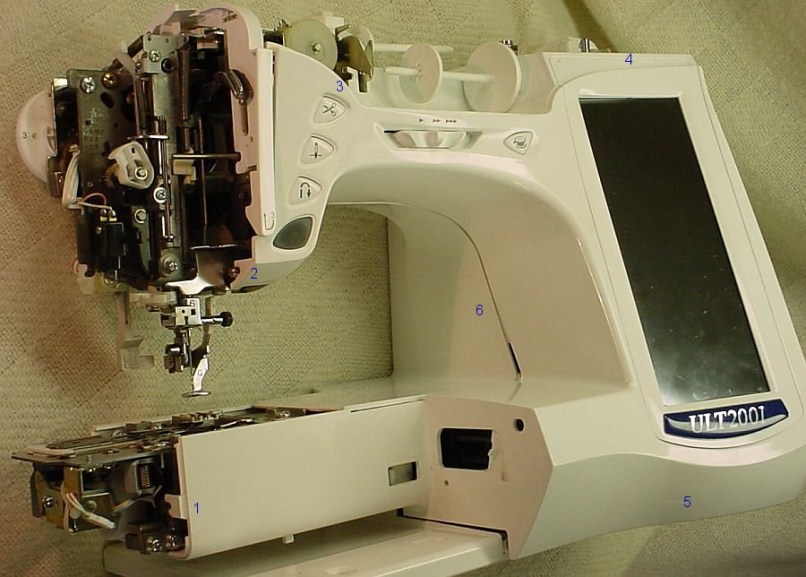
The Brother embroidery machine is a little more complex than your standard machines but once you know what to look for, then your task will become really easy.
There are certain things that you will need in your quest to make the product work and hereunder is the list:
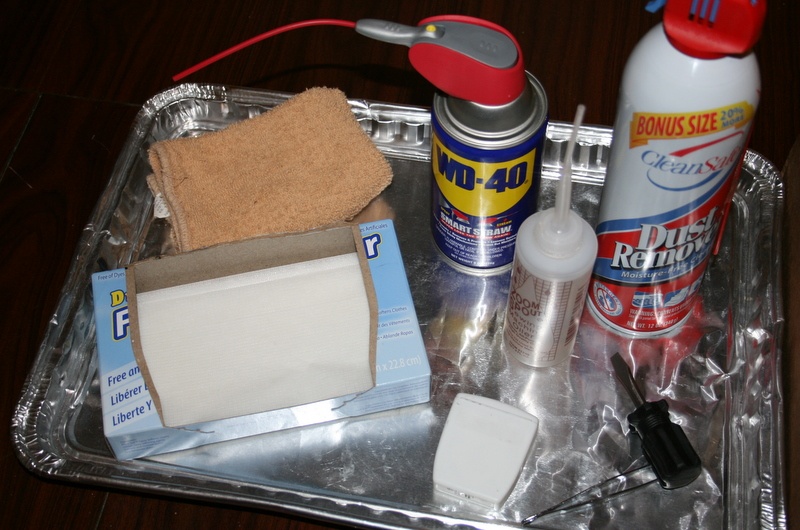
- Compressed Air
- Screwdriver
- Scrap fabric
- New needles
All these things have their own part in the process, so it is advisable that you don’t miss out on any of things mentioned above for smoother troubleshooting and early recovery of the machine.
Steps to Follow
Step 1: Get your facts right
You will firstly need to check and re-check the product to rule out the possibility of a small human error causing all the fuss.
After you are sure about it, you must check out the needle and ensure that the needle is actually inserted properly to complete the first step.
Use a new needle if necessary which is actually recommended.
Step 2: Get the threading right
Threading an embroidery machine is an extremely important task and that is why you must check on the machine to ensure that it is threaded properly.
The problem of threading arises when you try to switch the thread or needle in the middle of your work, so be careful about it.
Step 3: Clean the house
Now you must simply remove the external case of the bobbin and use the compressed air to make sure that any dust settling in the machine is removed without any mistake.
After it’s done, make sure the bobbin is properly wound. You should concentrate on the tension settings now and use the scrap fabric on which the tensions must be set.

Step 4: Update the machine
After the cleaning process is complete, install the necessary updates so that the machine is up to date and is as good as new and more importantly improved.
Step 5: Re-check
In order to make sure that everything is done properly and the machine is free of errors and issues, recheck it and remove any residual issues at once to give the user an error-free Brother embroidery machine.



I have a ULT 2003 DISNEY machine and the screen went black. I can still see around the edge but not much.
What happern? Can i fix it ?
Hi Evelyn, have you tried to fix the machine as guidance on Brother website? If not, follow these steps. If the problem still occurs, you should contact the Brother customer service.
I have a Disney SE270D. Everything works except for threading the bobbin